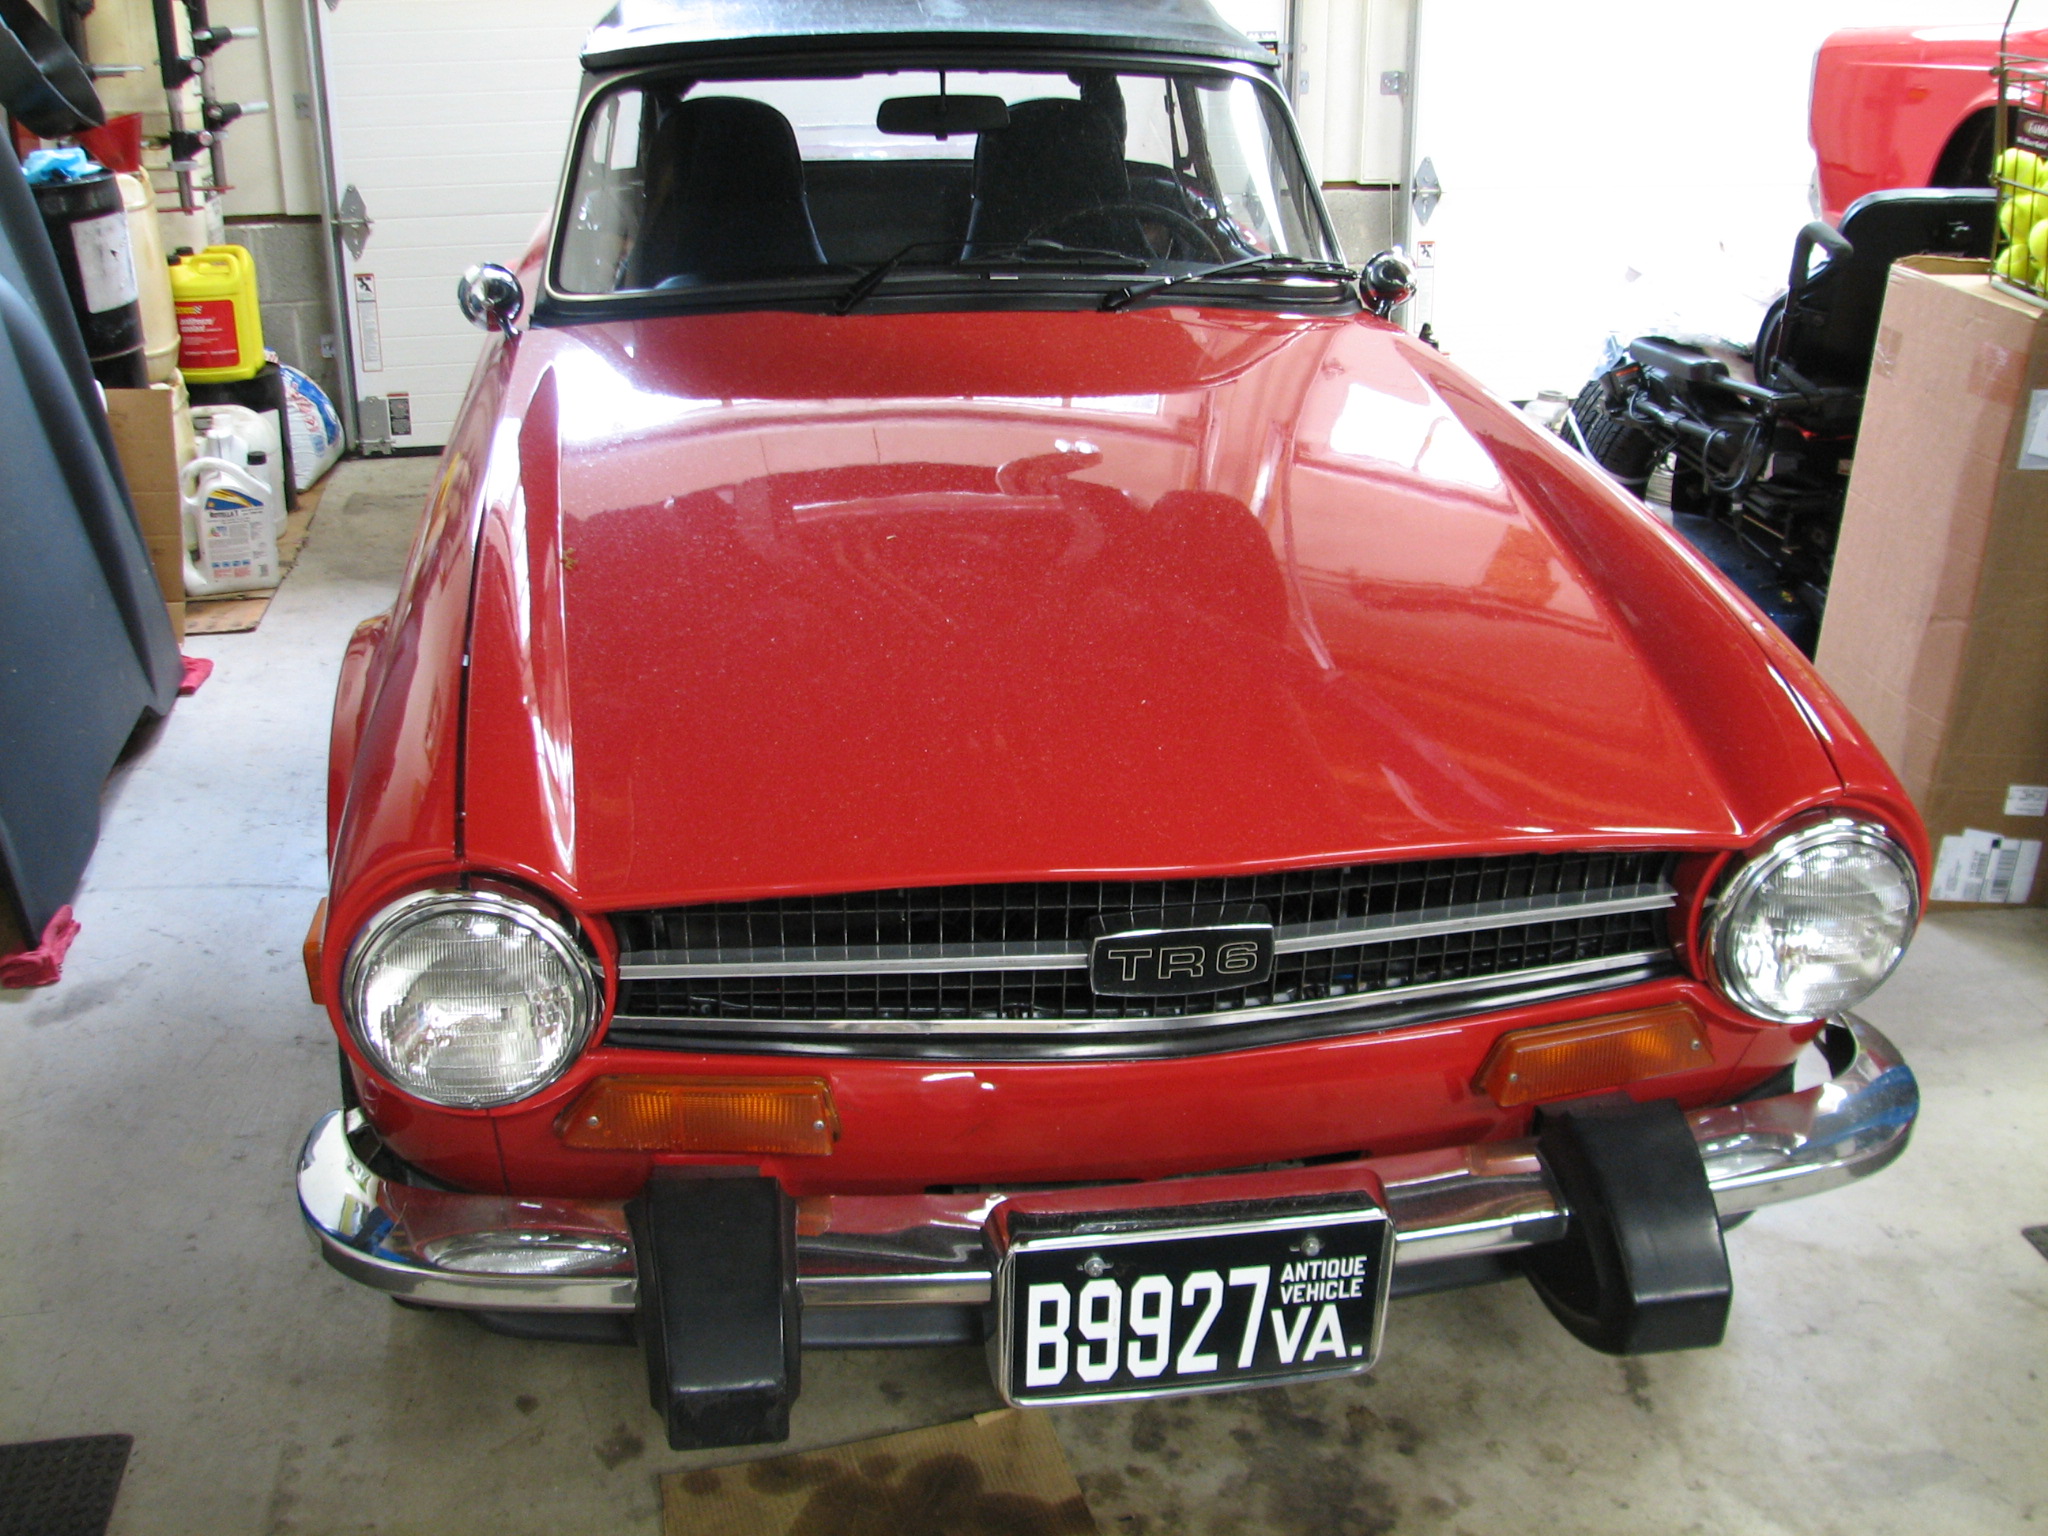
The Triumph Dove that came in with a No-Start condition has been a fascinating experience (for me, the web guy). During the engine removal and disassembly process, I got to see the evidence of an engine that has run too hot and paid the price. The “story” of all the existing damage we saw makes sense (it all “adds up”, if you will), which makes us confident we can put it right. The oil in the oil filter didn’t even flow at room temperature. It shook like a literal bowl full of jelly. It was cooked. Let’s take a look at some of the things we saw.
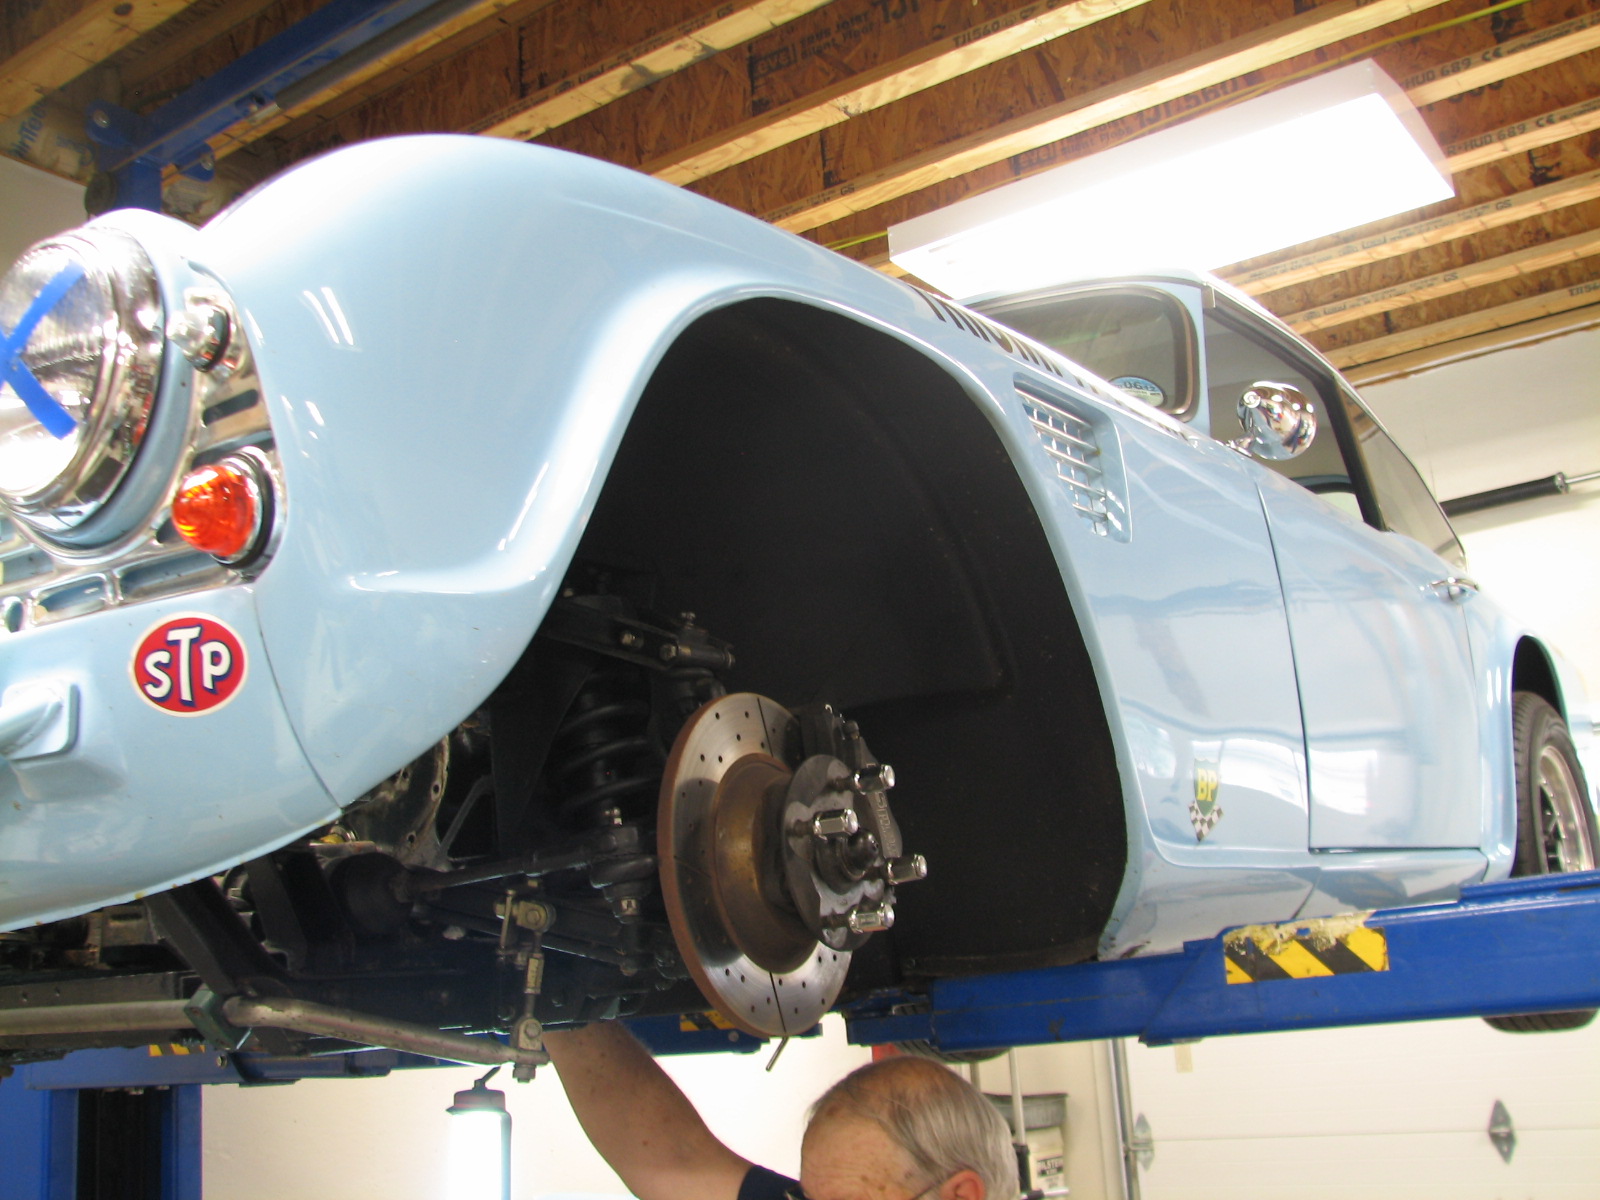
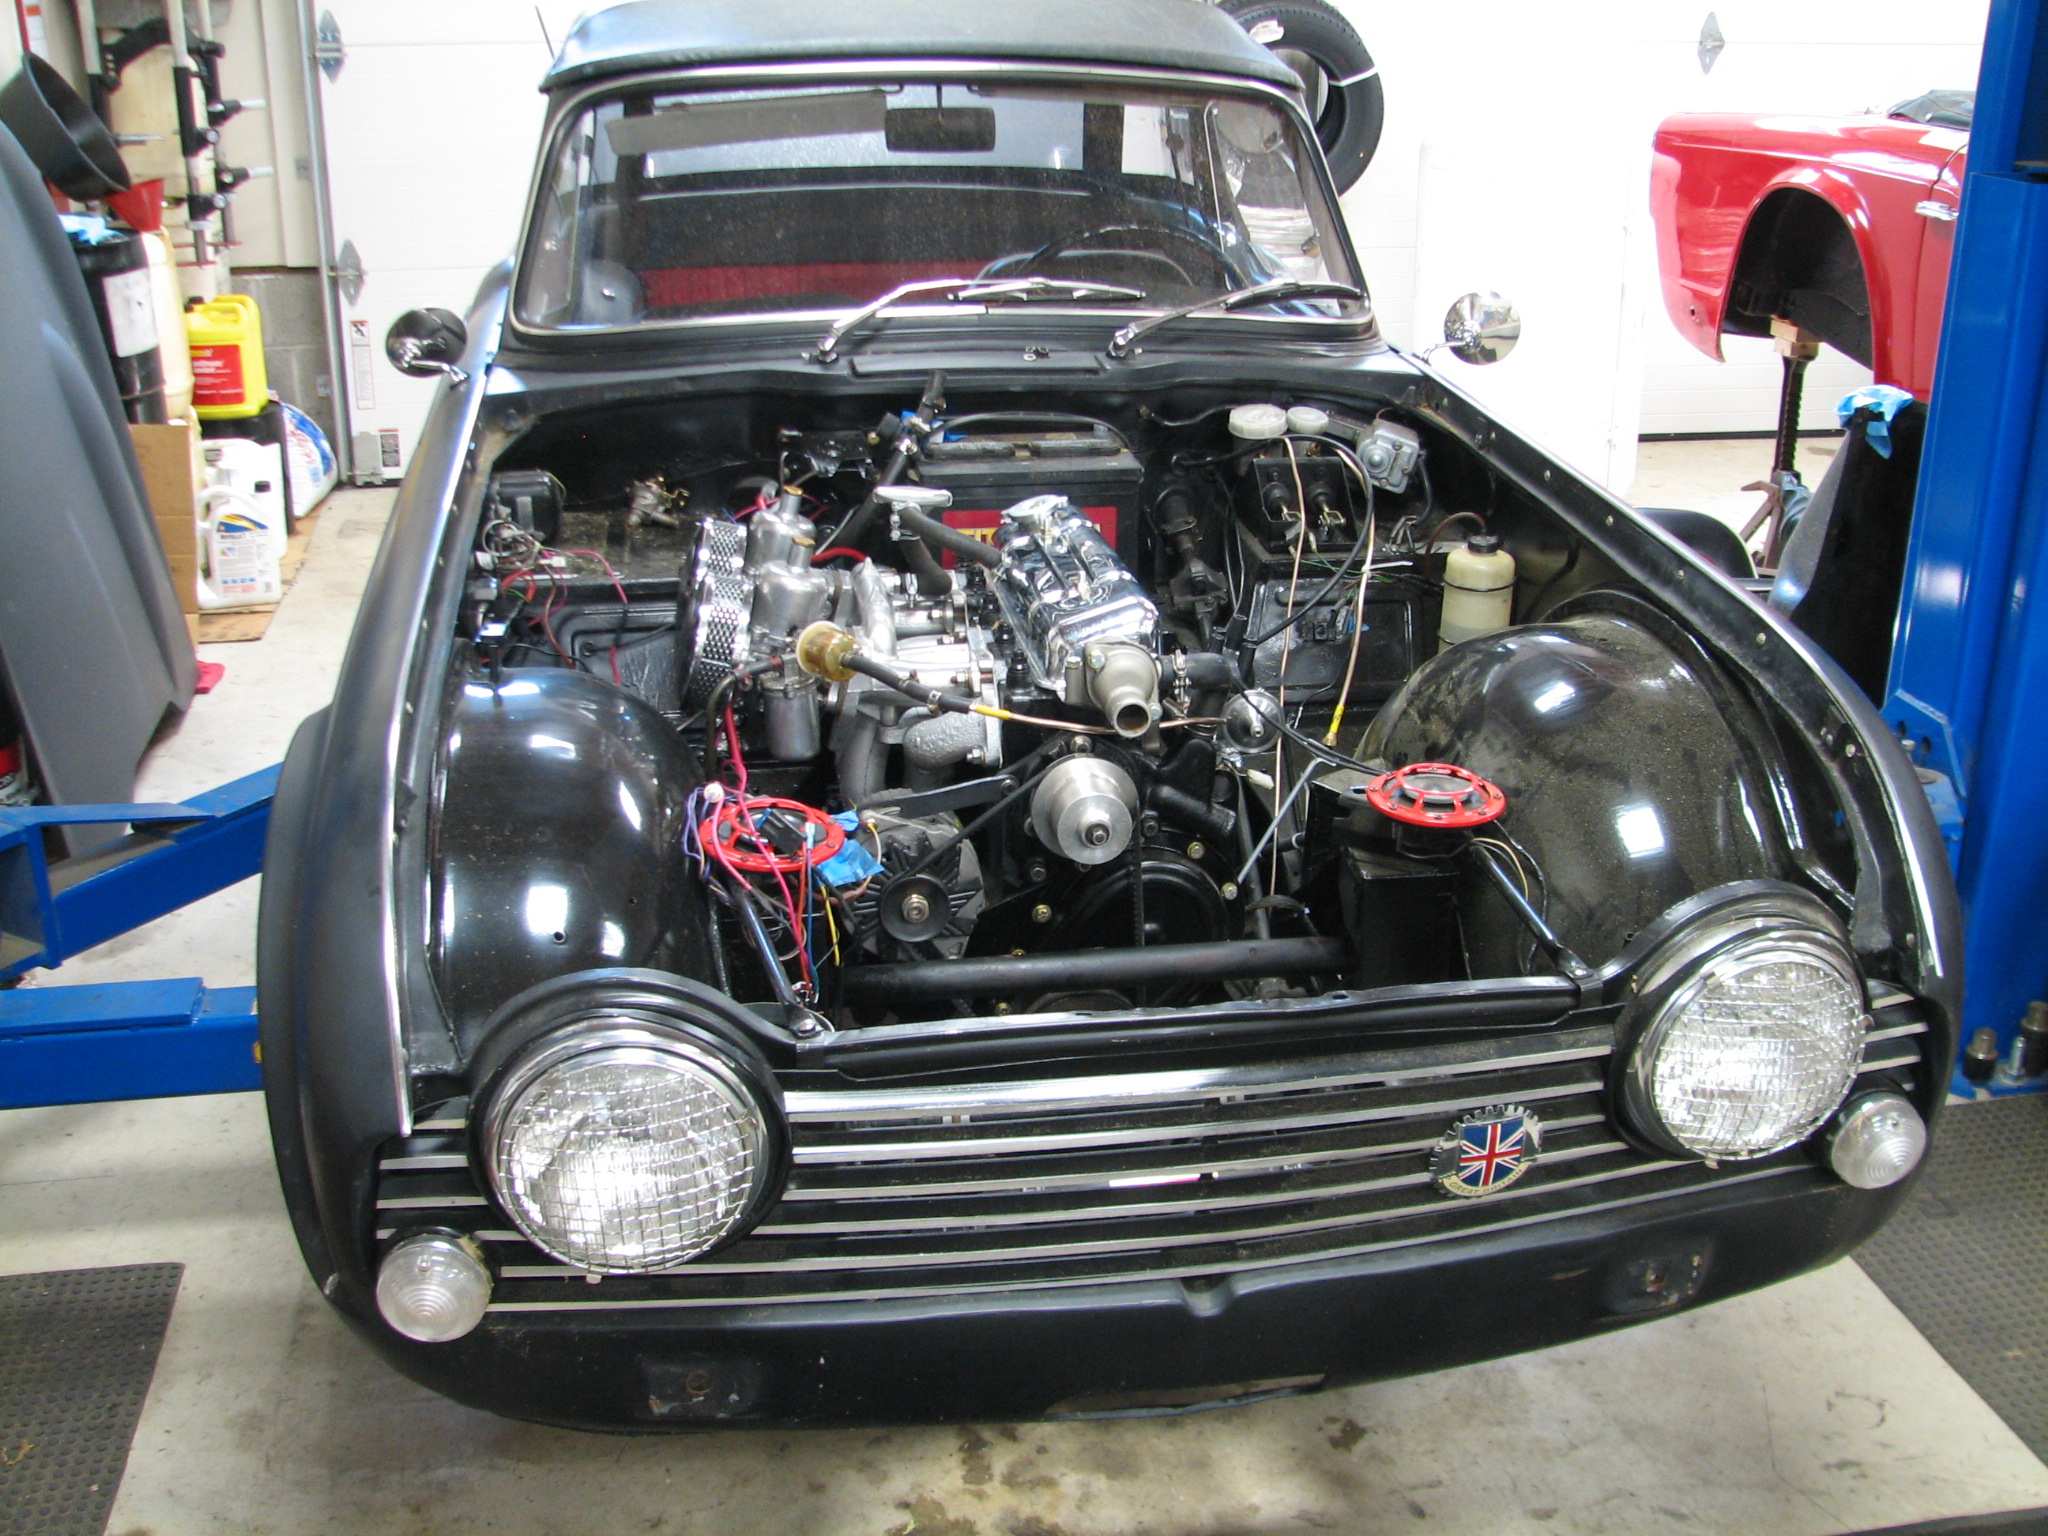
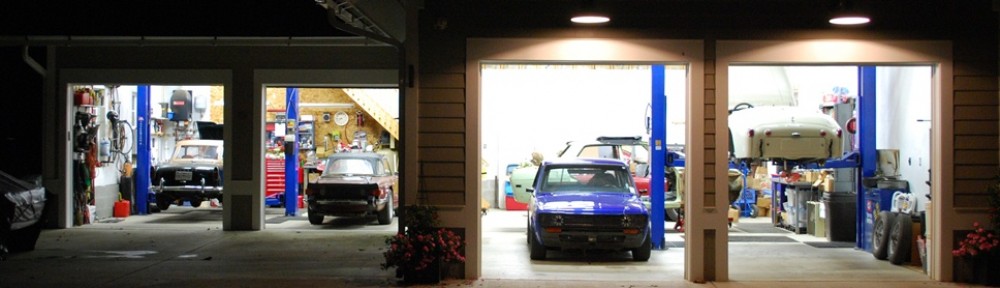
Dean has the Dove on the lift to remove the engine.
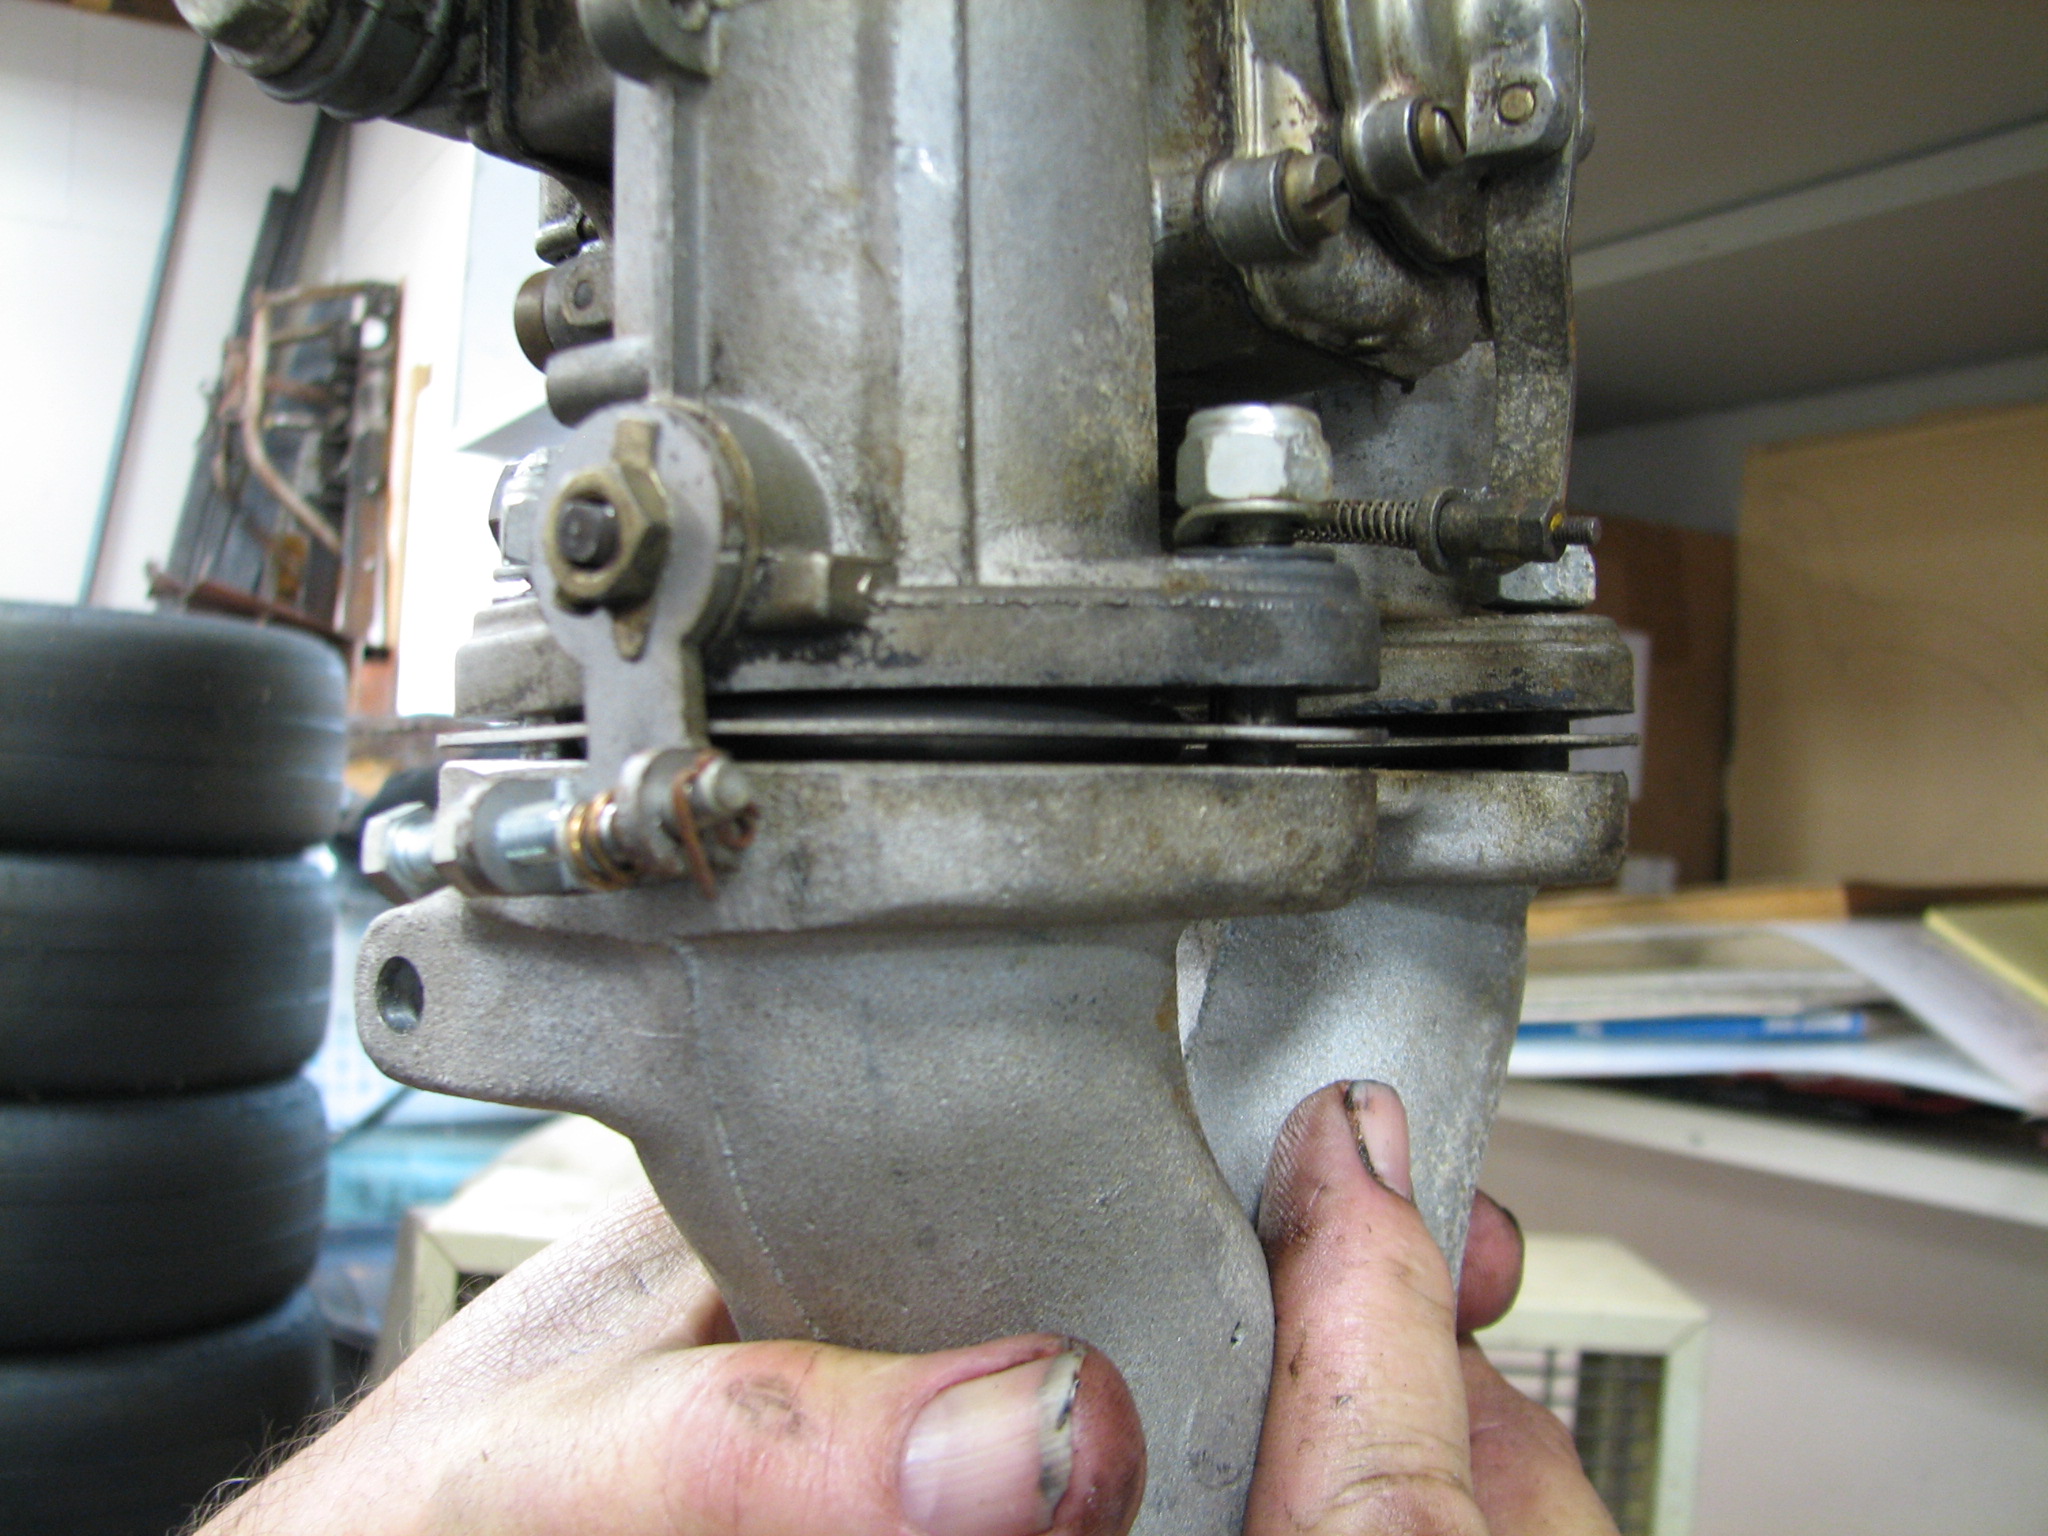
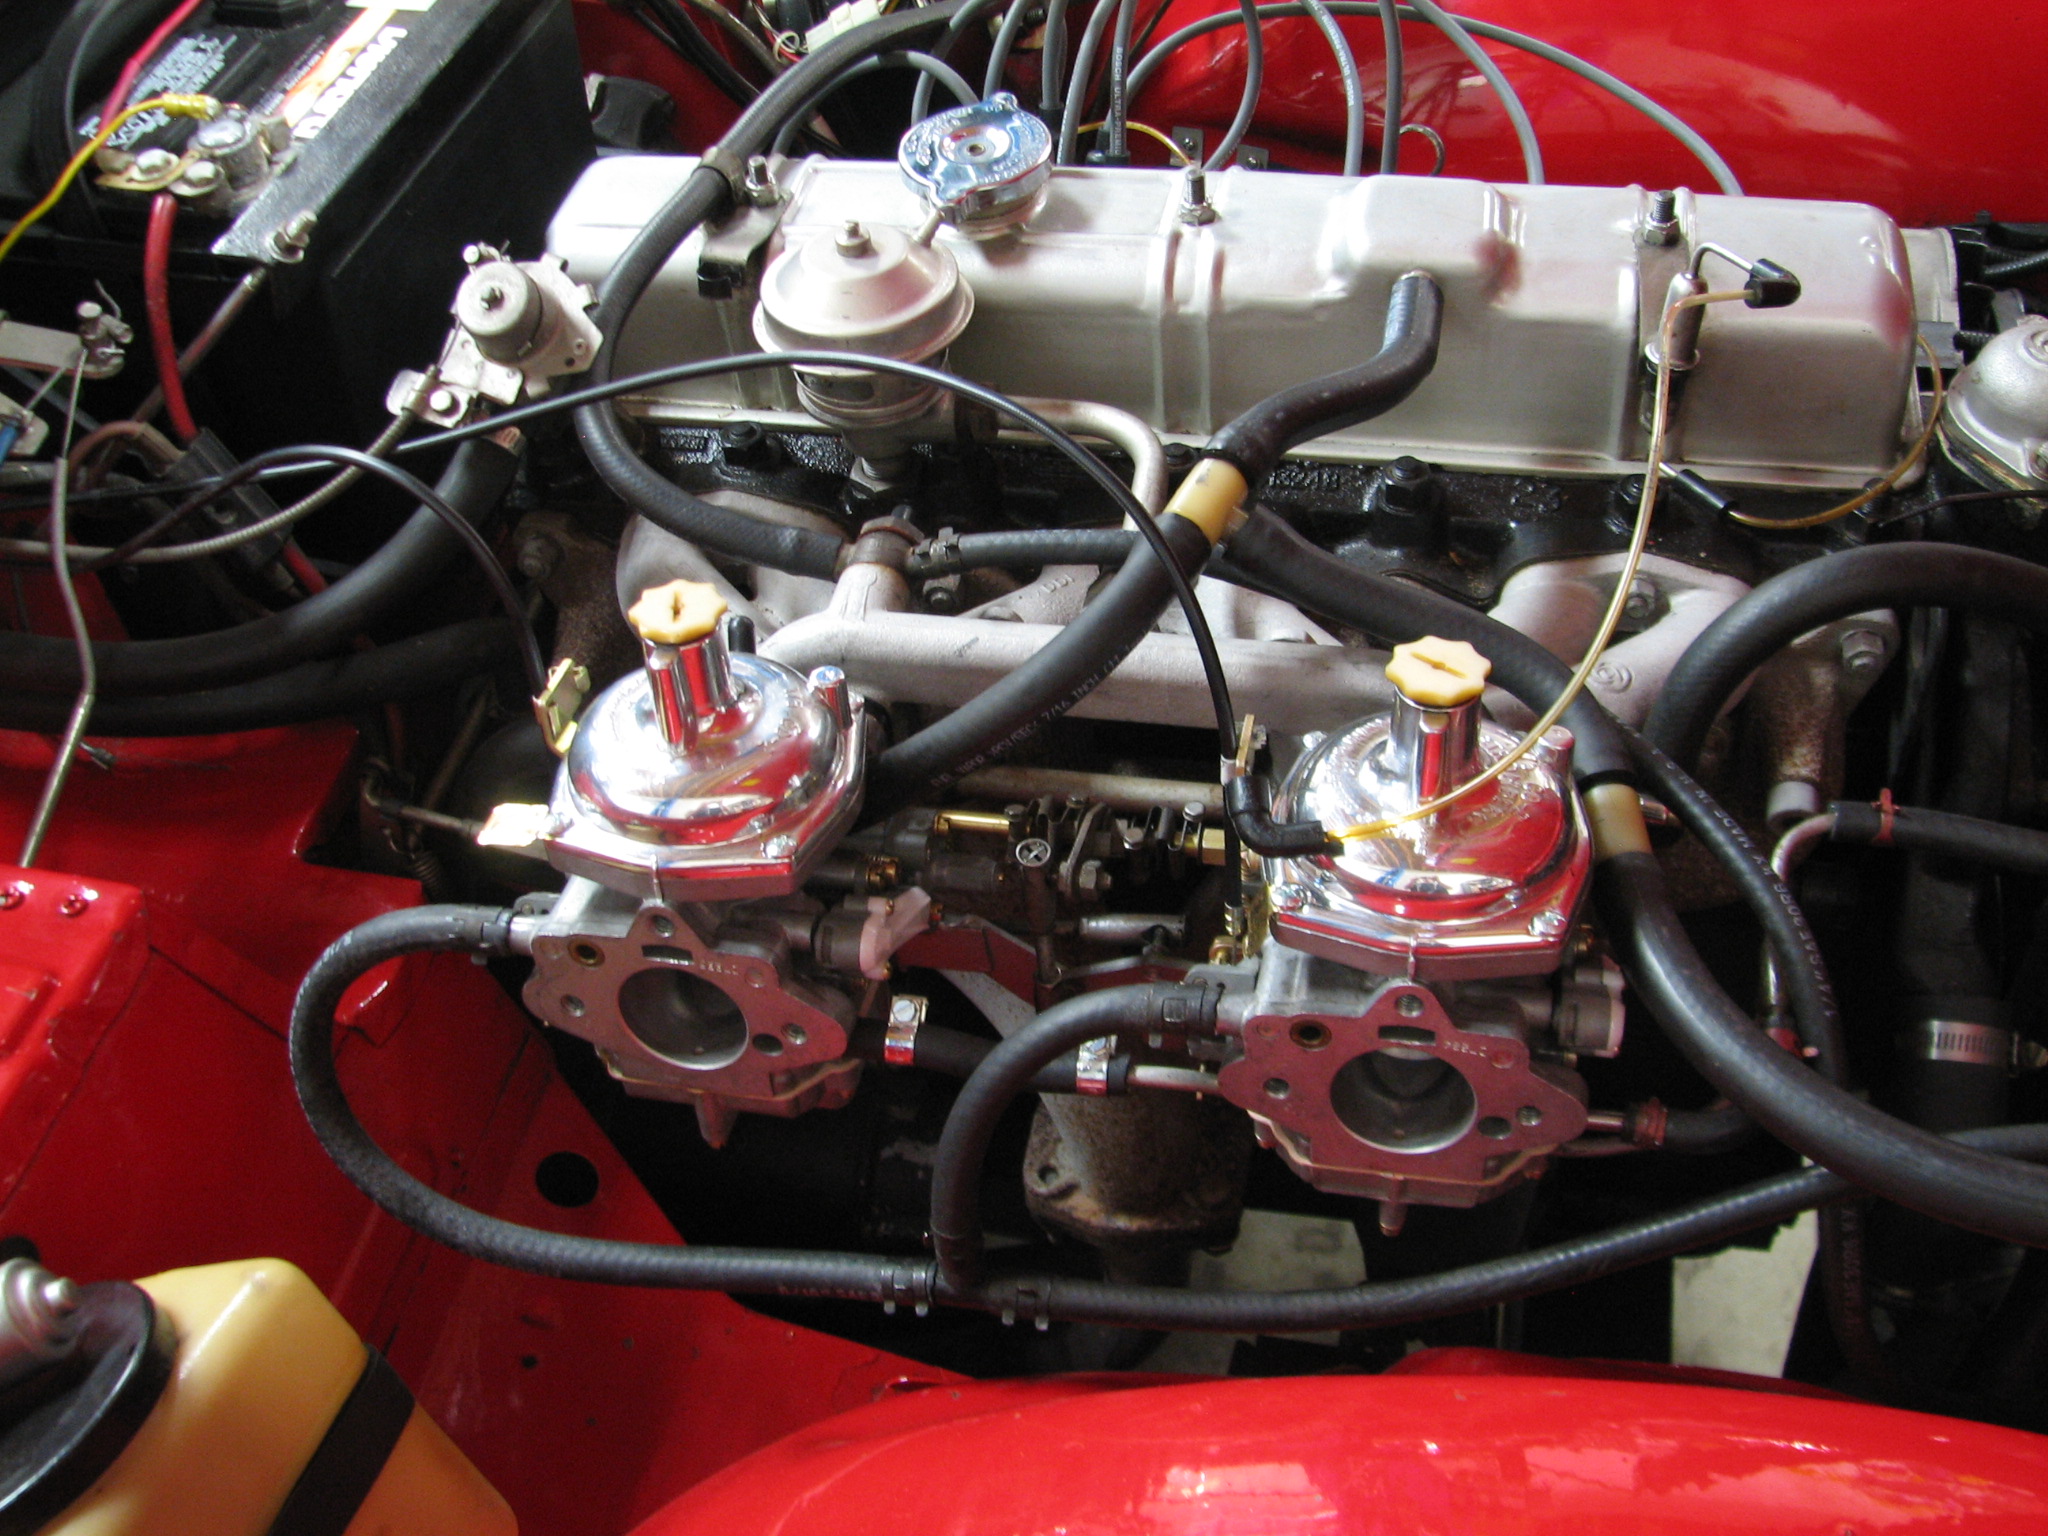
This photo shows Dean holding one of the carbs in the air as it is mounted on the intake. He took the intake off the motor and left the carb just like it was. His hand is holding the intake. You can see looking at the junction where the carb and it’s rubber gasket meet the intake that there is a gap. There is not supposed to be a gap. The gap is allowing extra air in, which results in a lean condition. Dean saw other indications that this motor was running very hot, and the lean condition suffered by the cylinders fed by this carburetor would only make that (running hot) worse.
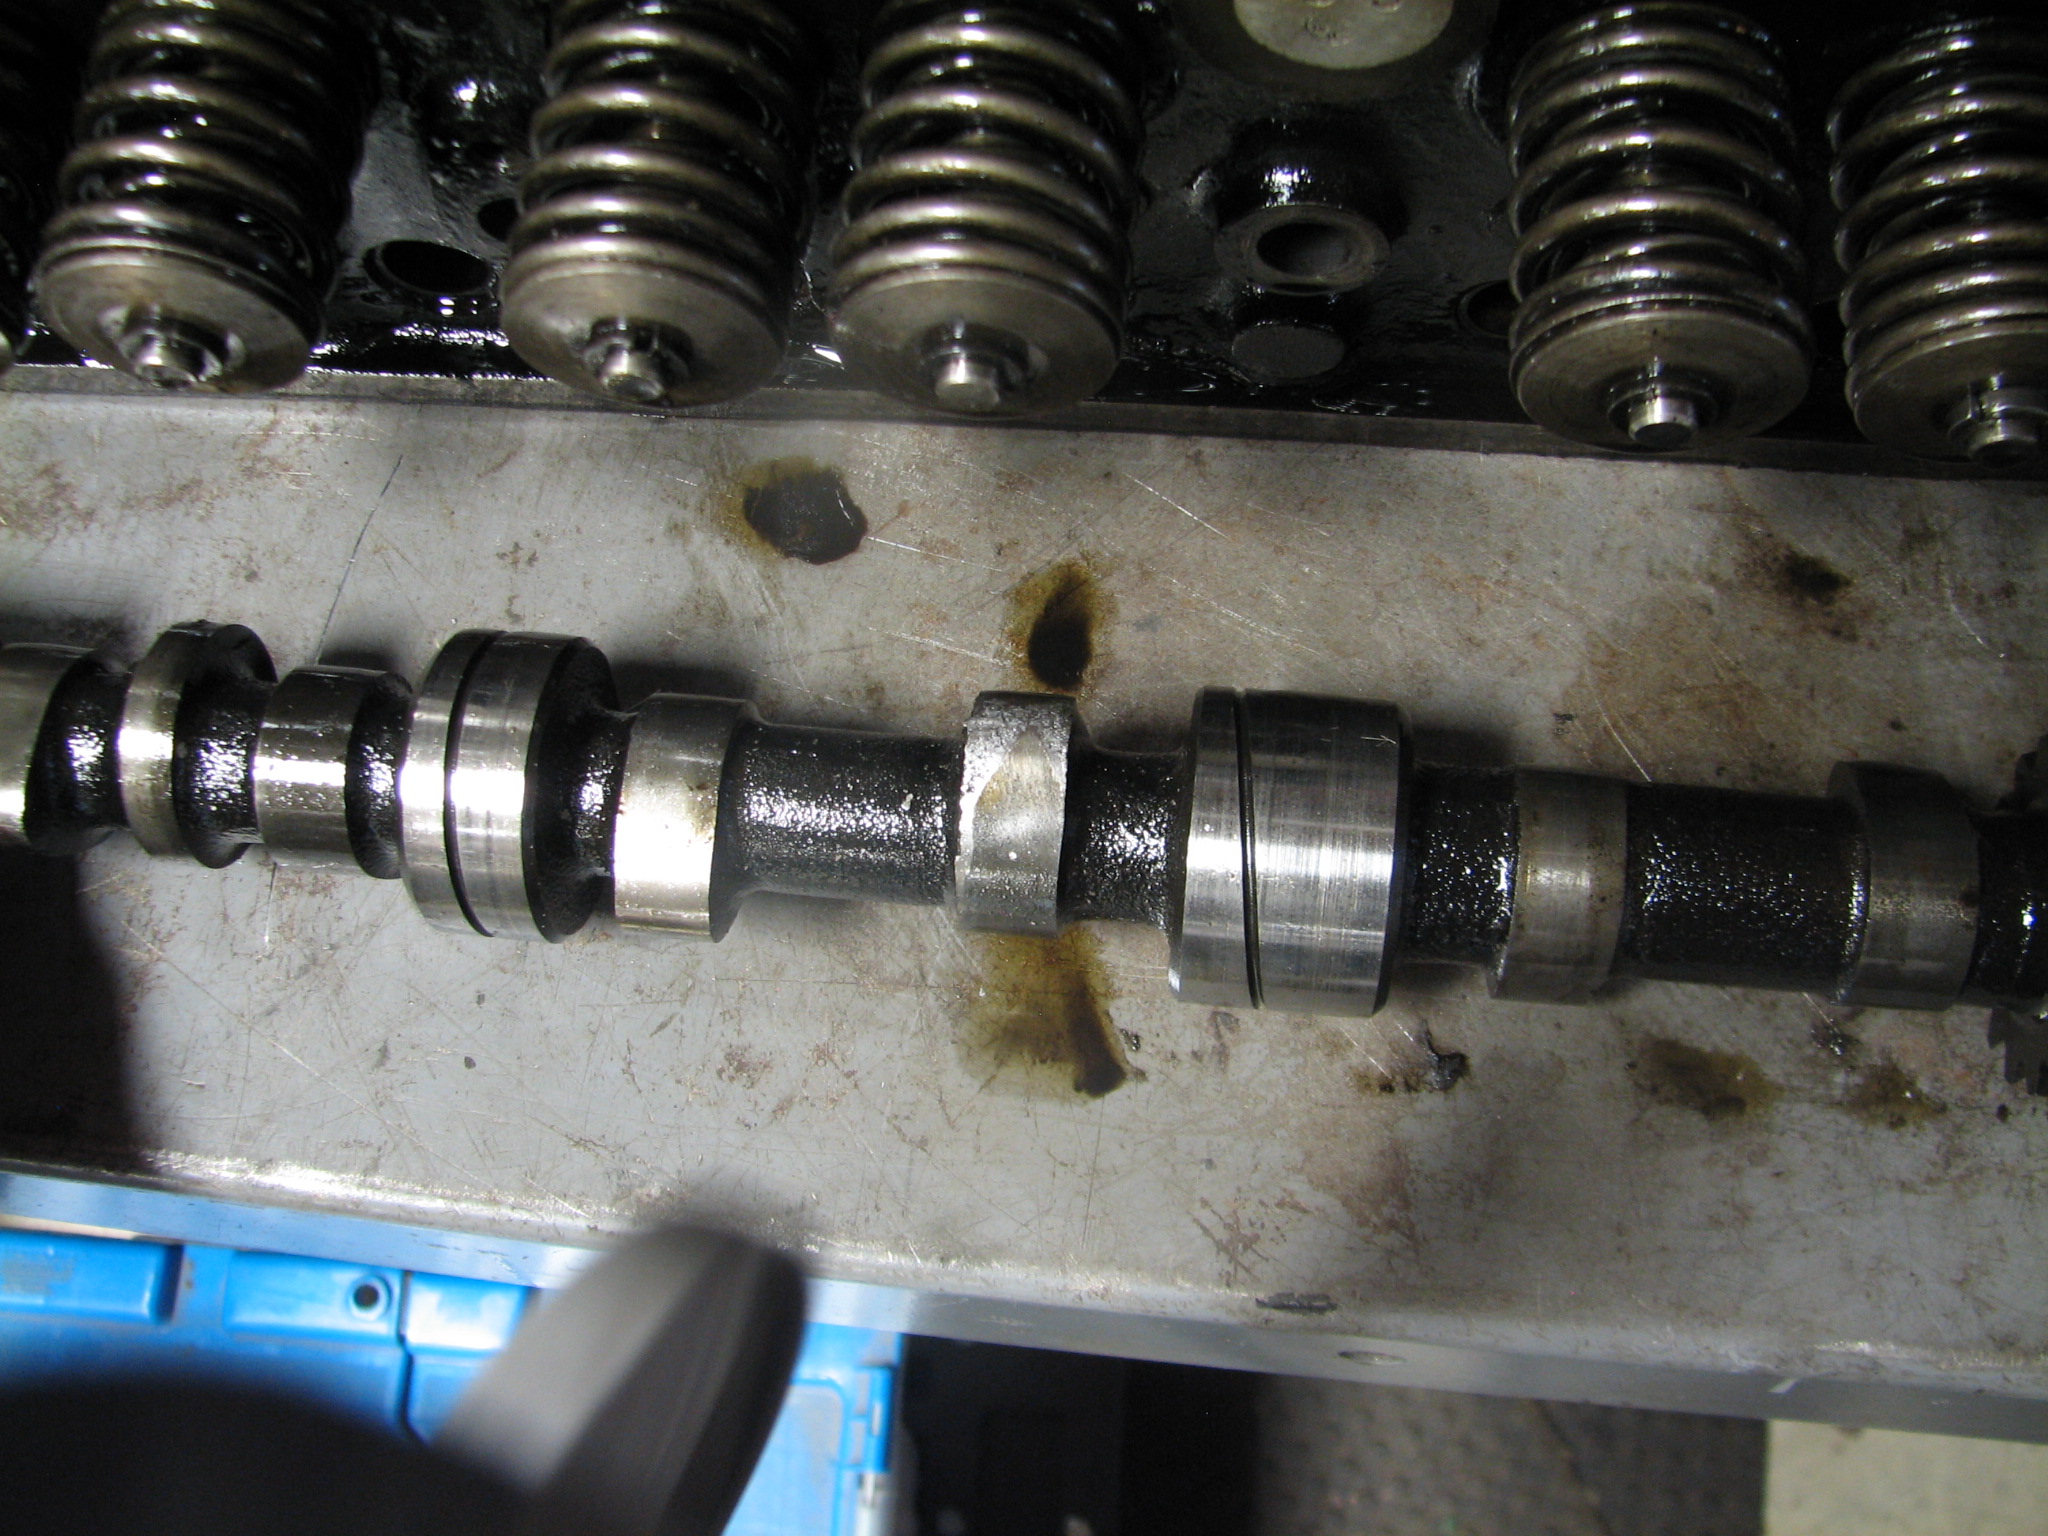
Looking at the cam lobe in the center of the picture, you can see that the lobe is worn down. The discoloration in the metal makes it easy to see in the picture.
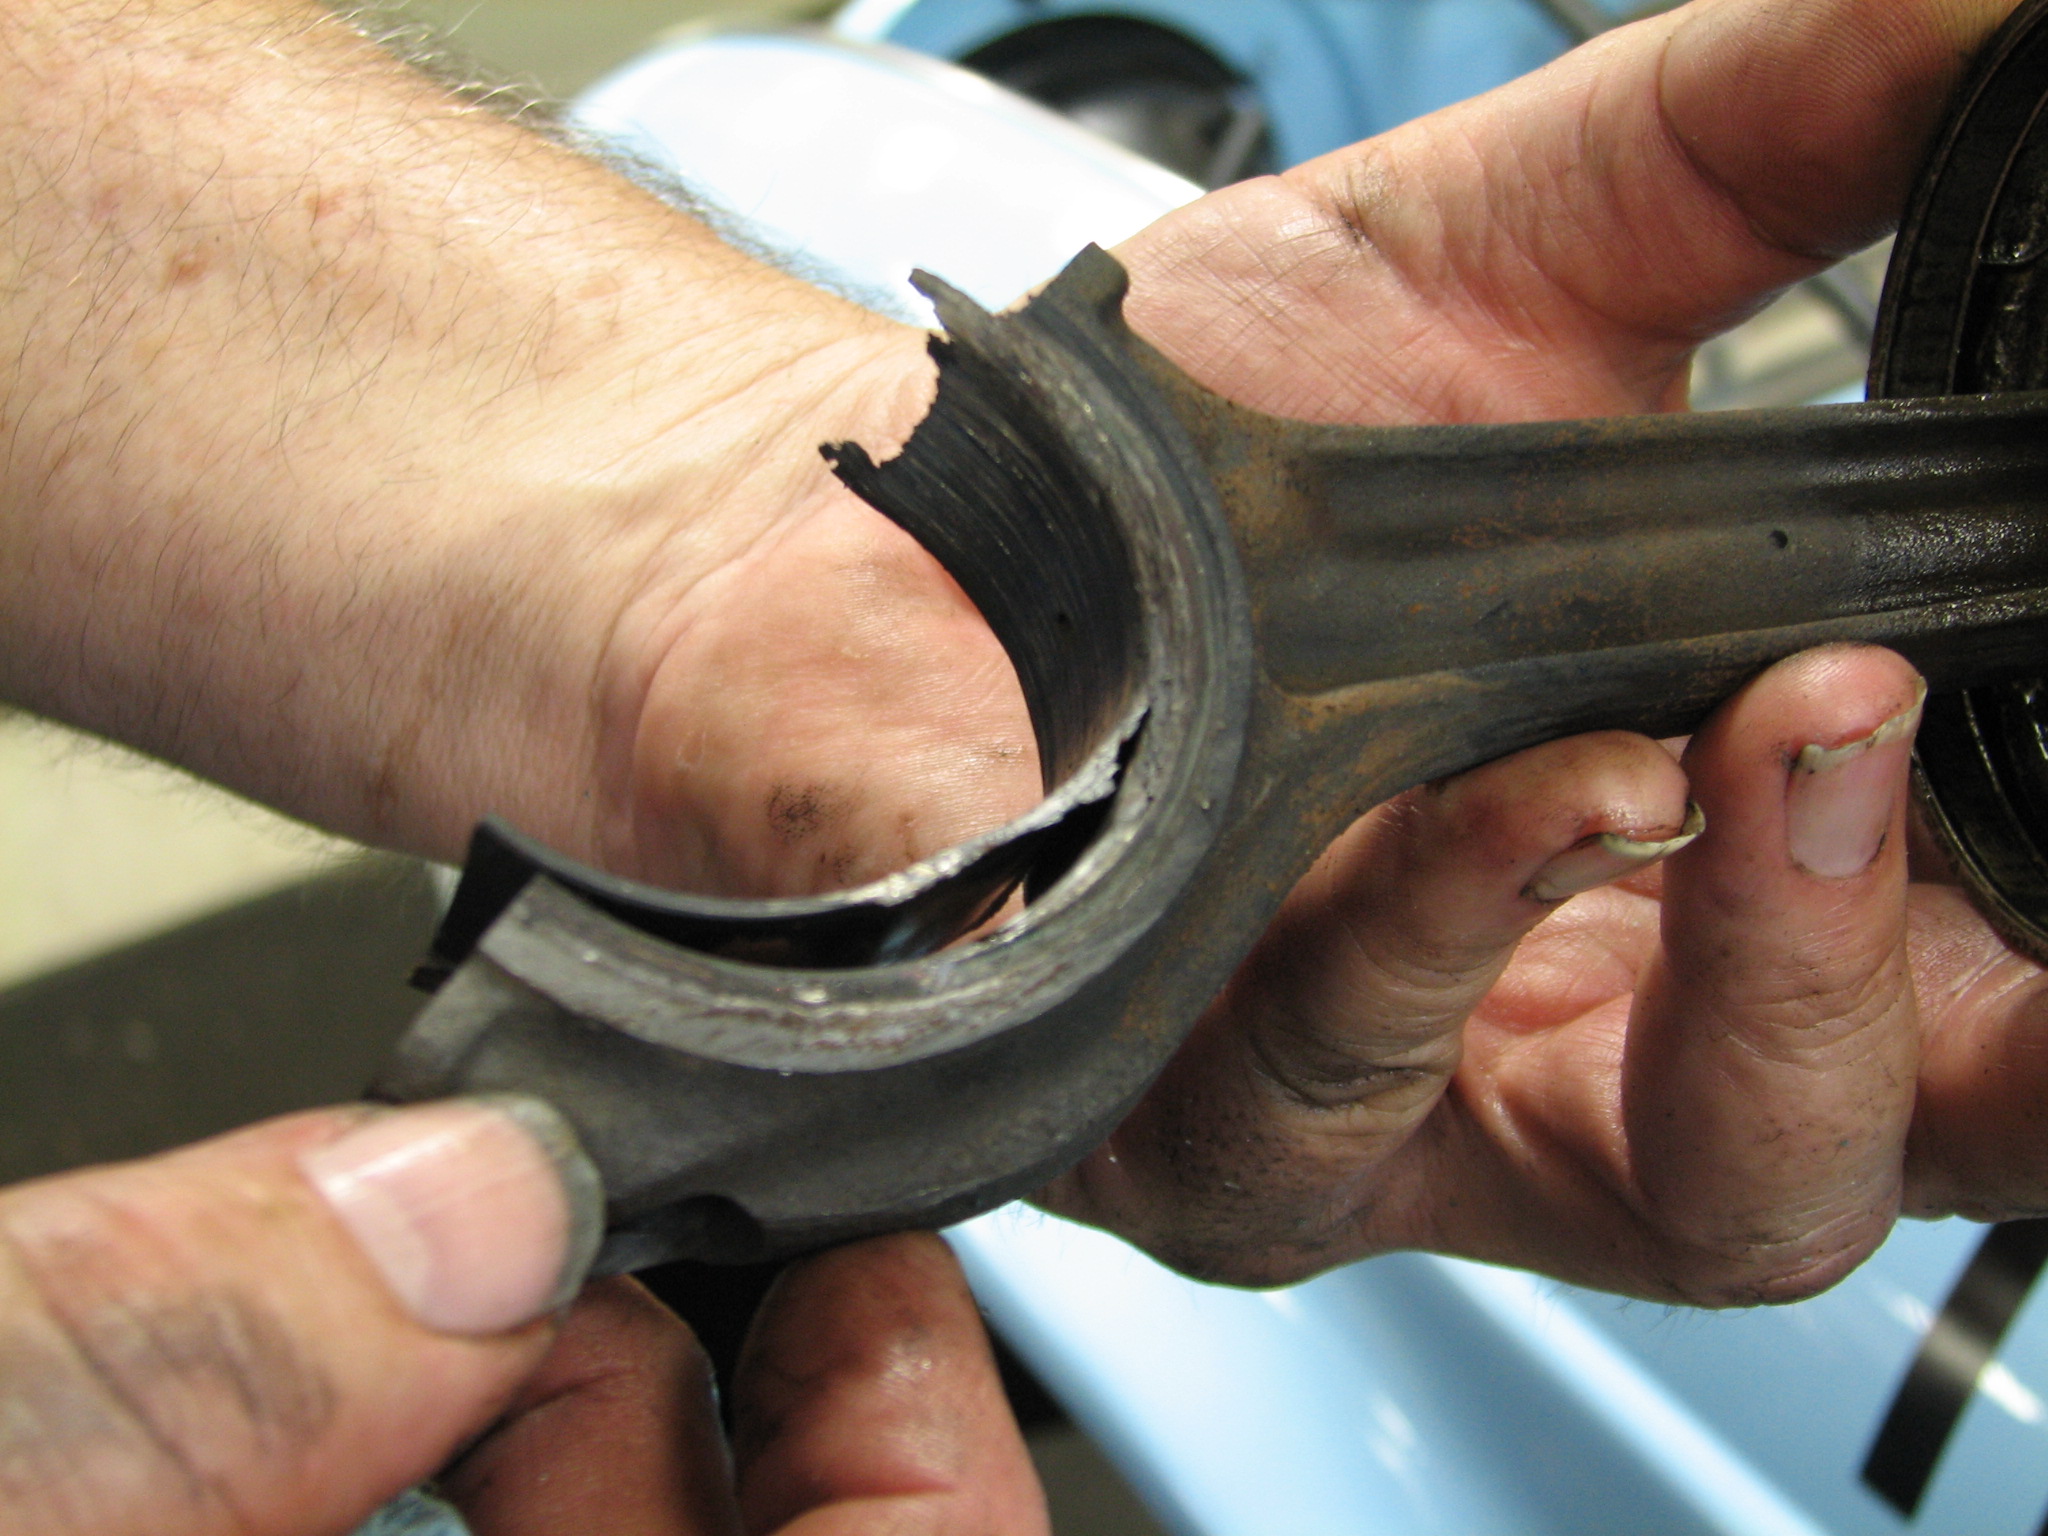
My, oh my, this rod bearing has had it. The crankshaft and rod bearing scored each other until the motor locked up. Once Dean took the cap off of this rod, the motor turned.
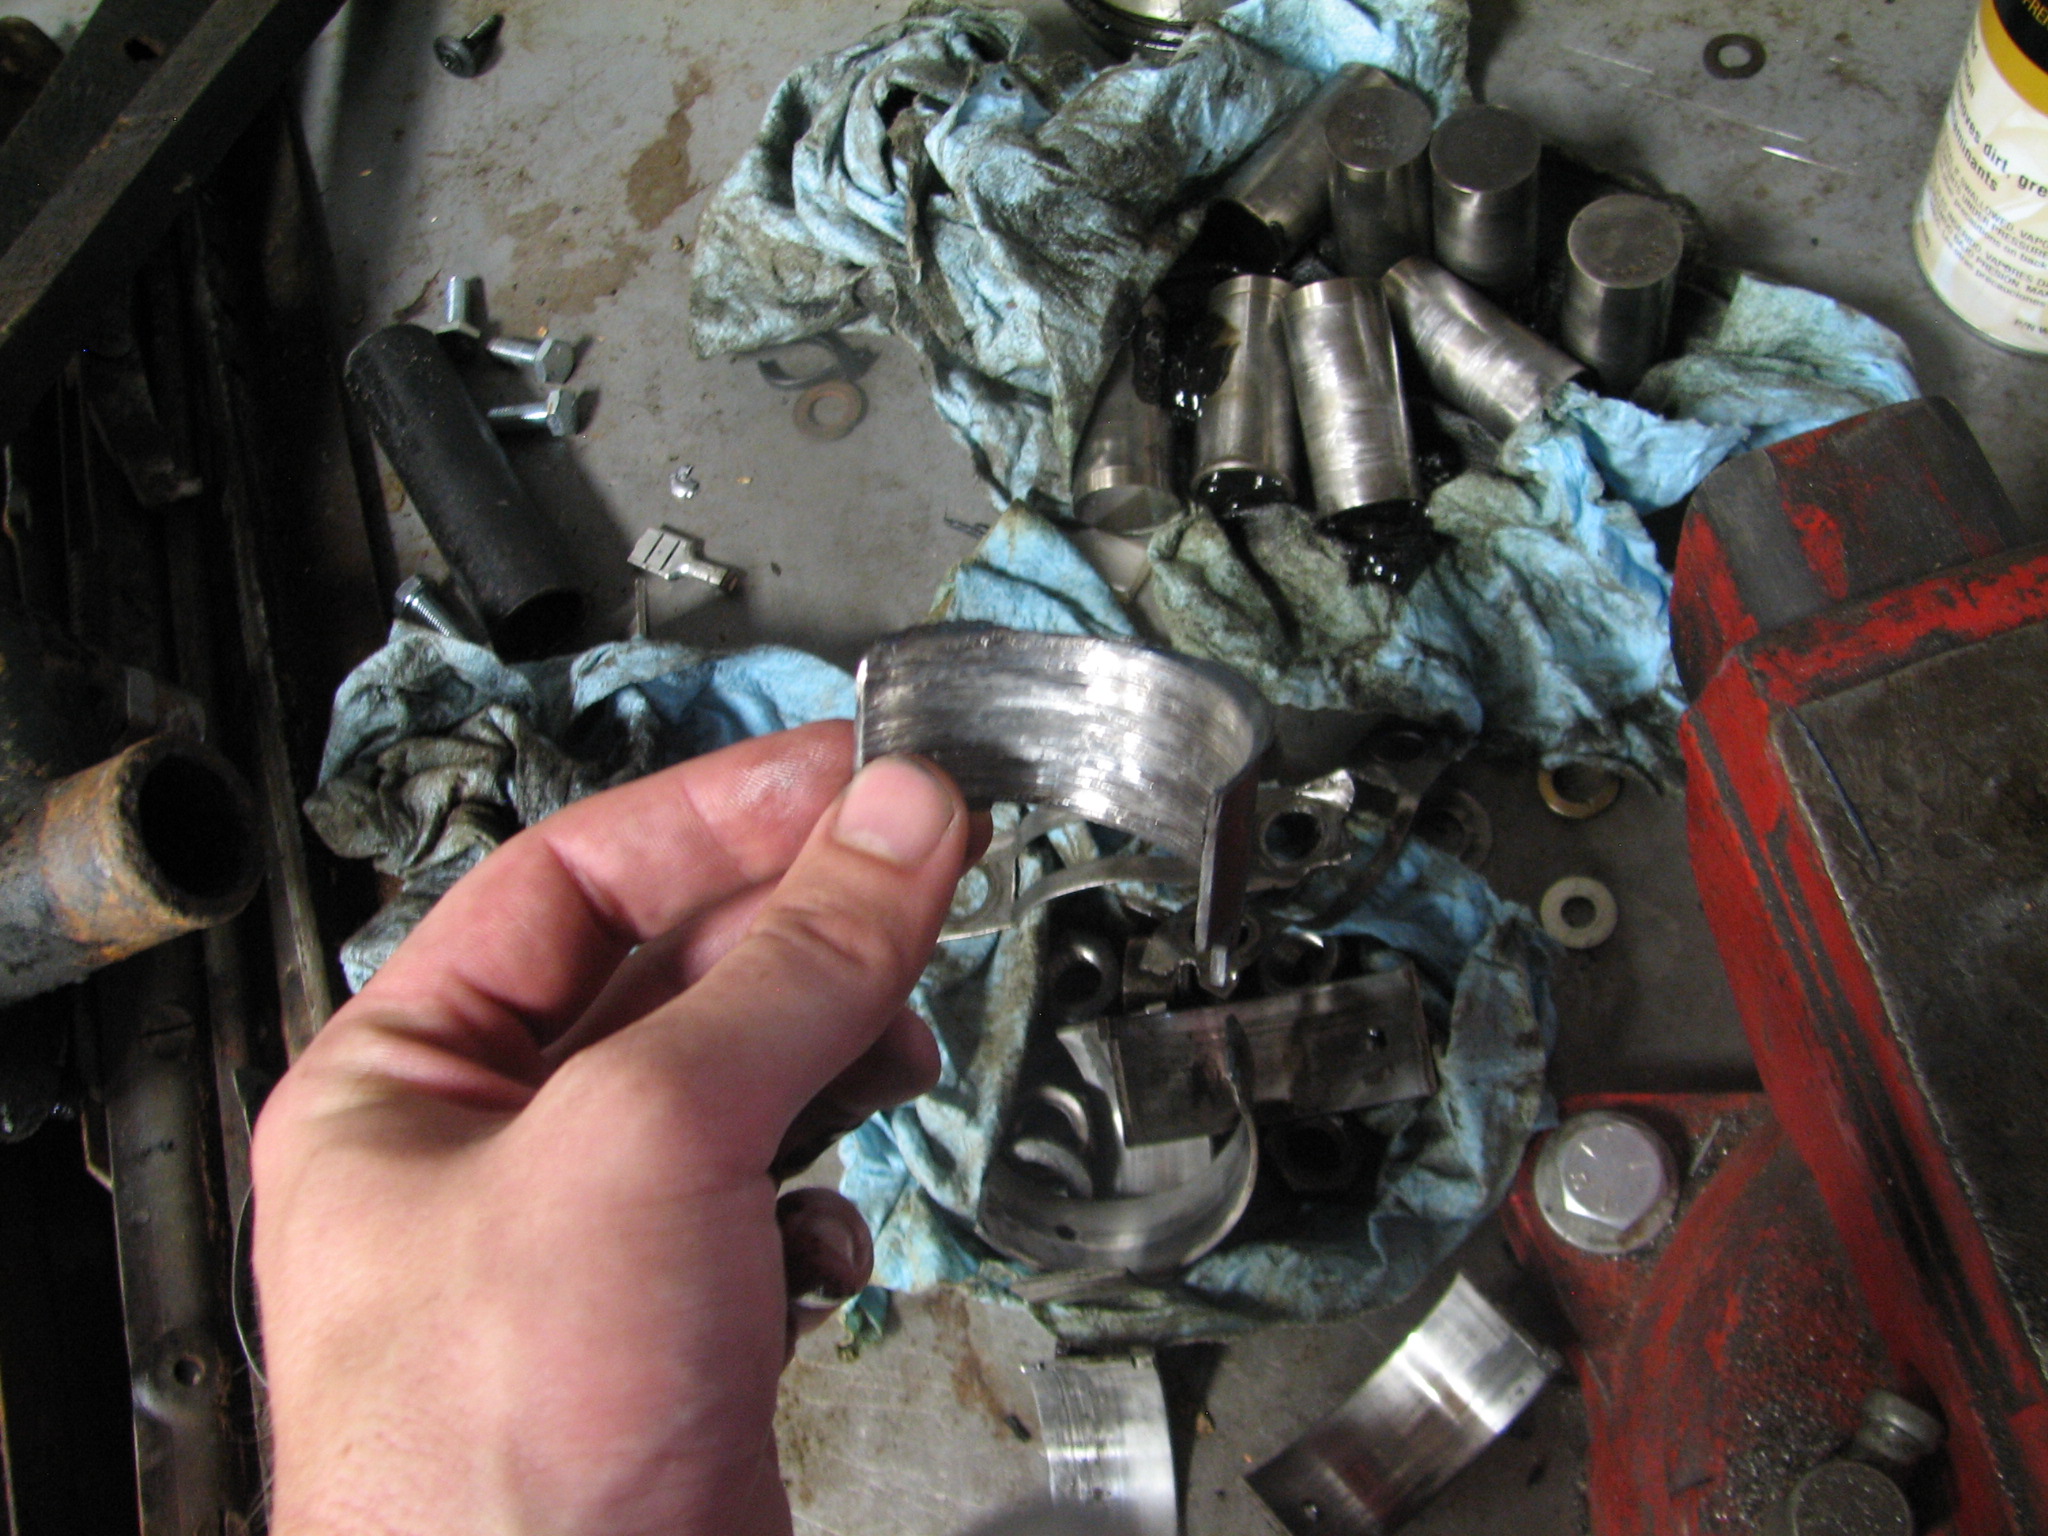
Another picture of the chewed up rod bearing.
I couldn’t get a shot with the camera to show the wear on these tappets. However, if you saw it live, you would immediately recognize the dished appearance of the tappet to be a problem. If you don’t look at flat tappets frequently, you would at least ask, “Say, is that dished out shape on the top of that tappet normal?” No, it’s not normal at all. For that exact reason (tappet wear on old style flat tappets), we use oil with Zinc (ZDDP additive) when we do oil changes on these old cars. Most newer cars have roller tappets and the zinc is not an issue. New oil standards do not have as much zinc in them because newer engines don’t need as much.
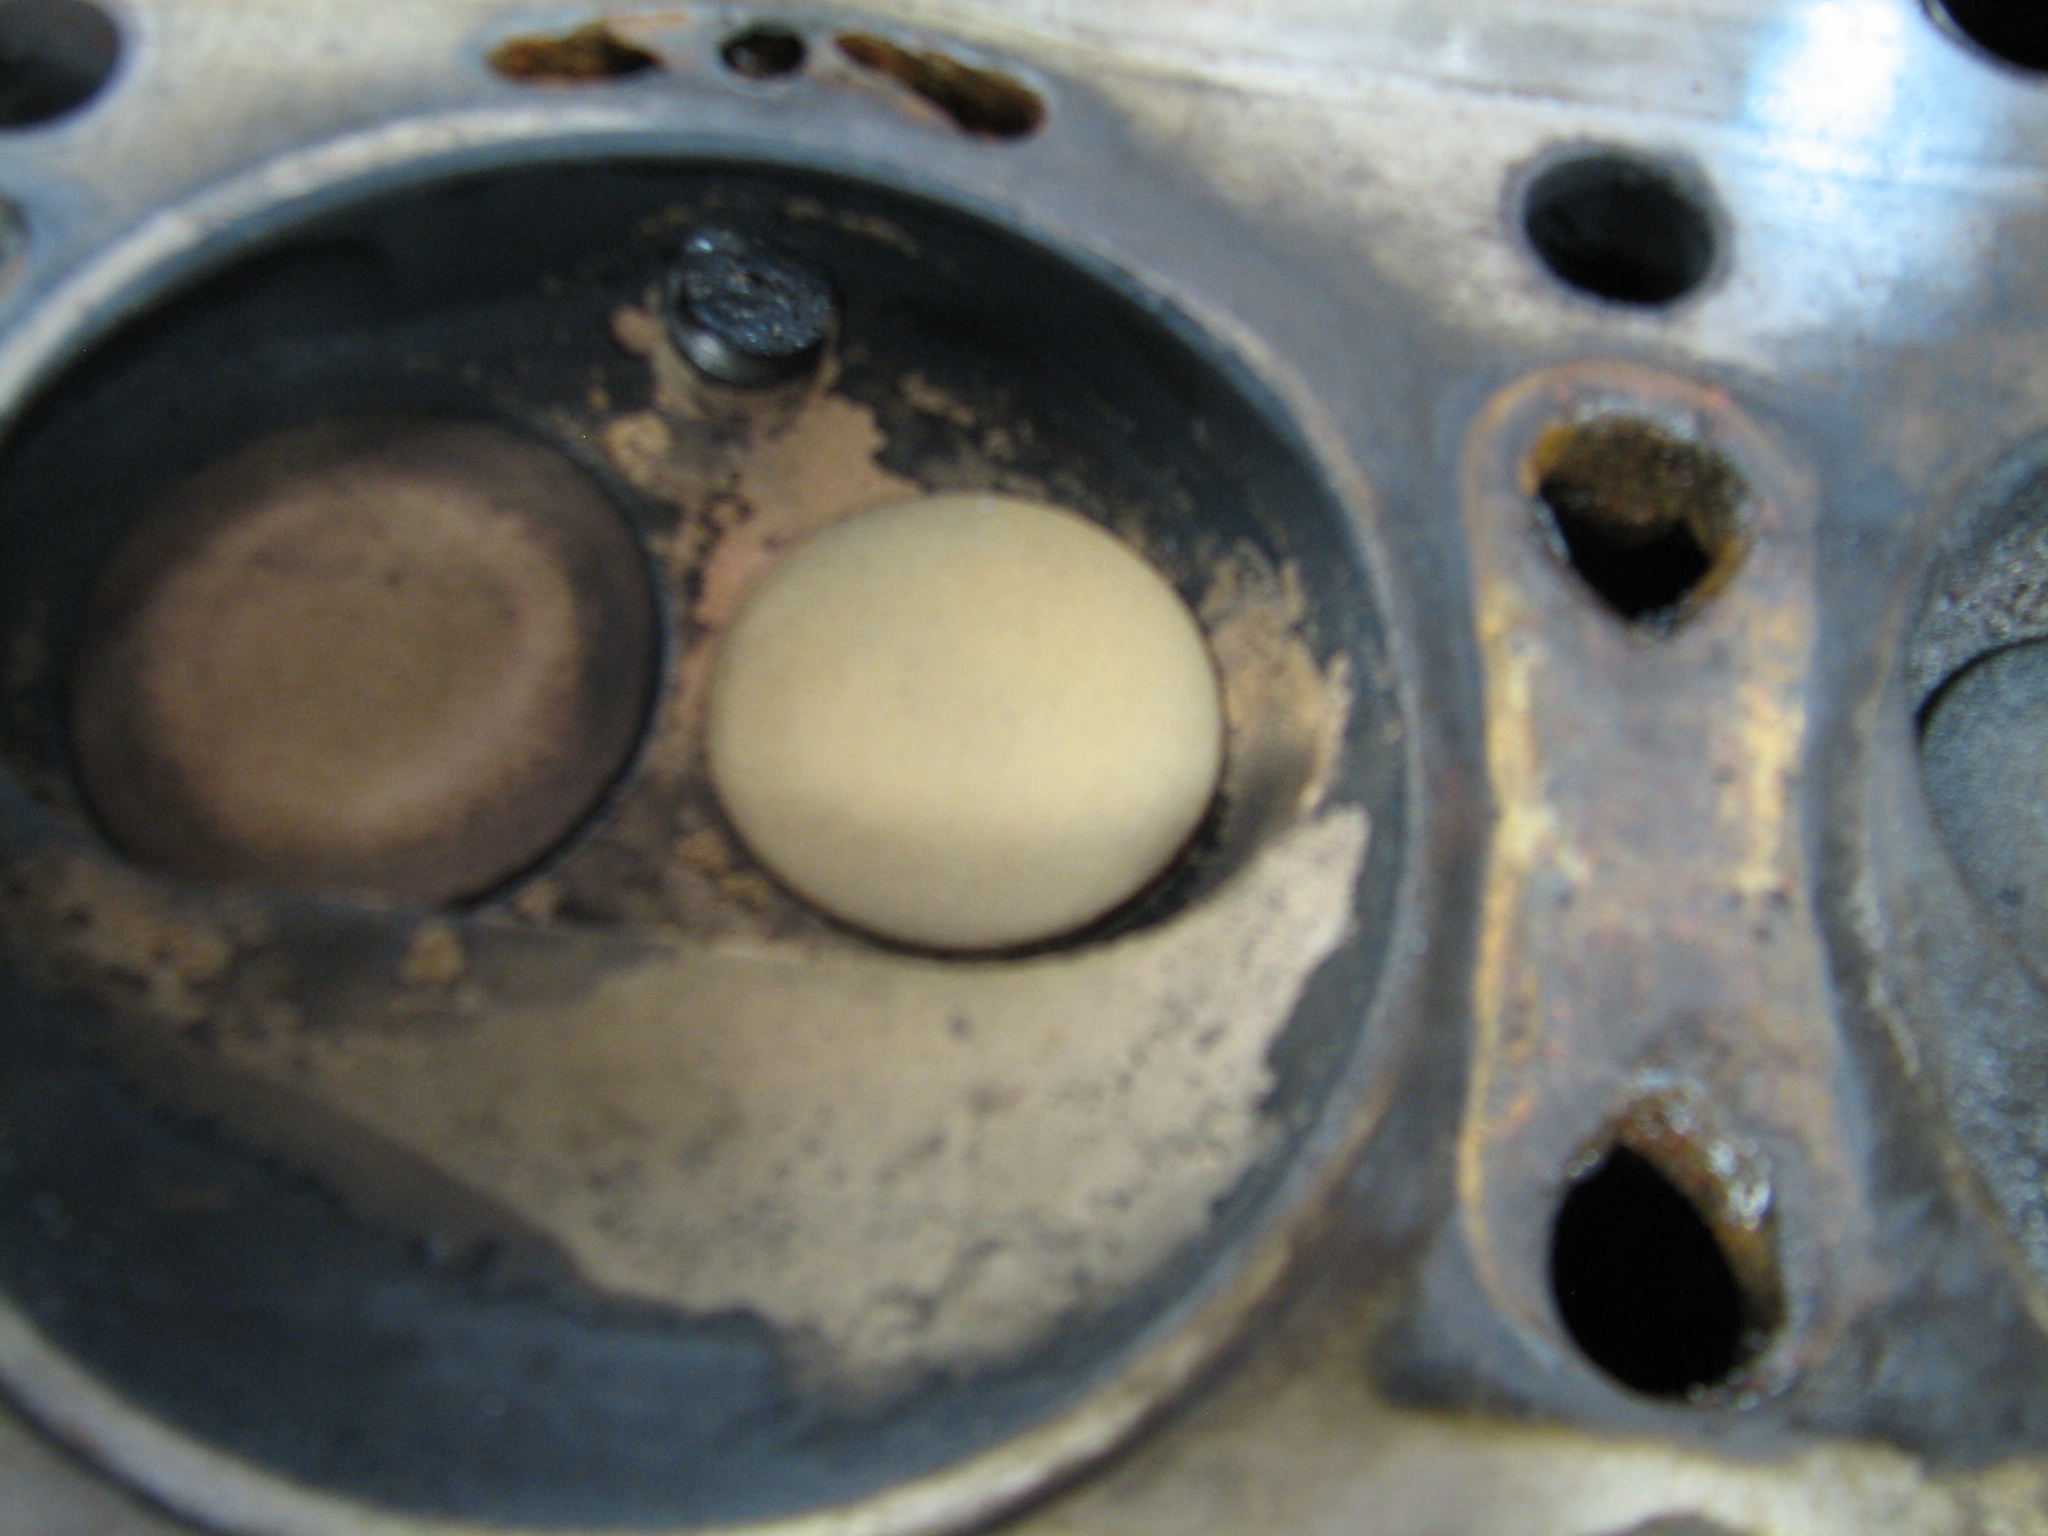
Note the position (in the cylinder head) of the valves on this cylinder relative to the next picture.
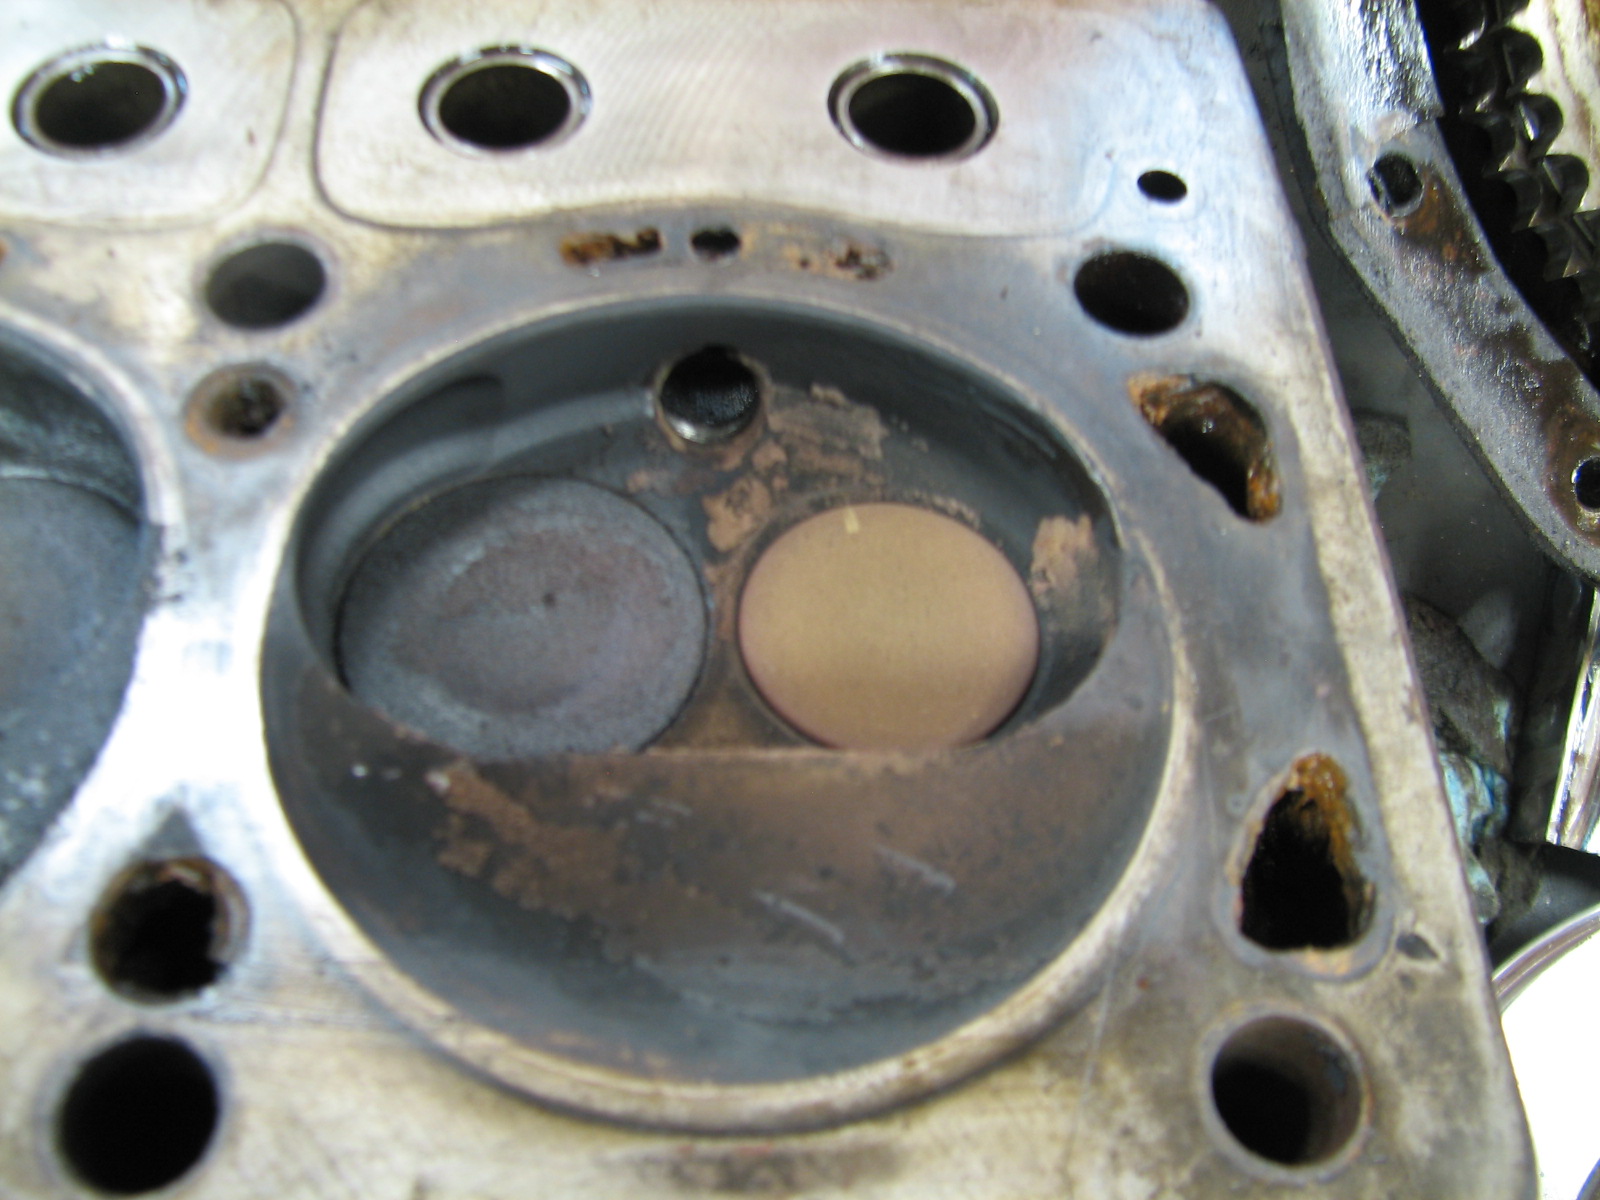
Notice how these valves sink farther into the head? That’s an illustration of valve recession.
Those are the highlights from this particular engine. Fairly informative, I must say. Next, we’ll order needed parts and have the machine work done.