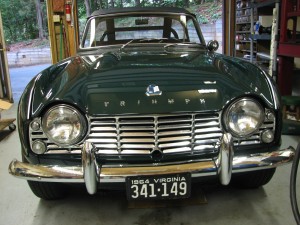
 This TR4 is from our own Dean Tetterton’s family. Dean became intrigued by the promise of precision fuel mixture control afforded by fuel injection, so he looked into the fuel injection kits for British cars offered by Rick Patton of Patton Machine. The improvements are in throttle reponse rather than horsepower, and I encourage you to read Patton’s explanation of the benefits here. Patton also makes mention of two completed TR6 conversions, one of whom reports regularly seeing over 30 mpg and another getting 28 mpg.
The necessary alterations include an electric fuel pump with 15 pounds of pressure, a fuel return line back to the gas tank, and four sensors. The sensors are a water temperature sensor, a throttle position sensor, a manifold air pressure sensor, and an O2 sensor in the exhaust. These sensors relay information to an E.C.U. mounted in the passenger compartment which controls ignition and fuel delivery. Let’s take a tour to see what the new parts look like in place. Double click on any of the photos to make them larger.
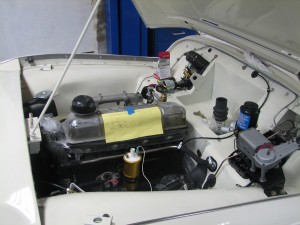
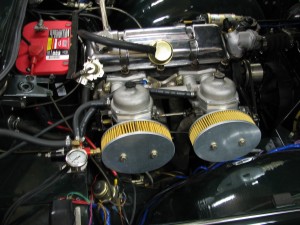 Above is the engine bay after the complete installation. The adapters are the billet pieces underneath the carb lids. The injectors are standard GM parts in plentiful supply. The fuel pressure regulator is also visible just to the left of the left side air cleaner.
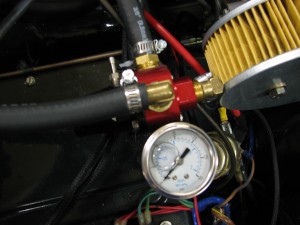 A closer shot of the fuel pressure regulator.
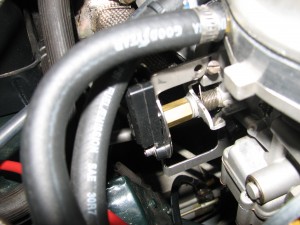 Above is a picture of the throttle position sensor, which is the black plastic piece in the center of the photo underneath the two hoses.
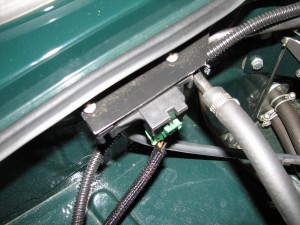 This picture shows the Manifold Air Pressure sensor mounted on the firewall. It’s connected to a vacuum line that runs to the manifold.
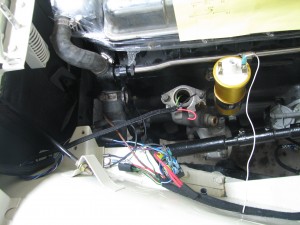
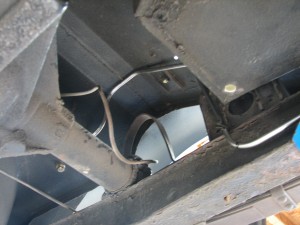
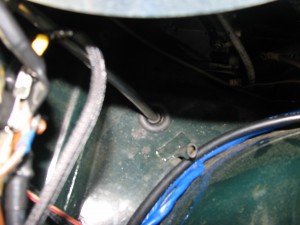 Above, you can see the required new fuel return line exiting the engine bay to run down along the passenger’s side frame rail and return to the fuel tank.
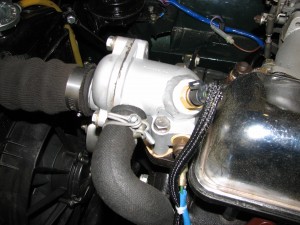 The water temperature sensor screws into a bung welded into the thermostat housing for the TR4. TR6 conversions do not require a new bung, as they have an easier location to install the water temperature sensor.
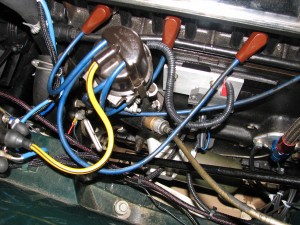 The distributor is now controlled by the E.C.U. mounted in the passenger compartment.
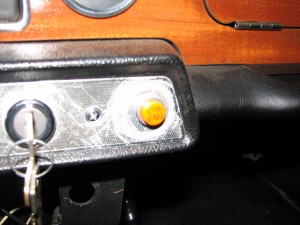 The Check Engine Light mounted in place of the choke knob. Seriously, it’s real. Once the parts are in place, custom tuning is available and included in the kit price. Owners may drive their car with a laptop hooked up to the E.C.U. to collect data and then send the recorded files to Affordable Fuel Injection, who looks at everything and sends back refined files fine-tuned to your application.
The result is a well-controlled ratio of air to fuel at every rpm. In other words, your old British car responds to the throttle as precisely as all the modern cars you drive. Indeed, if all you know are modern cars, you may not appreciate the shortcomings of some carburetor systems. Dean reports the standard response from those who drive his TR4 is, “Wow.”
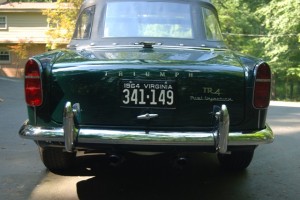 Rear shot of the rare 1964 Triumph TR4 Fuel Injected model. Questions? Shoot us an e-mail or call. We love this stuff.
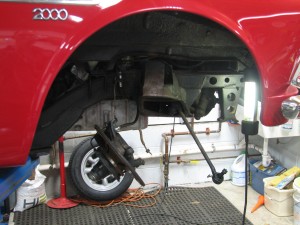
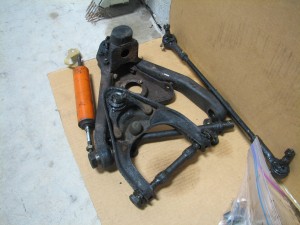
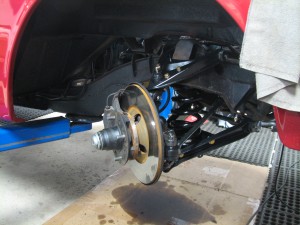 The shocks are not installed yet, but the rest of the front suspension has been sandblasted, painted, and re-installed as it should be. Chip also disassembled, blasted, and painted the rear suspension and changed the existing bump stops out for a more appropriate size. Coupled with the shock adjustments, the ride will be so much more compliant.
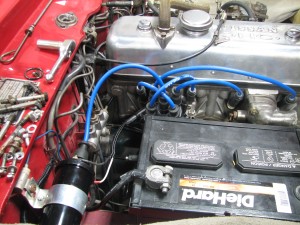 Here’s a look at the nice coil and plug wires, among other things. The new coil is able to reliably handle 12 volts, rather than reducing 12 volts to around 8 like the old one was doing.
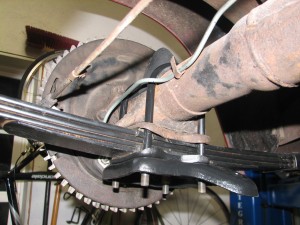 Cleaned up rear shackle and new bump stop. We’ll keep the site up to date as we continue the progress.
