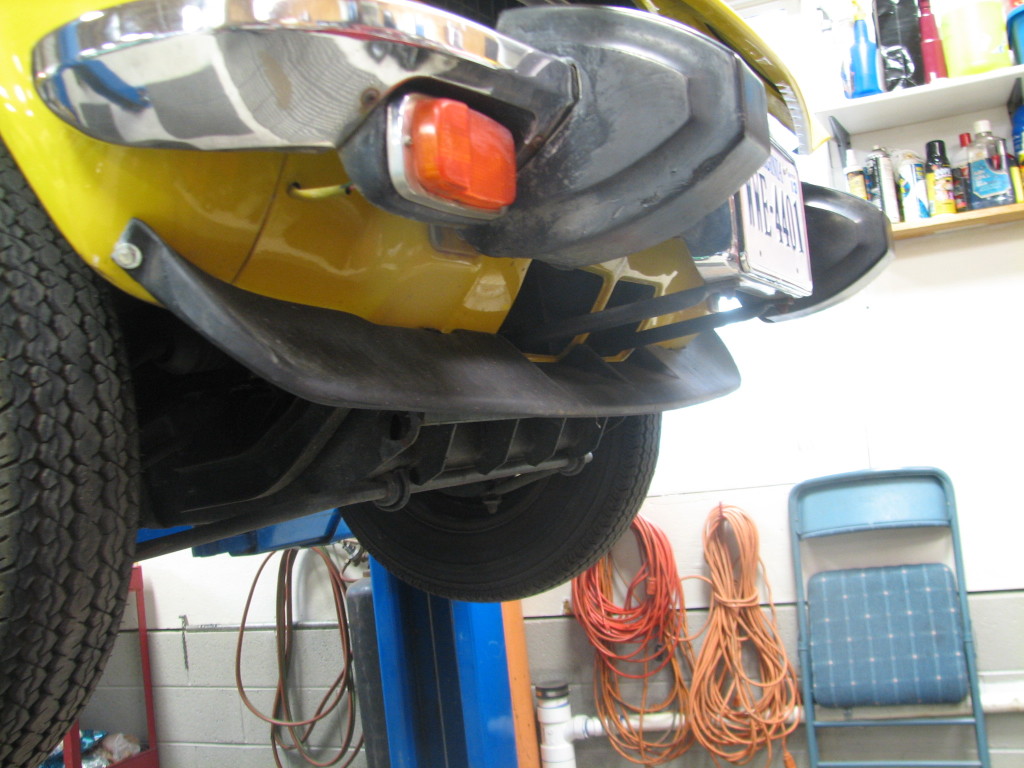
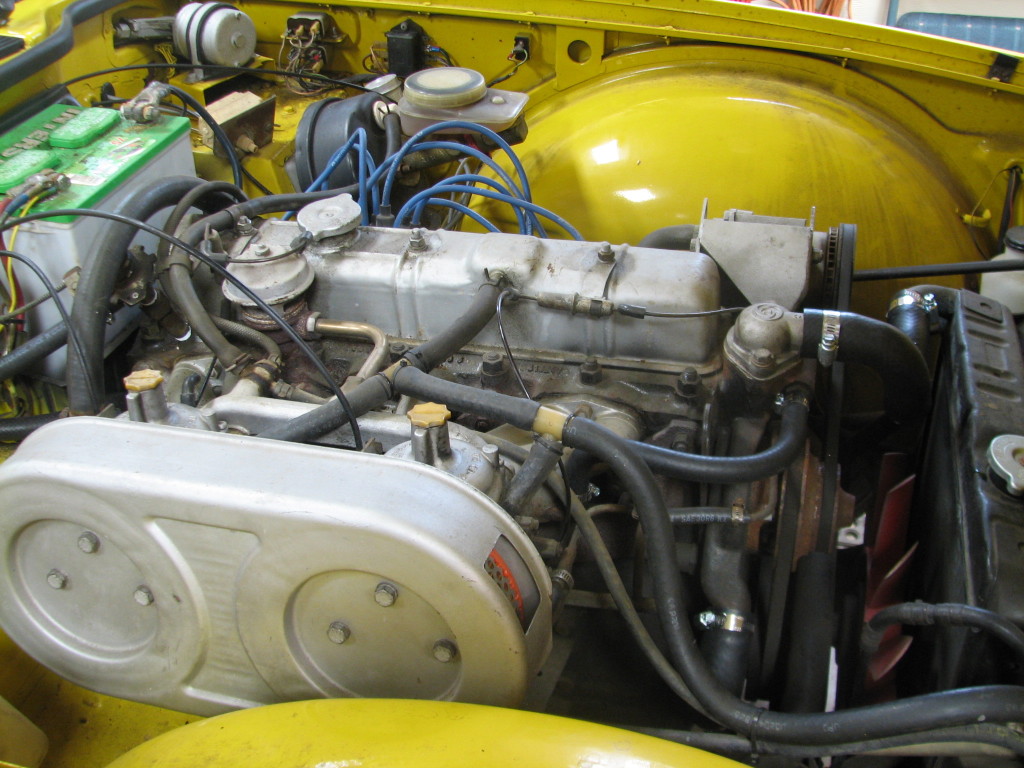
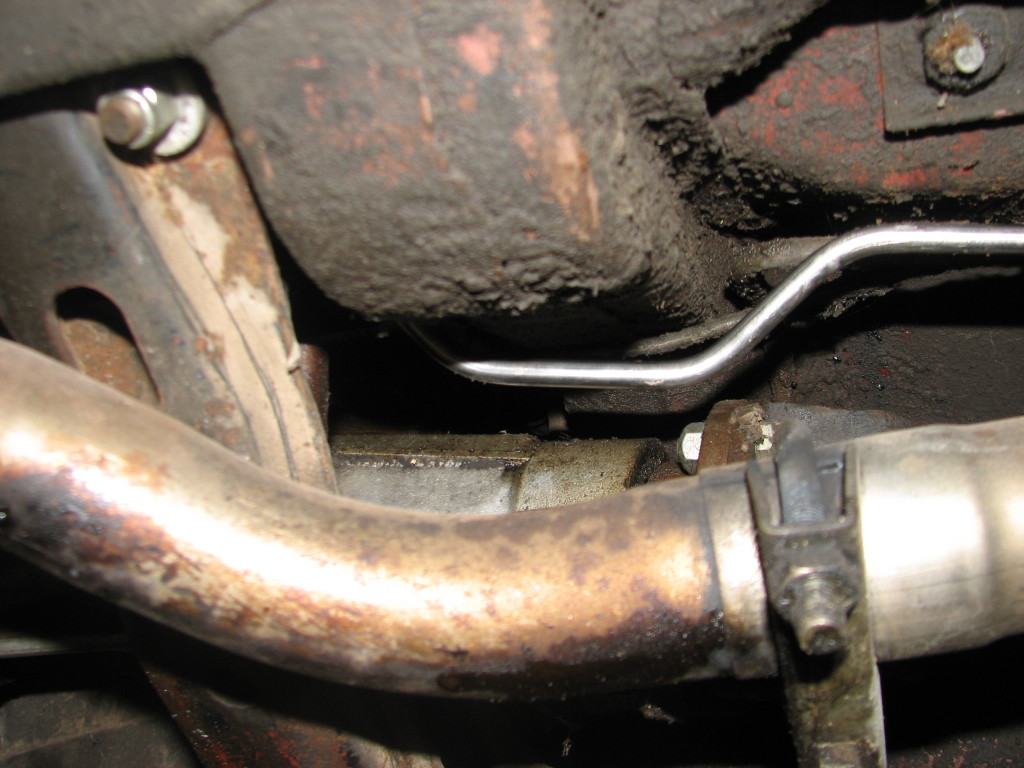
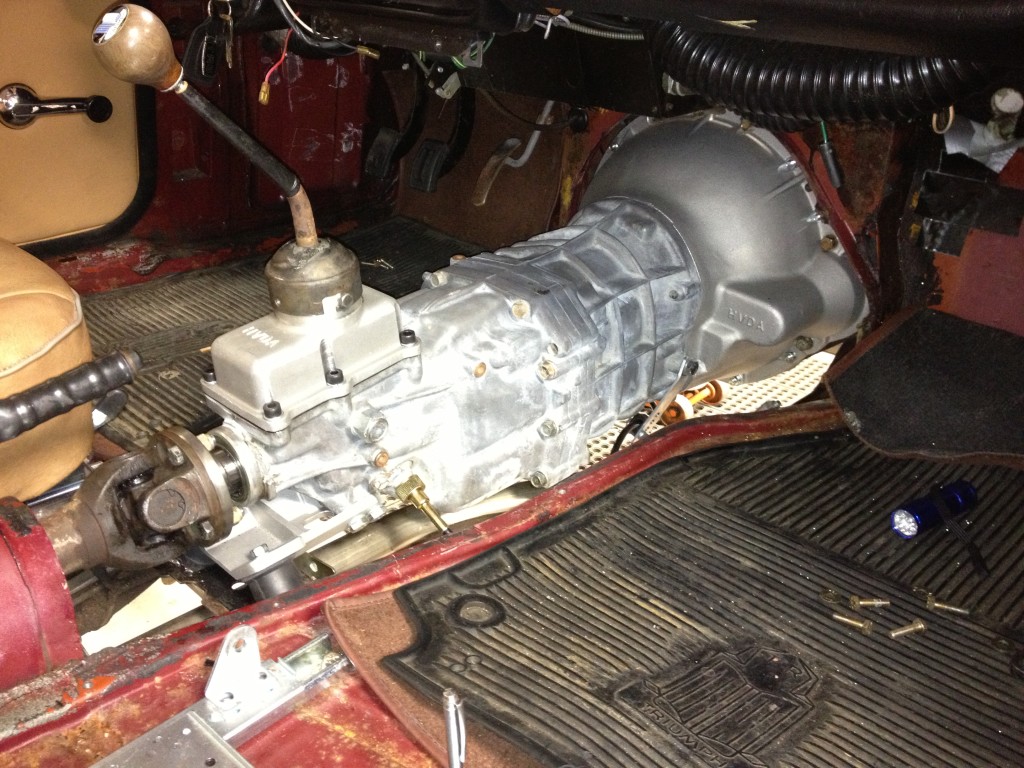
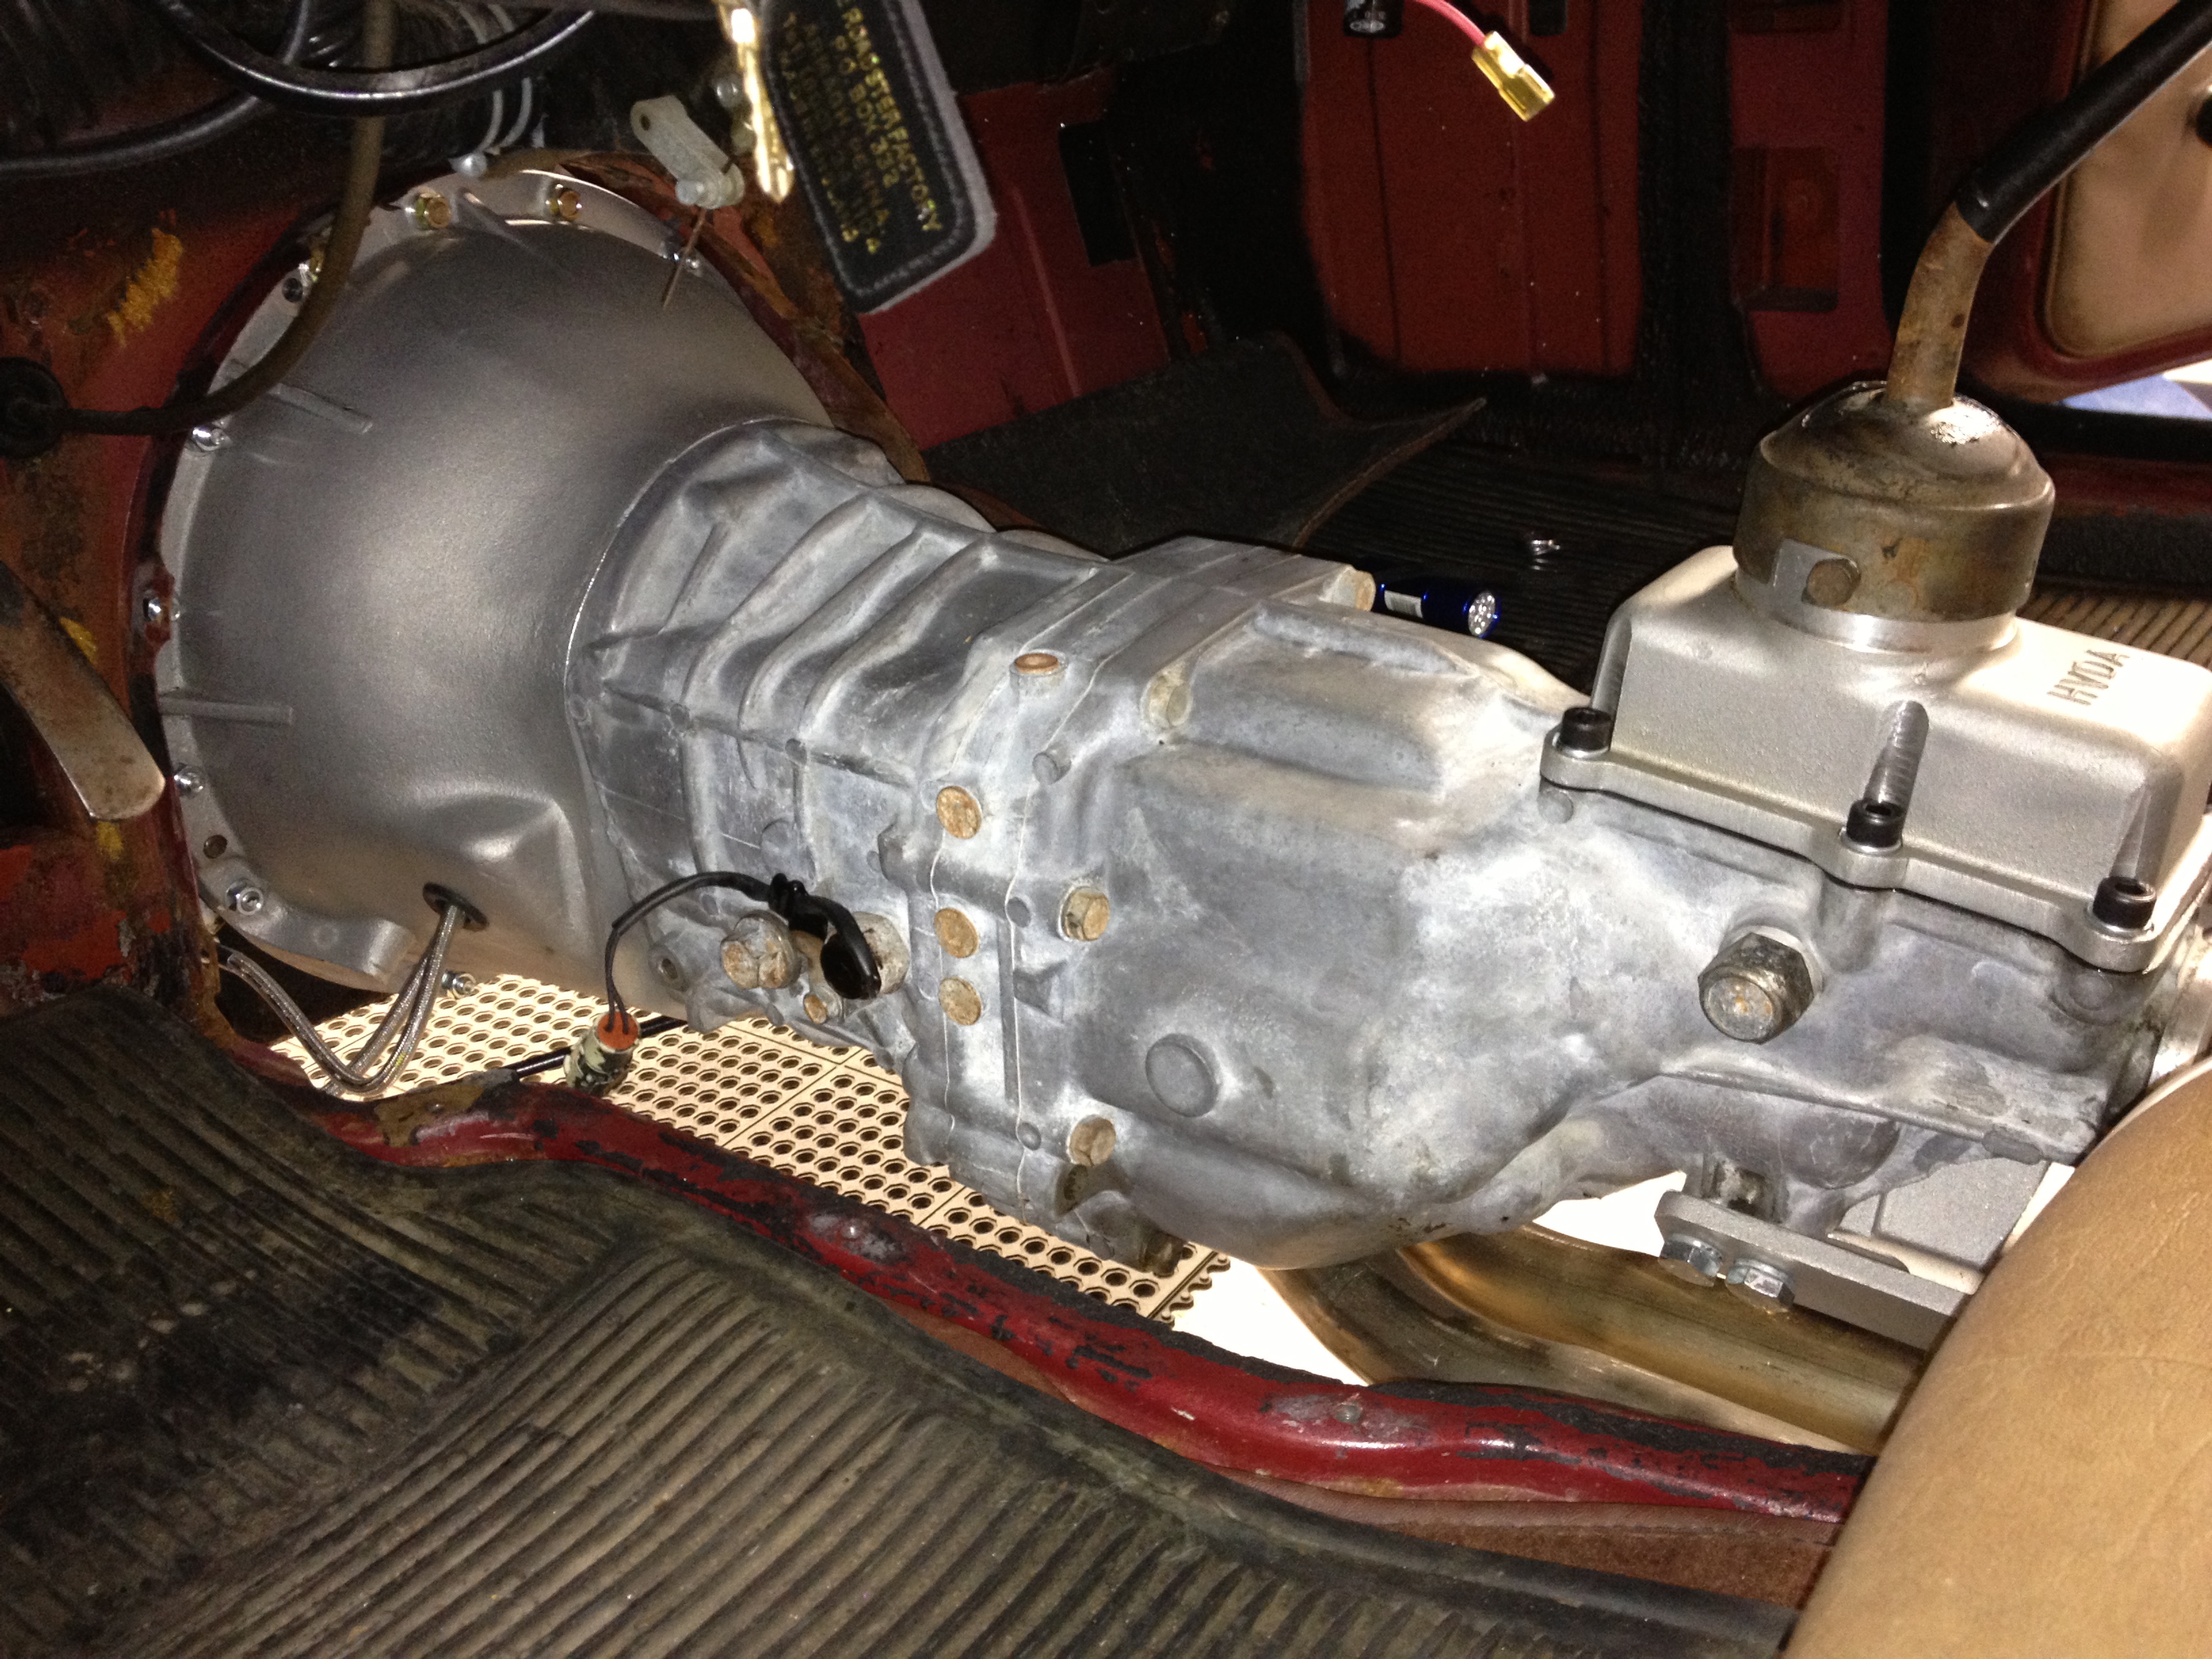
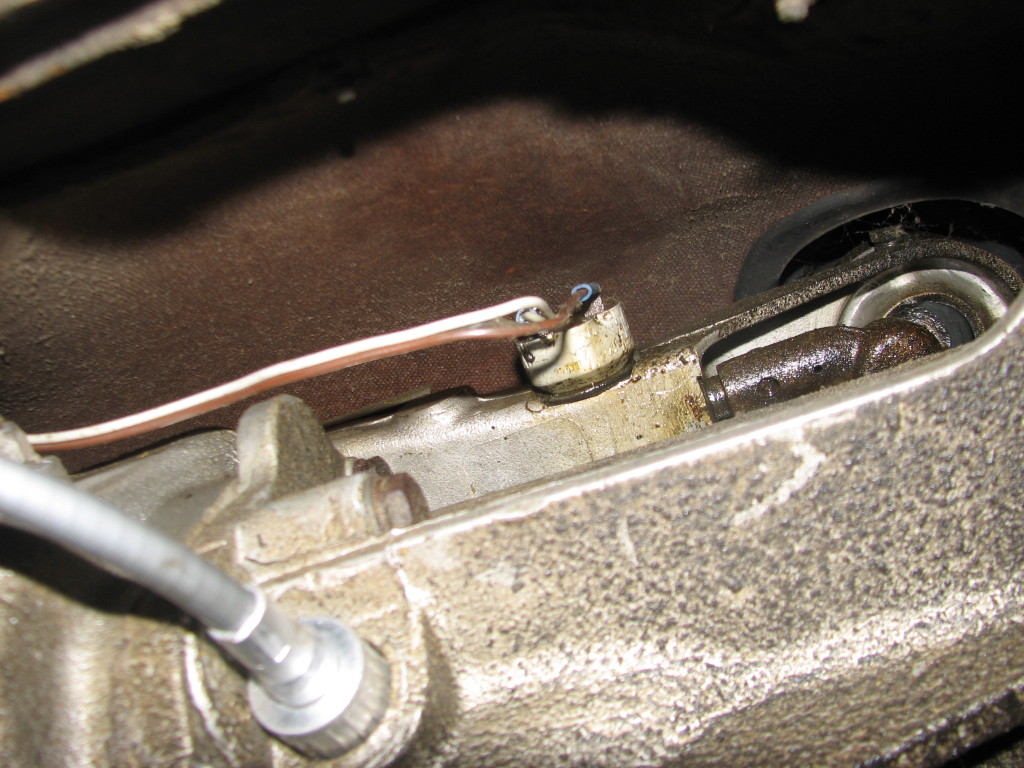
Odds and Ends continue on the Yellow TR6. It’s almost ready to go. Someone had wired the reverse lights to the overdrive switch, so that if you wanted the reverse lights to come on, you had to flip the overdrive switch. Odd. Chip put the wiring back as it was supposed to be and below is a shot of the switch on the transmission.
Green TR6 Maintenance
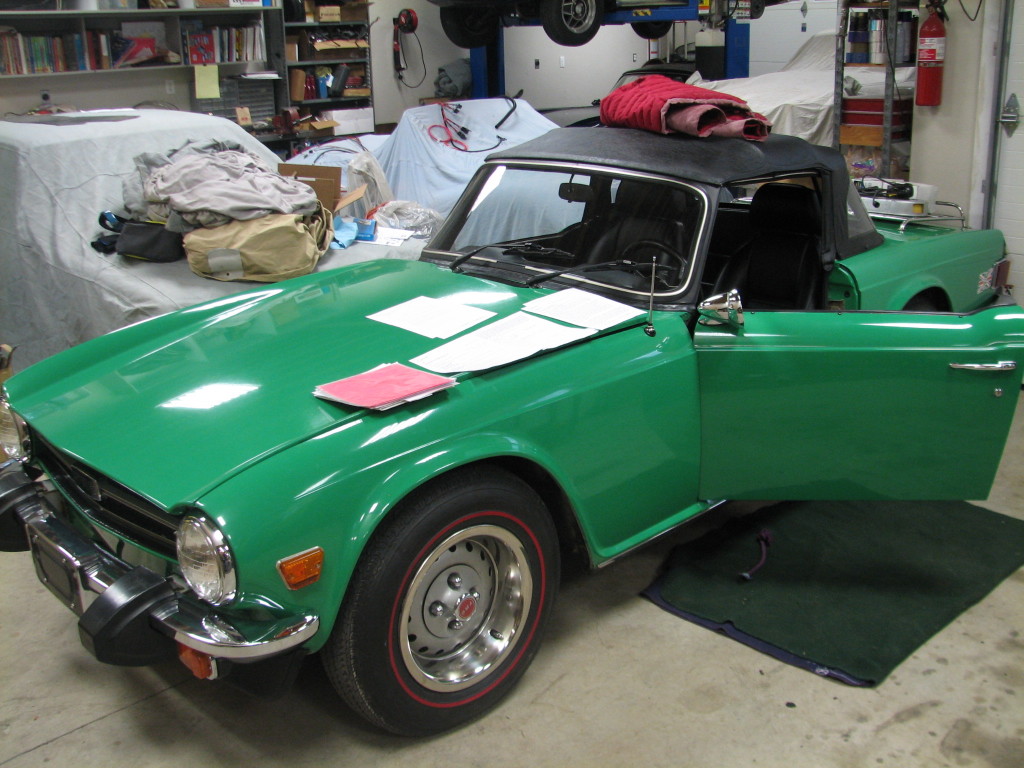
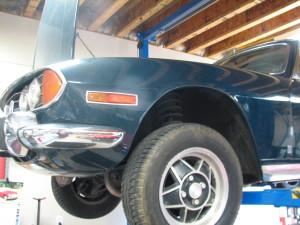
A couple of months ago, I accusingly told Chip we needed to rename the place “Red TR4A Motorsports”. I guess now we should rename it “TR6 Motorsports”, because the shop and parking lot are full of ’em. These things come in cycles, I suppose.
This fine TR6 comes to us in a green color good for an extra 2 mph in top speed or 1 mpg in fuel mileage depending on your driving or drinking (separately) habits. Fine as it is, it occasionally needs attention. Here at UK Motorsports, we pay attention. According to the owner, the troubles are:
–stumbles a bit below 2000 rpms (ignition, carburetion, both?)
–check valve clearances, cylinder pressures, head torque
–oil and filter
–vibration in the dash
Chip will also give it the once over to check for other common TR6 maladies and make recommendations from there. This one is in very nice shape already… (see below)
The Dead Mouse Yellow TR6 Update
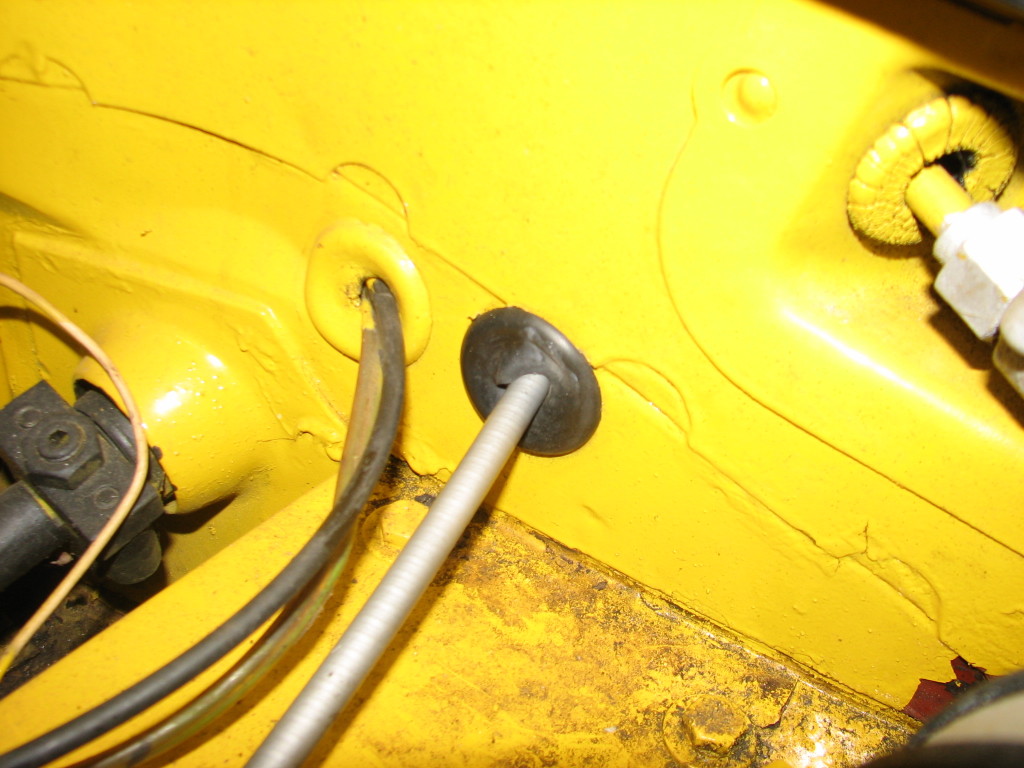
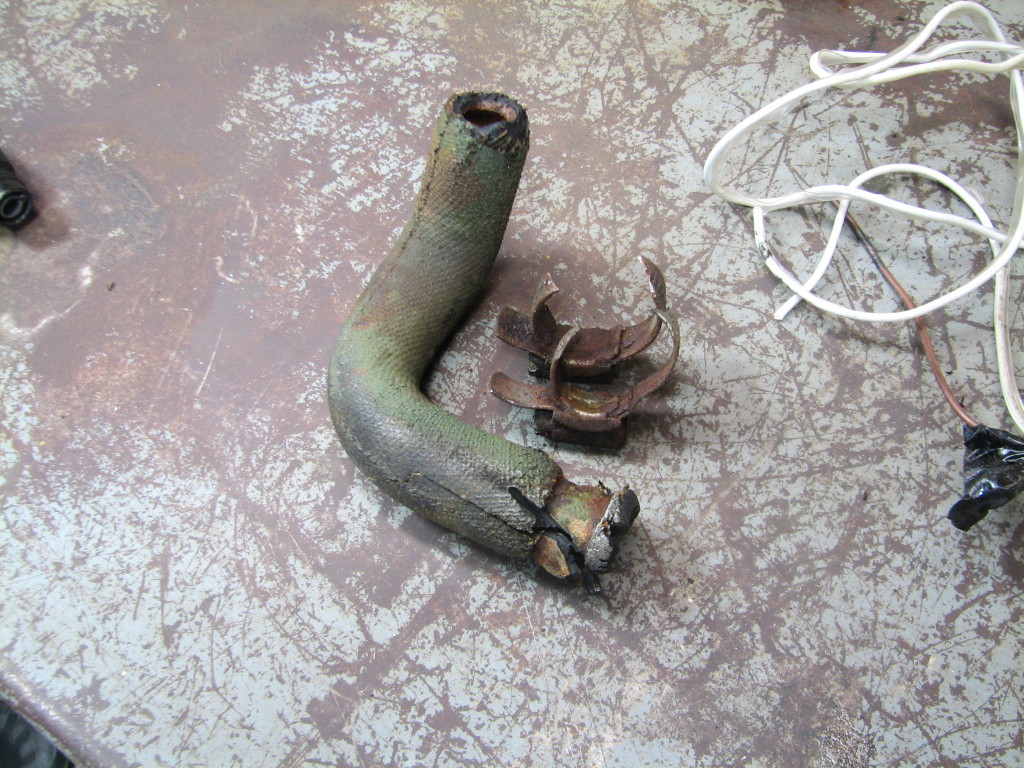
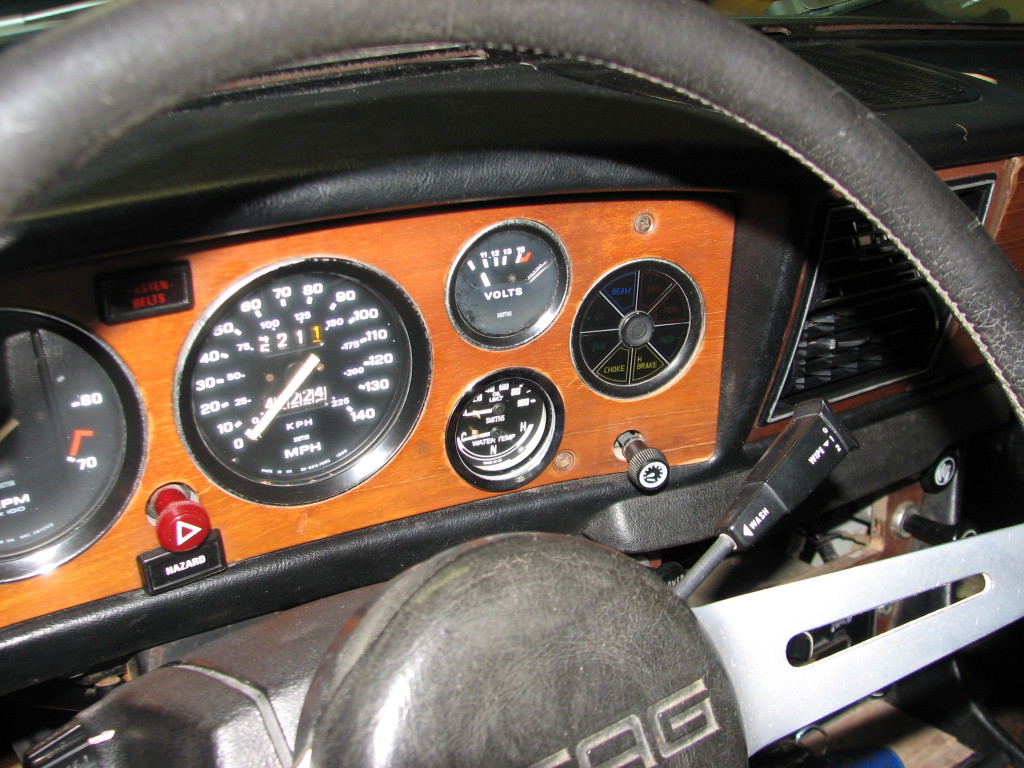
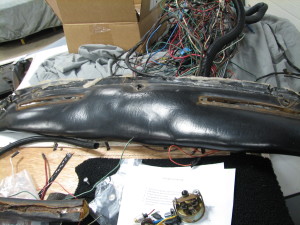
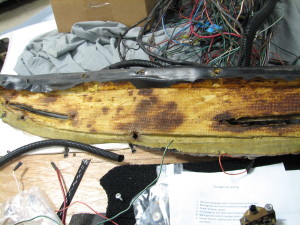
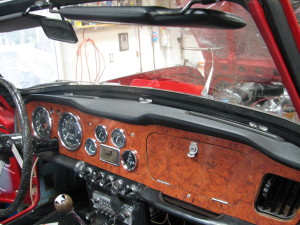
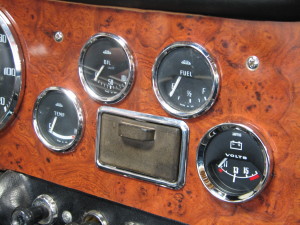
After removing the dead mouse (see this post), Chip started in on the list of repair items. The brake lights, turns signals, and fuel and oil pressure guages do not work (or did not work, Chip’s already gotten to the bottom of most of this). The owner also had a wood dash he had already purchased that he wanted us to install, so Chip has done that. The top dash pad and lower kick pads have been replaced as well. We’re (by we, I mean Chip while I watch and grunt like I understand what he’s doing) also replacing the bonnet release cable. Let’s take a look…

See the shiny metal piece? It was a piece someone tried to use in the past, but it really didn’t fit. Chip replaced it with the correct part.
The windshield is back on since I’ve been there, so I’ll have updated pictures soon.
Fuel Injected Triumph Stag Update
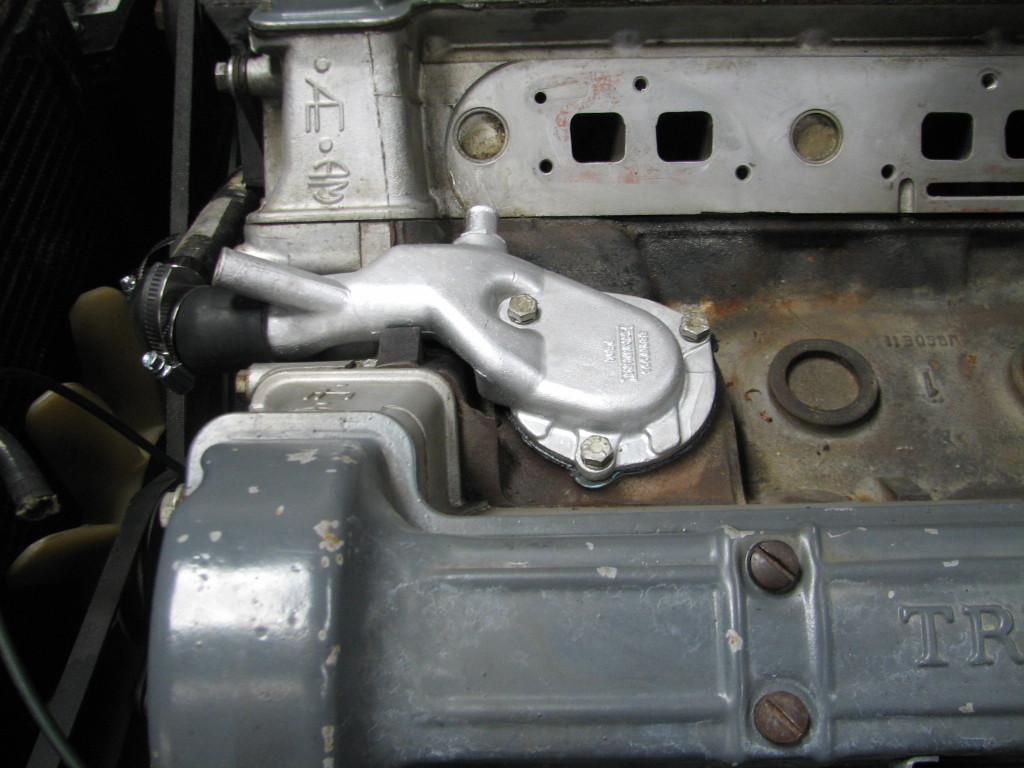
Let’s take a look at the progress on the Stag. If you’re just tuning in, we’re installing a Throttle Body Injection Kit from Patton Machine. Dean has already dealt with a malfunctioning window switch and a rusted windshield wiper motor (see this post). Next, the water pump was leaking, which necessitates removing the intake manifold. (Click any picture to expand.)
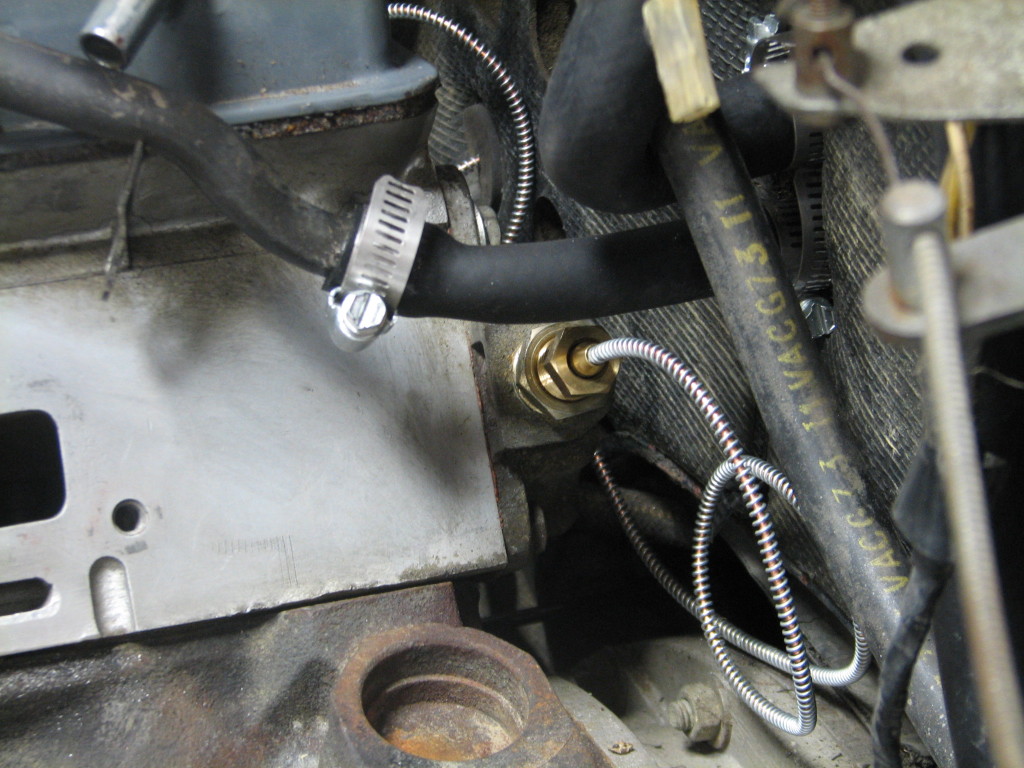
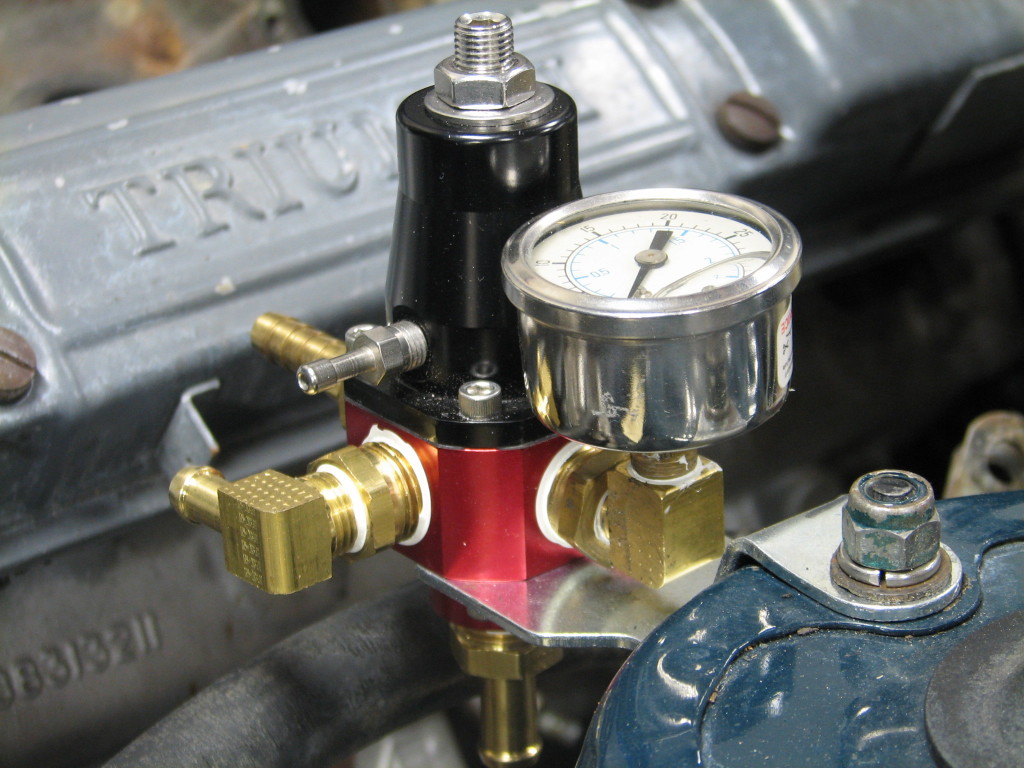
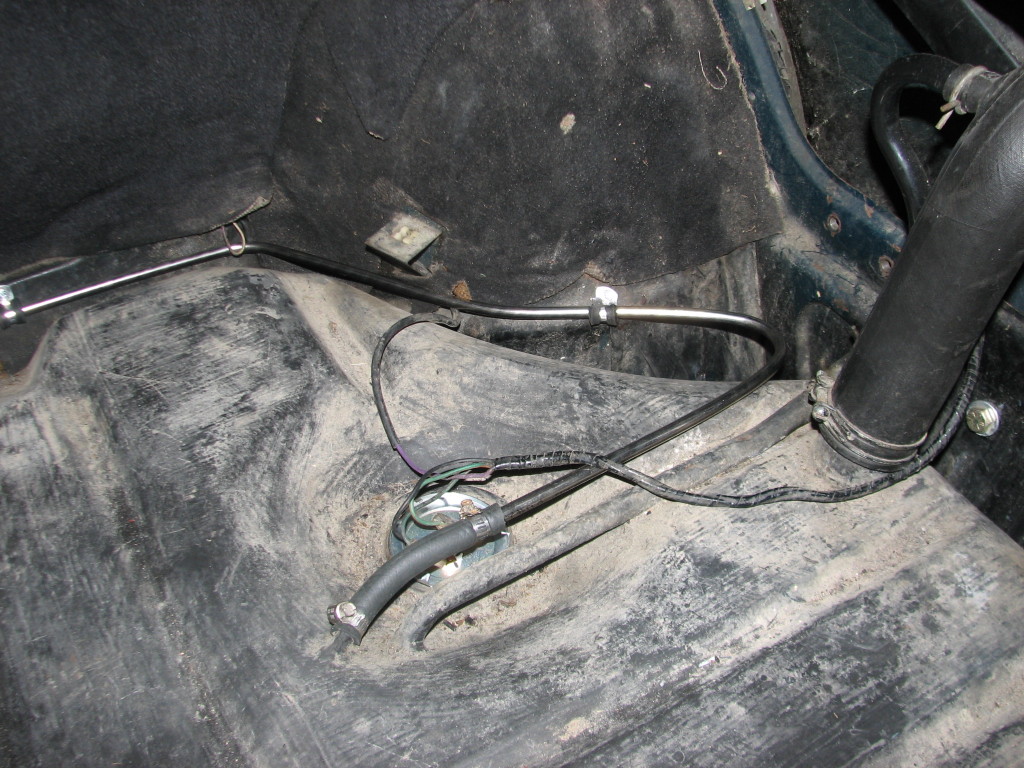
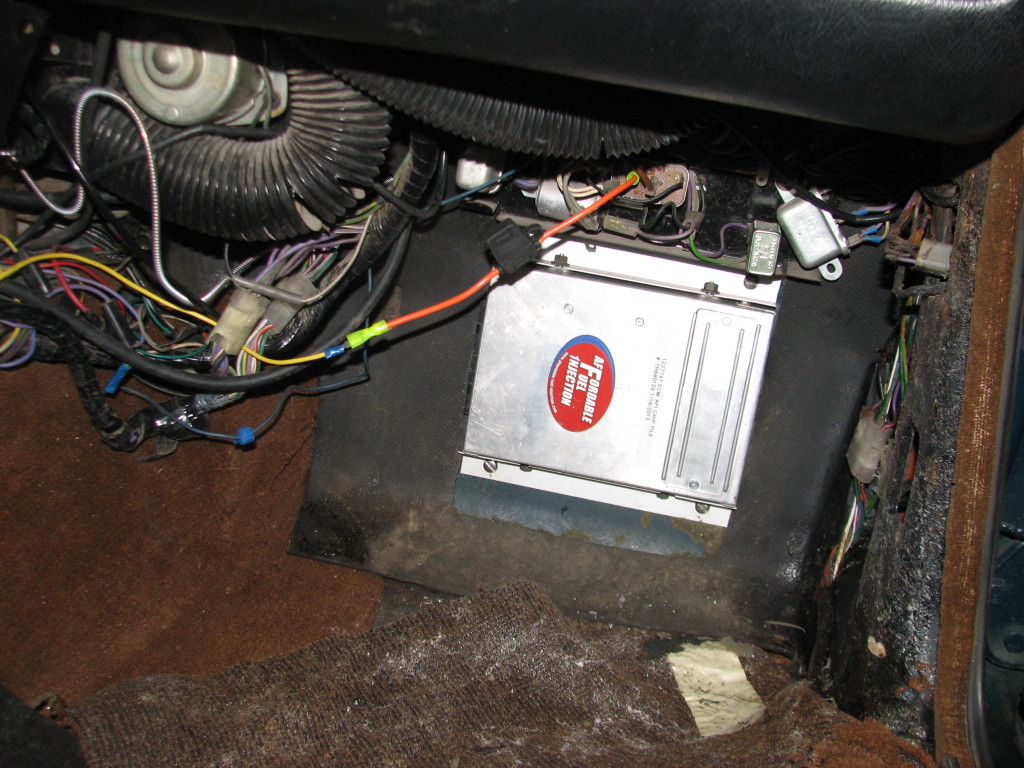
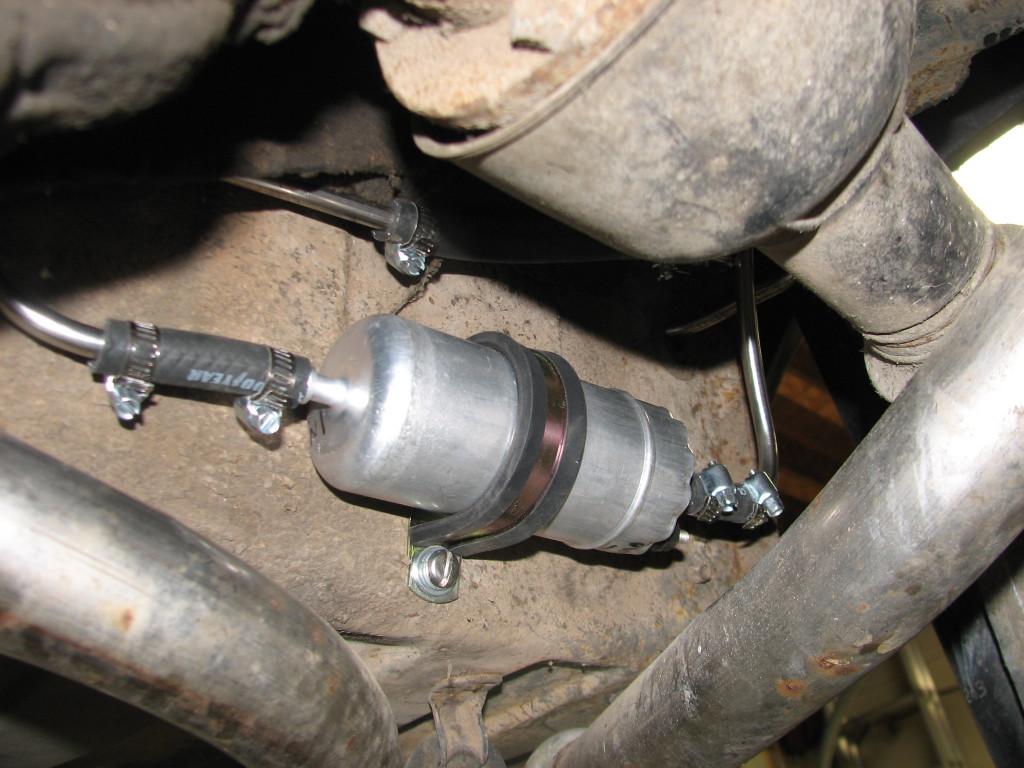
Once the water pump was sorted, we began installing the parts for the fuel injection conversion. The photo below is a shot of one of the sensors. This particular sensor measures coolant temperature. Additional photos below illustrate the Fuel Pressure Regulator, the new fuel line to the engine, the new return line back to the tank, and the fuel pump mounted underneath the car. Scroll down to take a look and read more details.
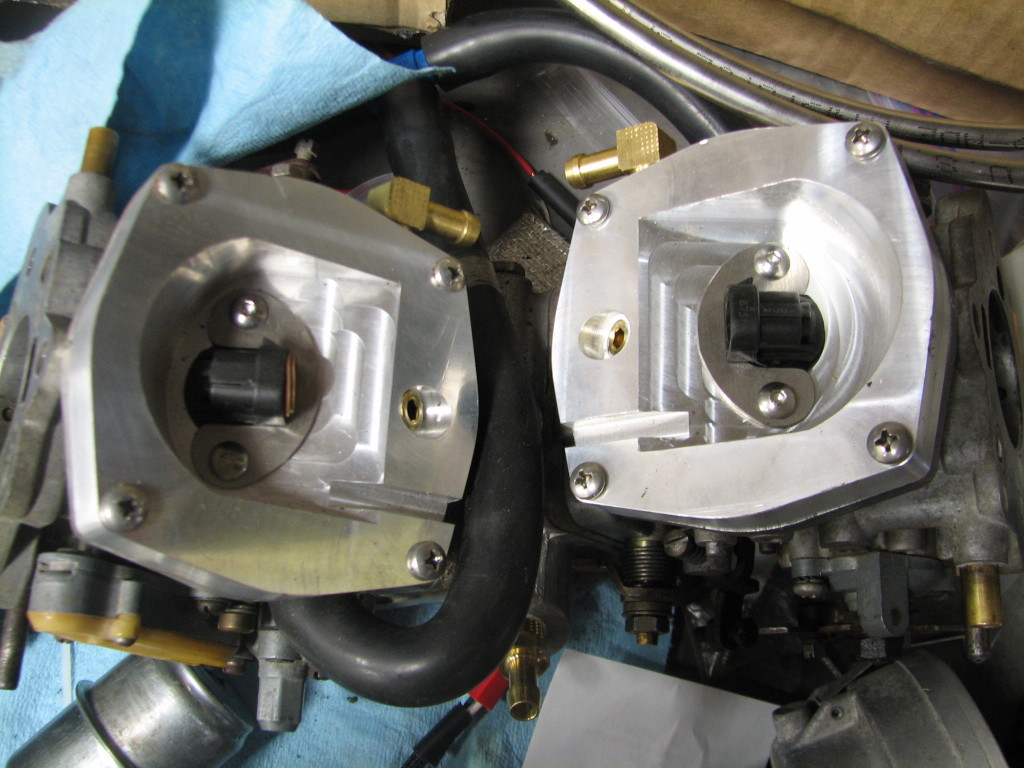
Here are the adapter plates (with injectors) attached to the carbs. In this picture they are on the workbench.
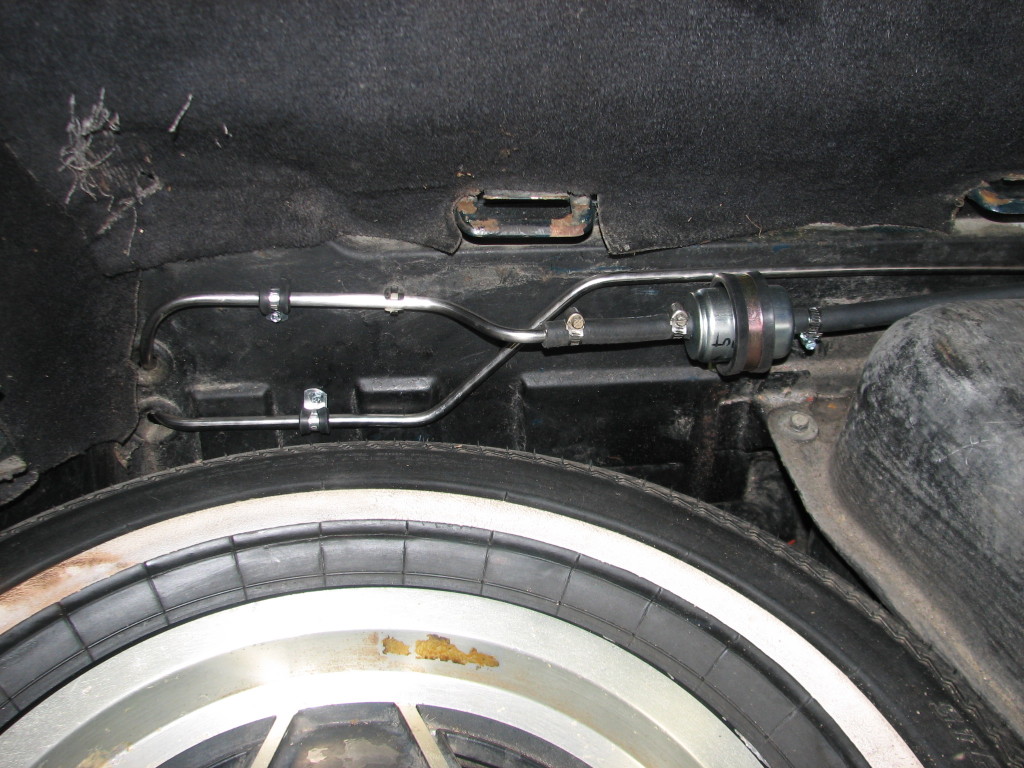
We’re in the trunk for this picture. Both of these lines are new and bent by Dean. The line with the filter on it is the outbound line and the other line is the return line back to the tank.
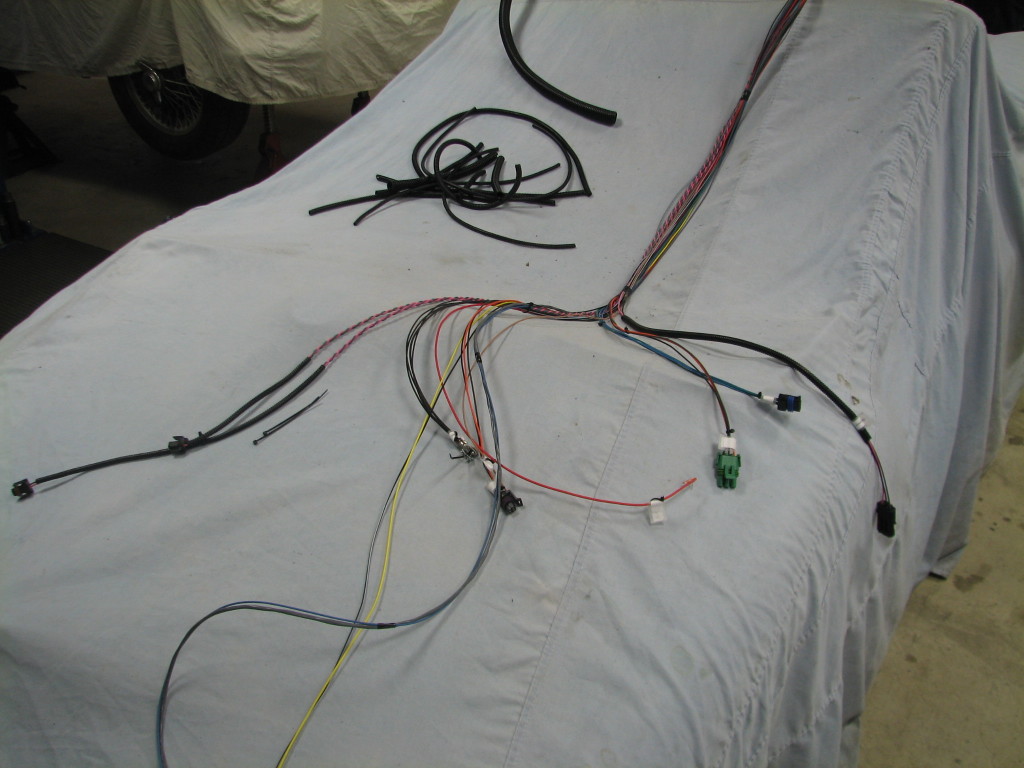
Here is the wiring harness that comes with the Fuel Injection Kit. We are going to modify the harness so that it fits better in the car. It’s a bit lengthy as it comes and we think we can make the installation a bit more tidy. Patton doesn’t do a Stag specific kit, so we’re adapting this one to work.
Triumph TR6 With Toyota Five Speed Conversion
Corvette To The Paint Shop
Triumph TR6 Pest Control
In Need of a Four Wheel Alignment?
One of the services we did on the Boxster, and we can do for you, was a four wheel alignment. Uk Motorsports has an alignment machine, so if your car’s alignment is wonky, we can fix you right up. Just head on over to our contact page and give us a shout.
Another Red Triumph TR4A In For Sorting
I’m not sure I’ve seen a TR4A in the last six months that wasn’t red. This car needed a new wiring harness, dash pad, and various odds and ends. One of those odds and ends is that the seats were installed improperly (in the wrong position) so the seatbacks were rubbing against the top frame and causing wear. Another little detail is that the windshield was not adjusted when it was installed (the angle is slightly adjustable), so the windows didn’t fit flush with the windshield surround. Some pictures…
Throttle Body Fuel Injection Conversion on a Triumph Stag
We have here a Triumph Stag with its original Triumph engine. Stags have benefited greatly from the continued development undertaken by owners since Triumph went out of business. I dare say if you wanted to get a Stag and have it run dependably you could now do so. Personally, I like the Triumph For The Family Man, though I also confess I favor the Rover V8 conversion (gasp!), but I’m getting off topic.
Jobs 1 and 2 on this particular Stag are a window switch that blows breakers and windshield wipers that don’t move. Let’s discuss the window switch first. As Dean explained to me, rather than simply reverse the polarity at the window motor to accomplish the up versus down of the glass, British Leyland’s electrical wizards decided it was better to use the window switch to reverse polarity. That makes for a more complicated switch. This particular complicated switch was trying to both raise and lower the window at the same time whenever you pressed it for anything. Whoops.
On to the windshield wipers. Take a gander at the photo below of the wiper motor. Double click to blow it up if you need to.
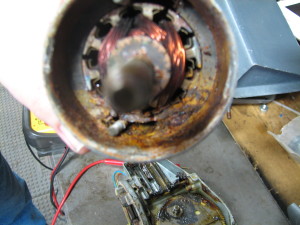
Rust has welded parts together that are not supposed to be joined together. We’ll be looking for a new wiper motor.
BUT NONE OF THAT IS AS INTERESTING AS FUEL INJECTION. Yes, the owner has decided he’d like to add fuel injection. So, we’ve ordered the parts from Patton Machine to install it. I will get some photos of the installation once it’s done so you can see how it looks, which will be fairly close to stock. This came about because he was discussing with Chip what he wanted from the car. I don’t know the exact quote, but something along the lines of “I just want to turn the key and drive it” was the thought. Fuel Injection seemed a good choice.
What are the benefits of this magical fuel injection? Horsepower? No. Rather than words, I’m going to ask you go to this page and watch the video of a cold start on a TR6. THAT is the benefit of fuel injection.
I am, admittedly, a biased fan. More info here.

