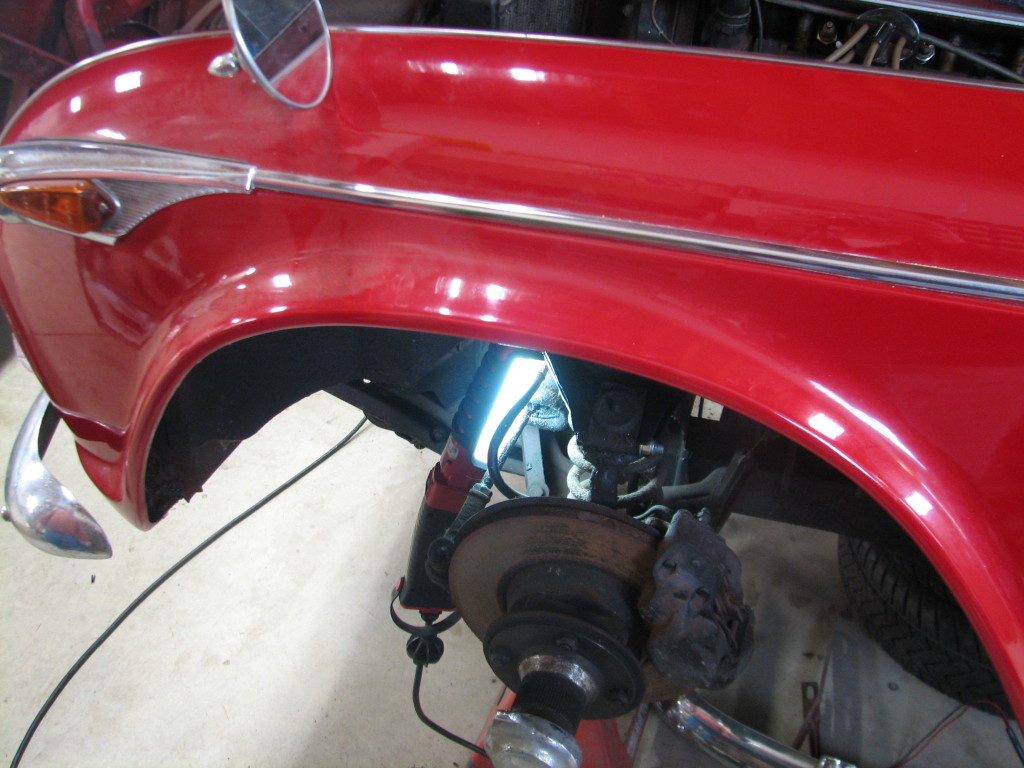
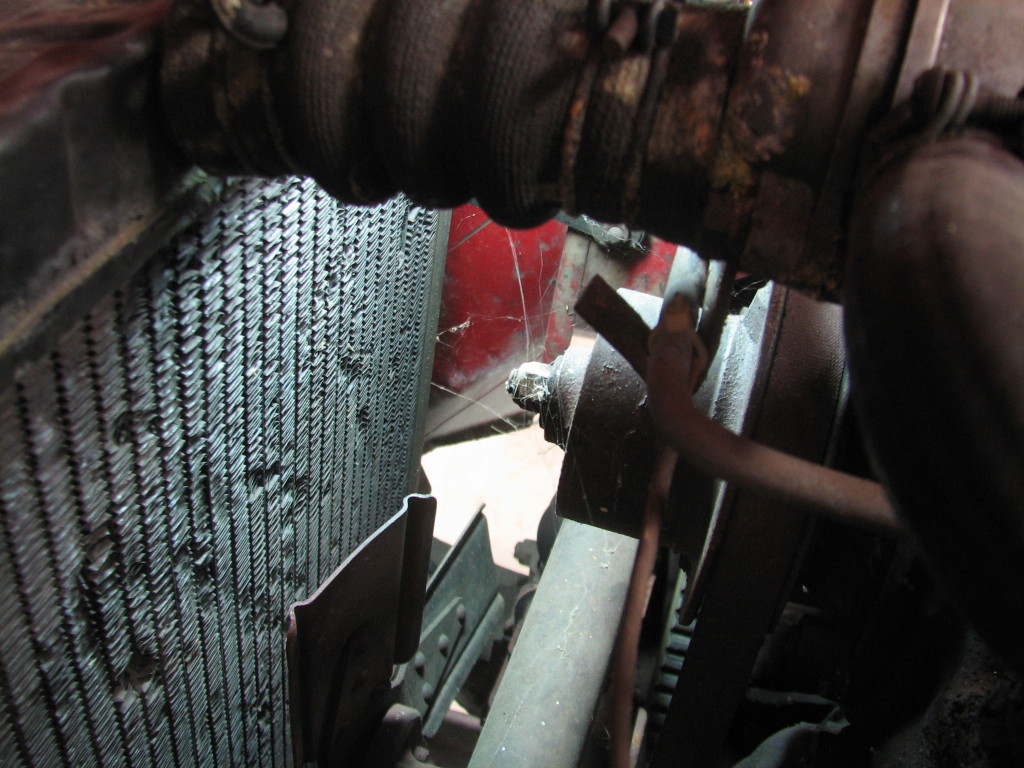
The fuel-injection portion of the program is nearly complete. We’ve driven some test loops to record data and sent the information to Affordable Fuel Injection so they can flash a refined chip. Such fine tuning is included in the purchase price of the kit. One thing we notice, however, is that the car is running hot, a condition unrelated to the fuel-injection and a common Stag malady. So, now the decision is whether to re-core the radiator or use a new one, a decision we’ll discuss with the owner.
Triumph Spitfire Rear End Vibration
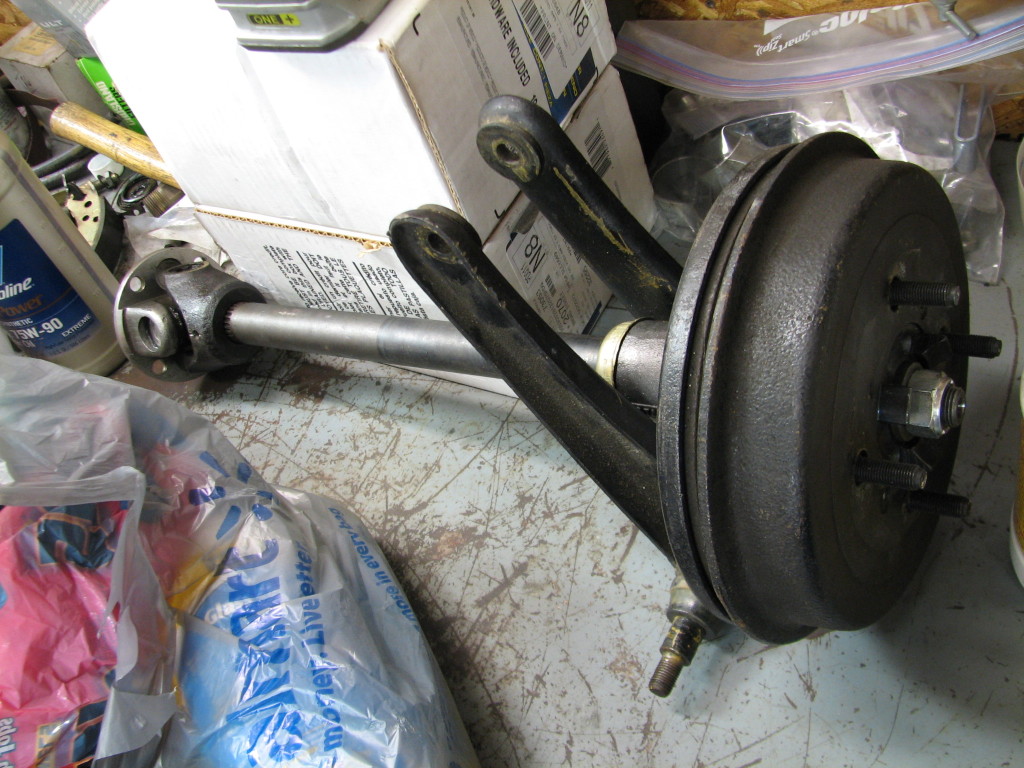
We’ve been looking at a Spitfire that has a vibration coming from the rear end. I asked Dean if the vibration was standard equipment. He didn’t answer so I guess not. Here is the car.
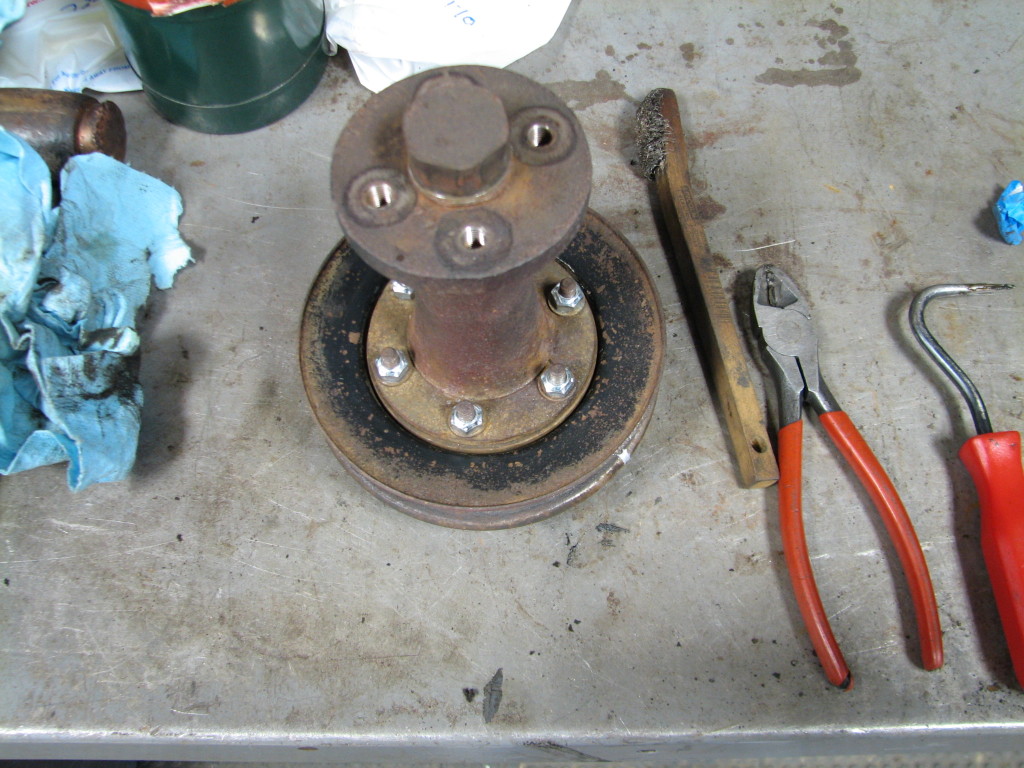
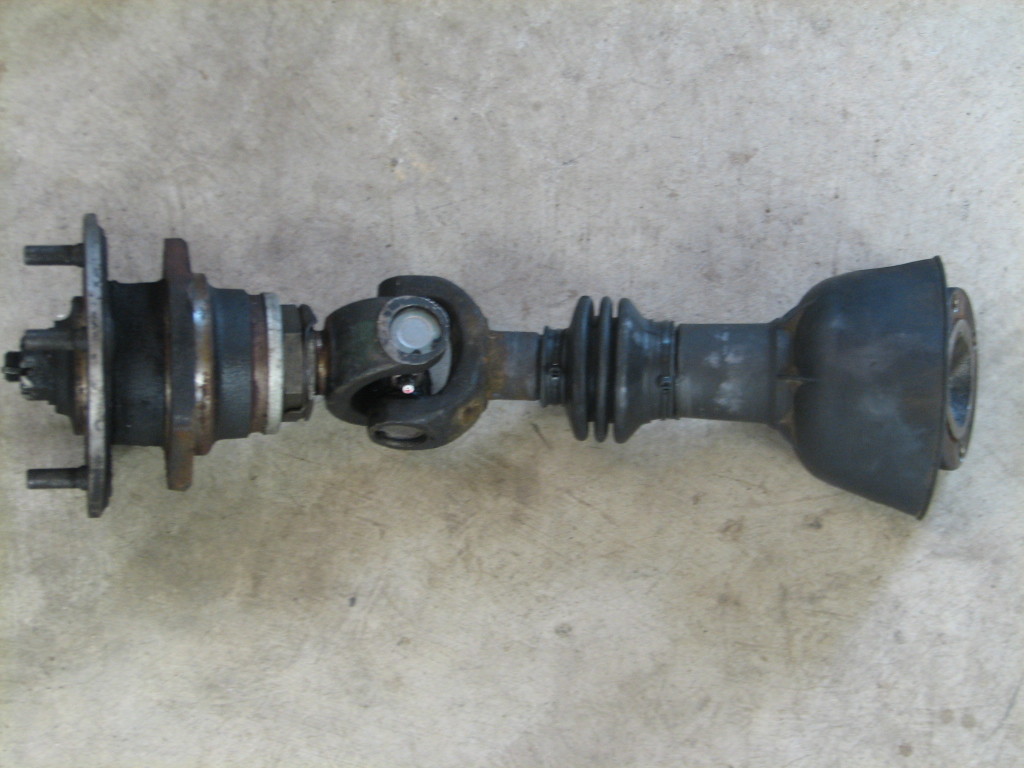
So, what was the problem? Well, there is a flange on the halfshaft. That flange was bent. Bent flange leads to vibration. New halfshaft with round flange = vibration goes away. Experience sure is handy.
Is your Spitfire shaking and baking? Call UK Motorsports.
Triumph Shock Conversion Update – Green TR6
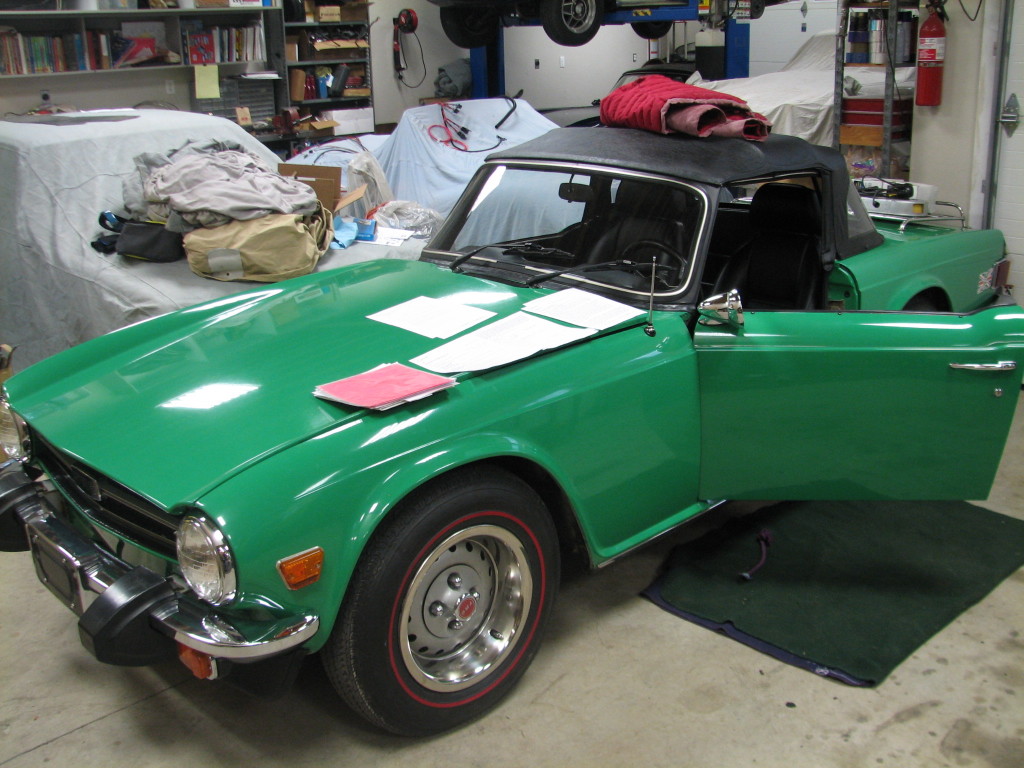
The green TR6 is getting ready to head out the door. Let’s do a partial recap before it goes out.
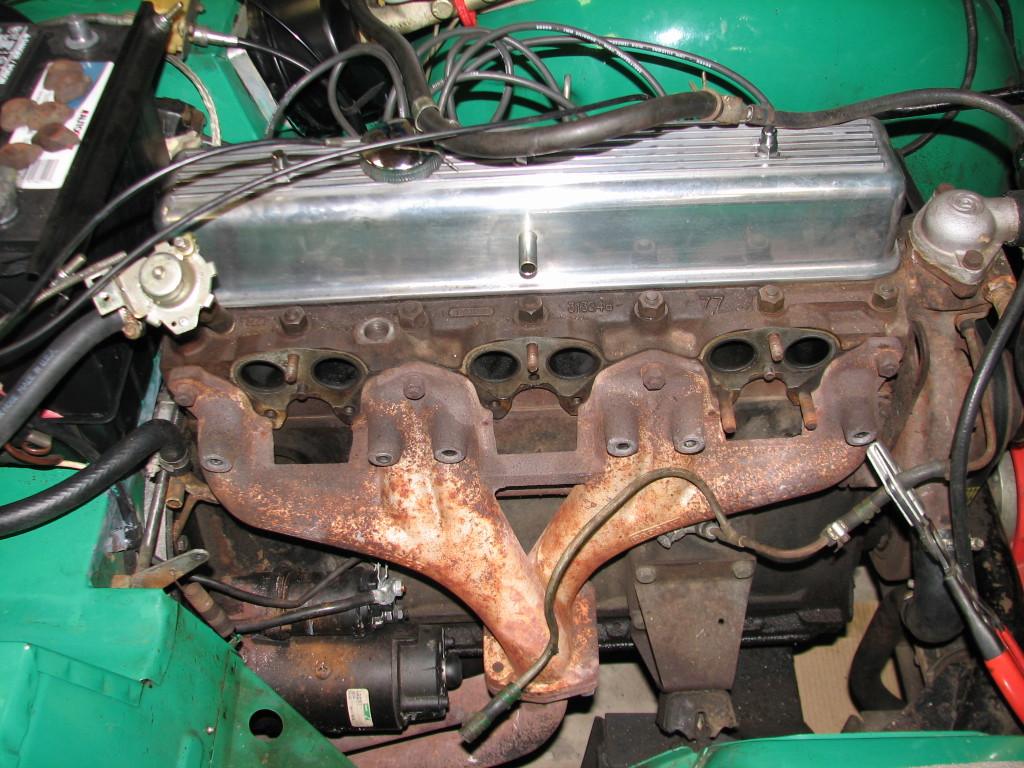
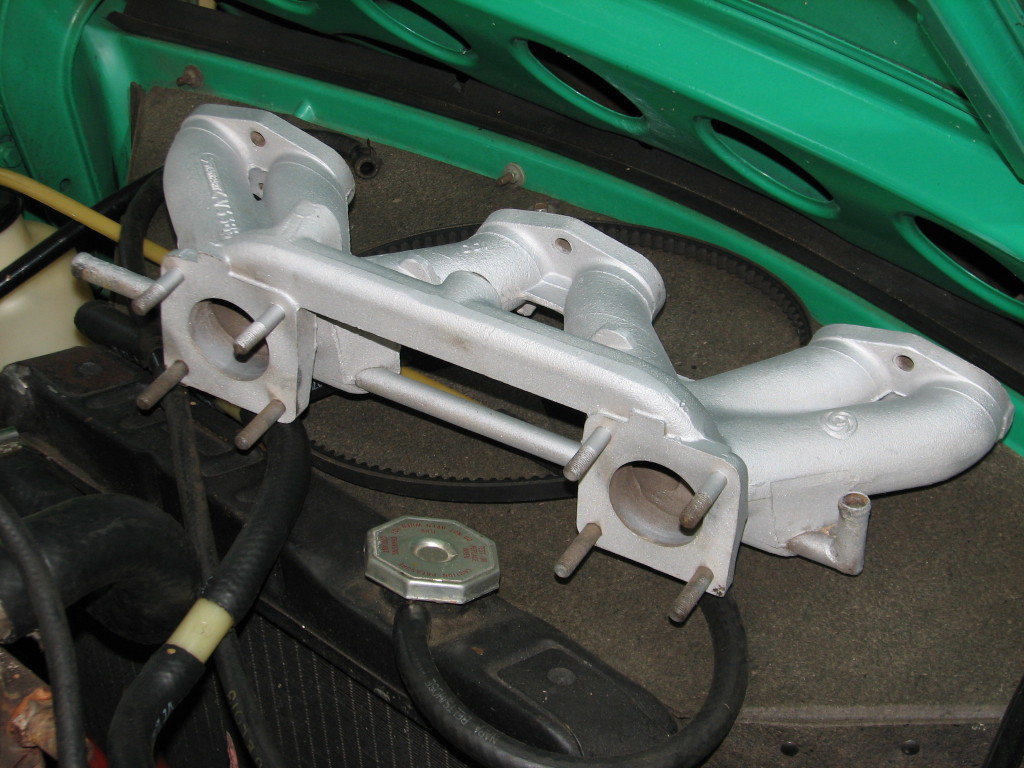
Engine Bay Shot. The intake manifold and then the carbs will be bolted on and test driven to confirm they’re right.
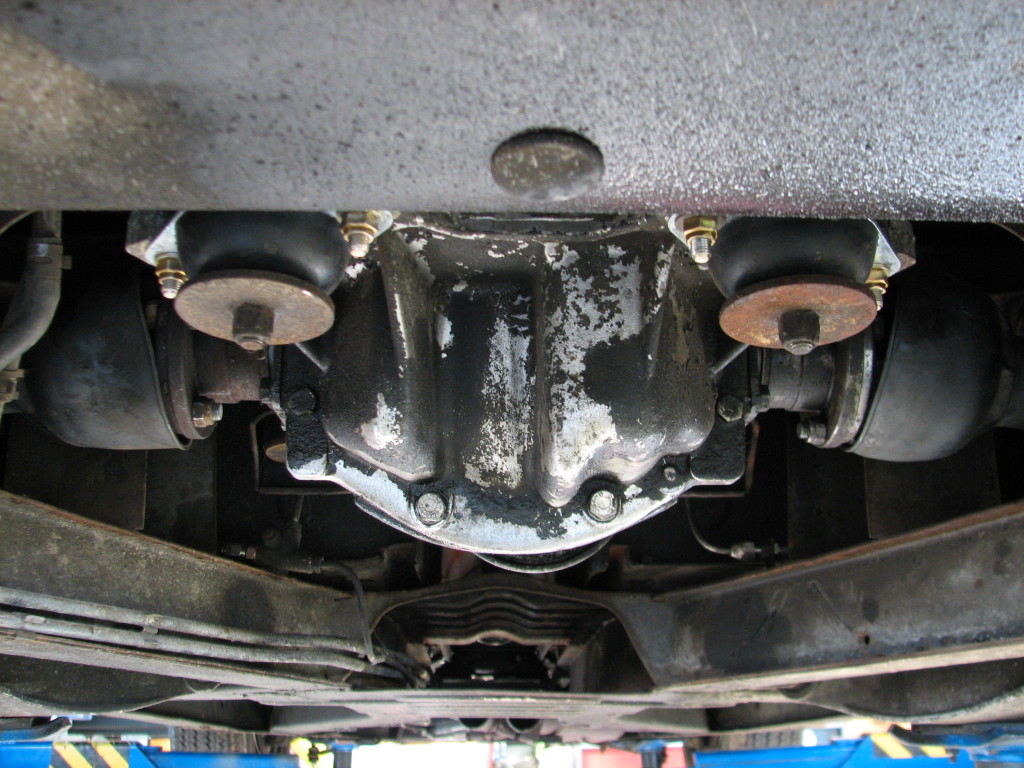
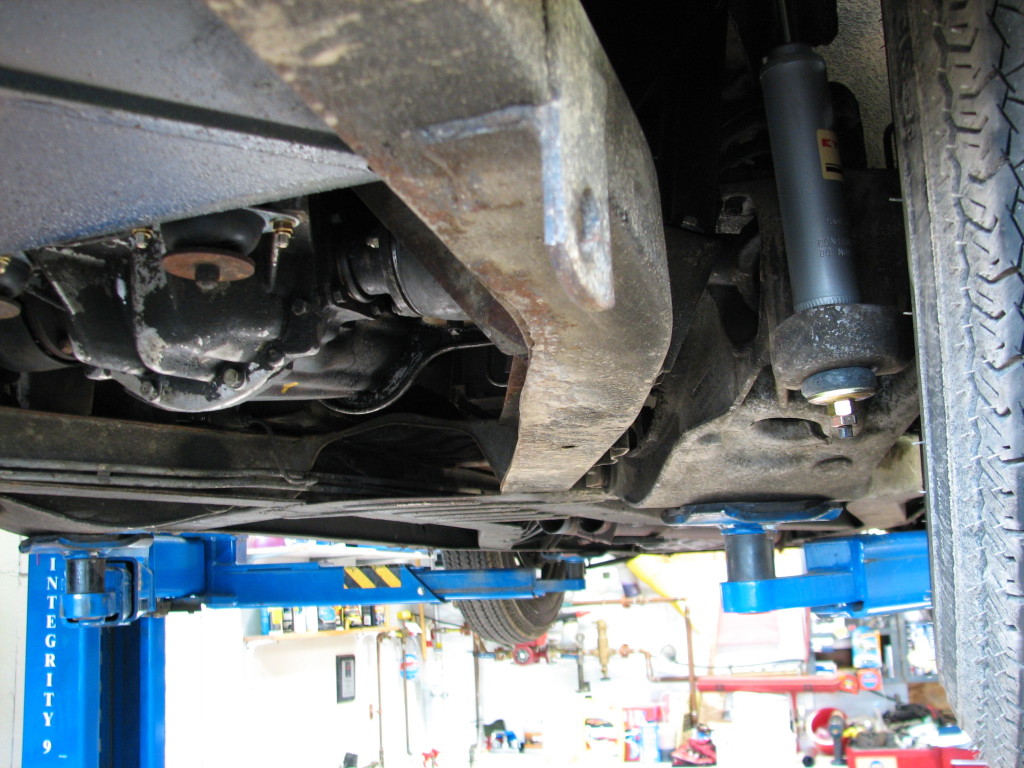
Differential with front seal replaced and re-installed, rest of exhaust still to be installed. The half-shafts were also rebuilt.
Triumph Stag Fuel Injection Video
Short video of the Triumph Stag with the Patton Throttle Body Fuel Injection. We will clean up the wiring harness shortly.
Red TR4A Updates
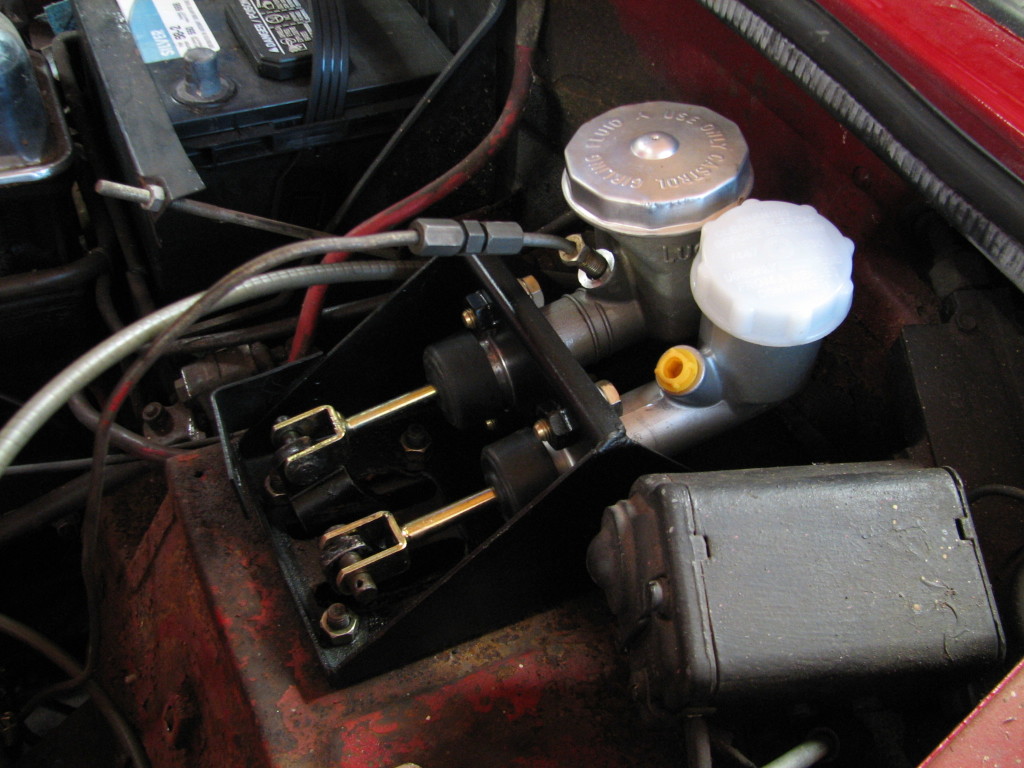
When it comes to mechanical knowledge, my rank amateur status affords me numerous chances to be overwhelmed by the number of parts that decay from inactivity. There are some photographs below of some of those parts.
Triumph TR6 Tube Shock Conversion Update
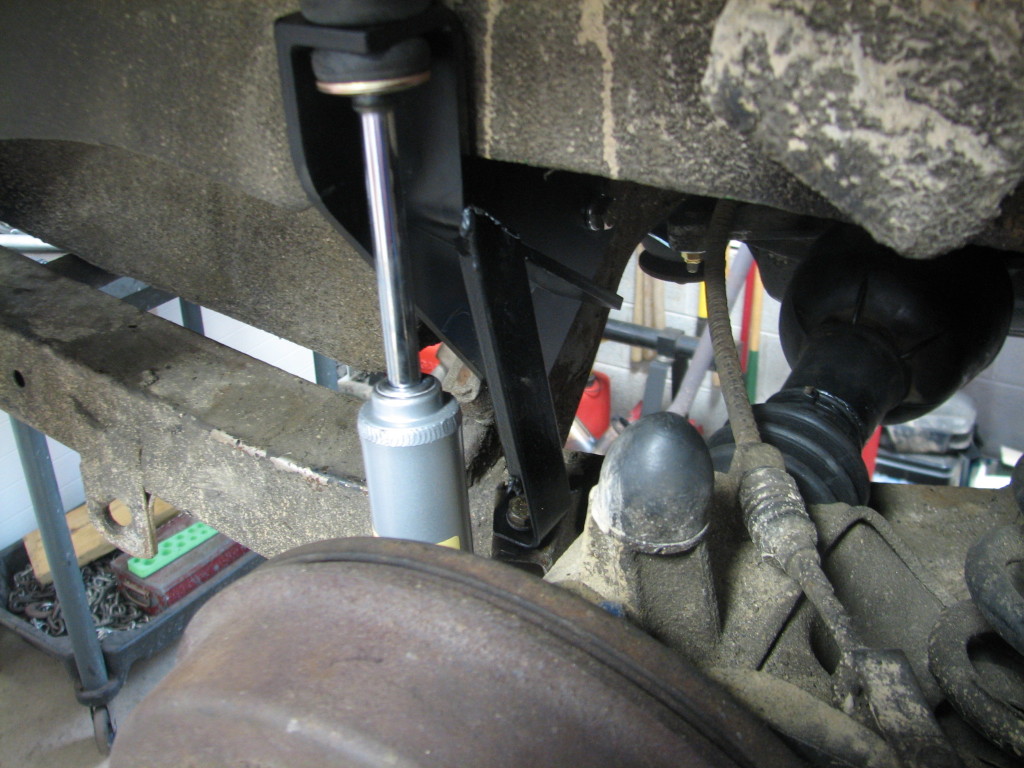
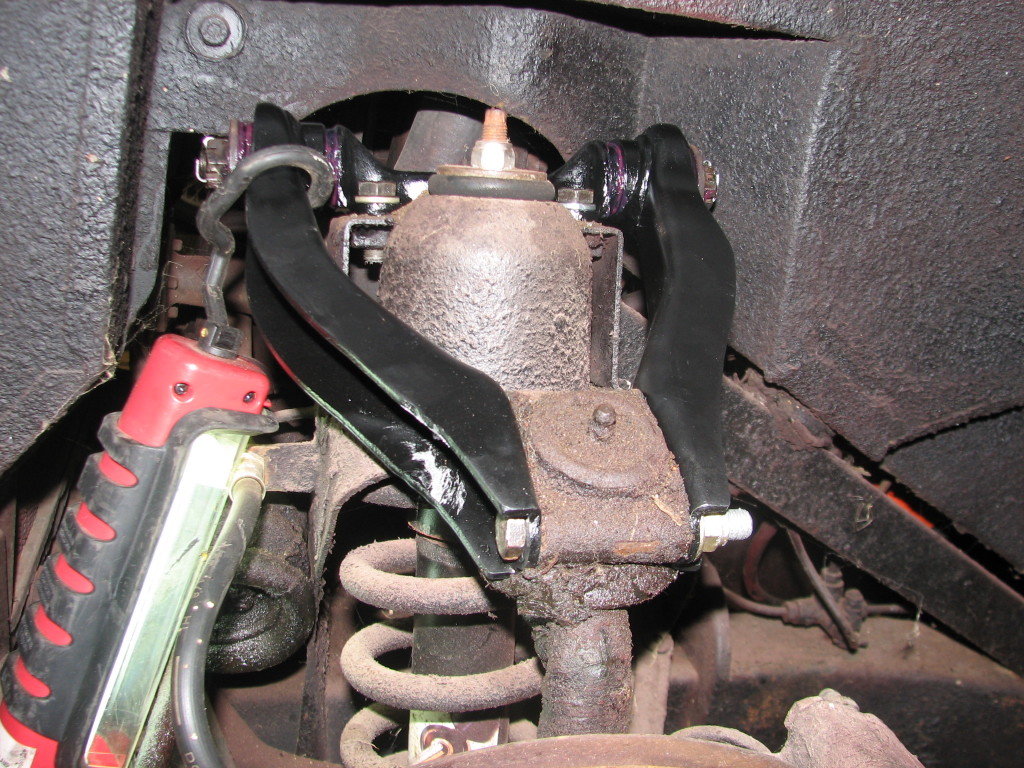
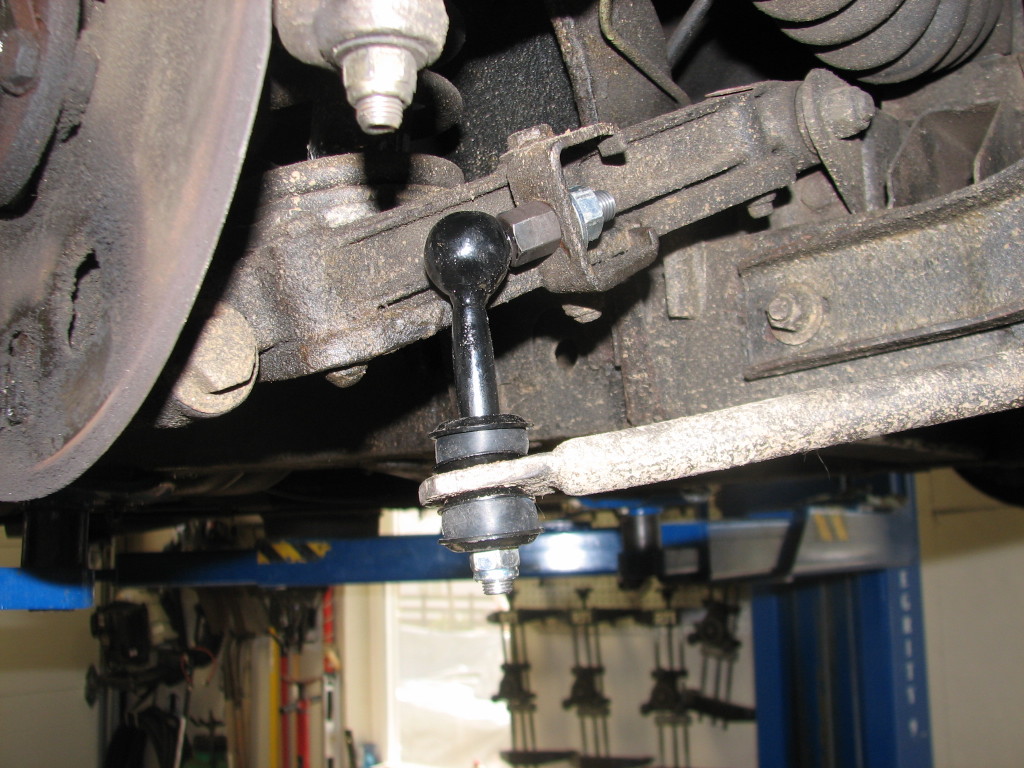
The lever shock to tube shock conversion on the Green TR6 is complete. I have a picture of the installed apparatus, and you’ll see that we add a brace to augment the standard tube shock bracket.
Red TR4A Update
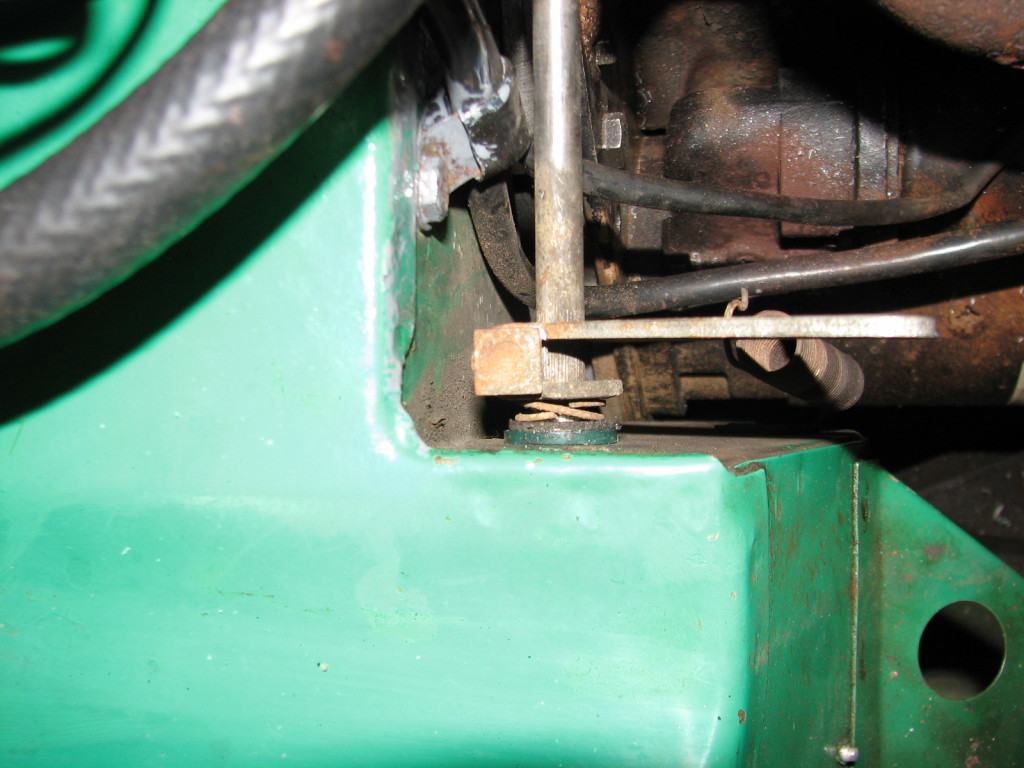
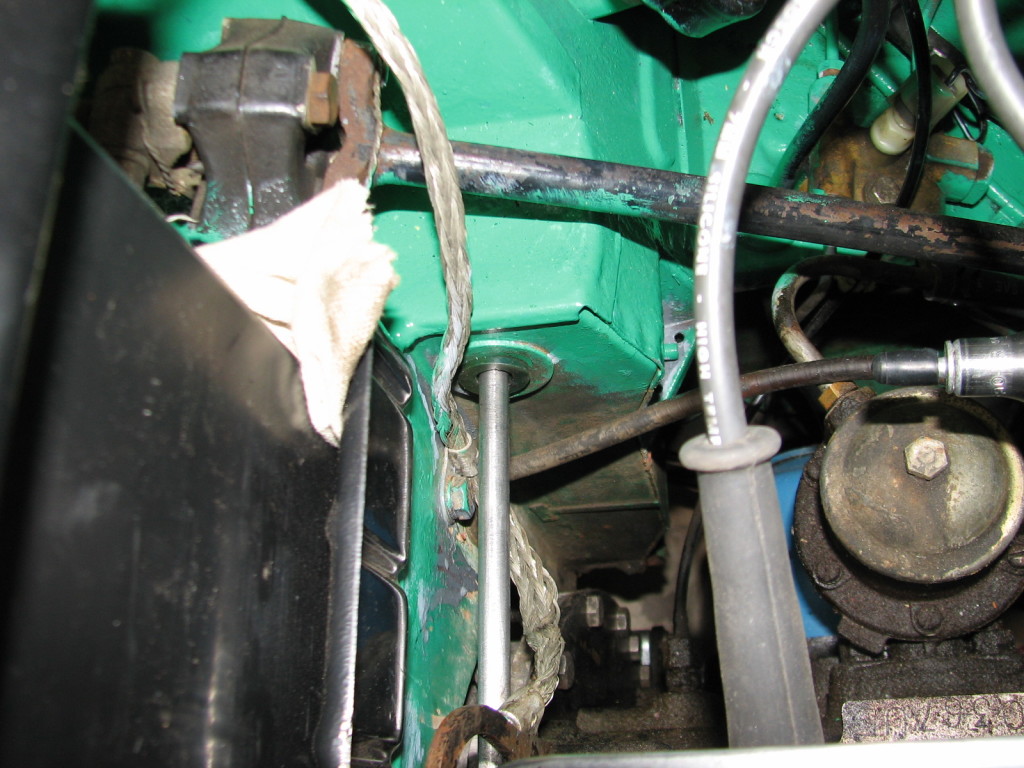
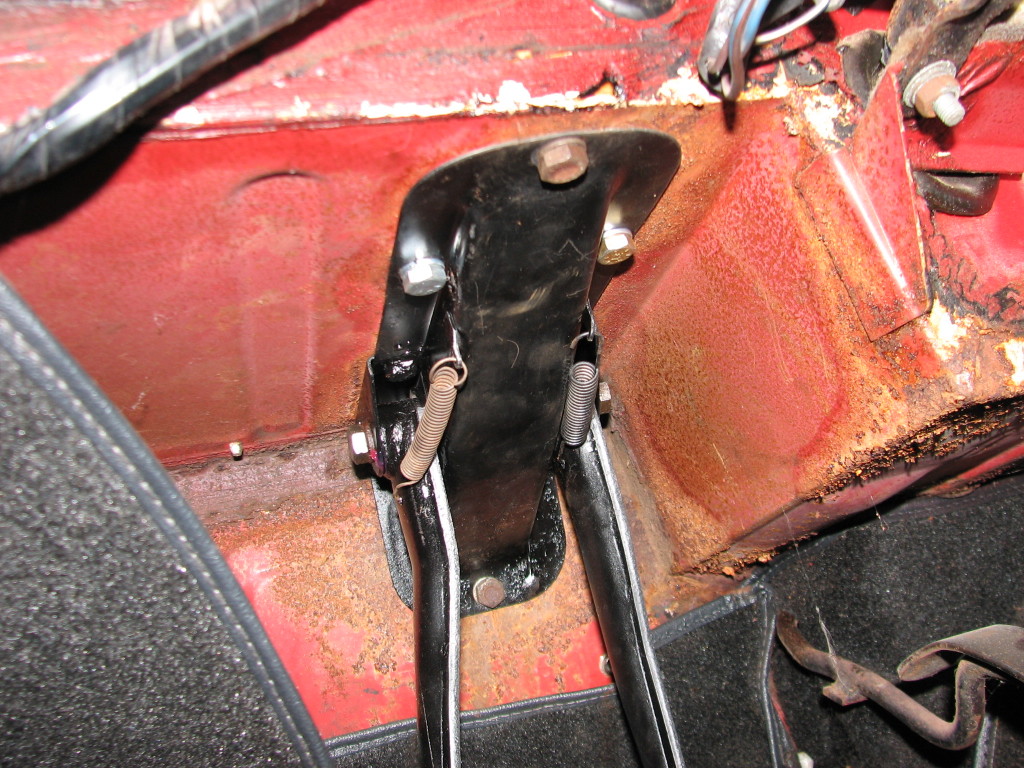
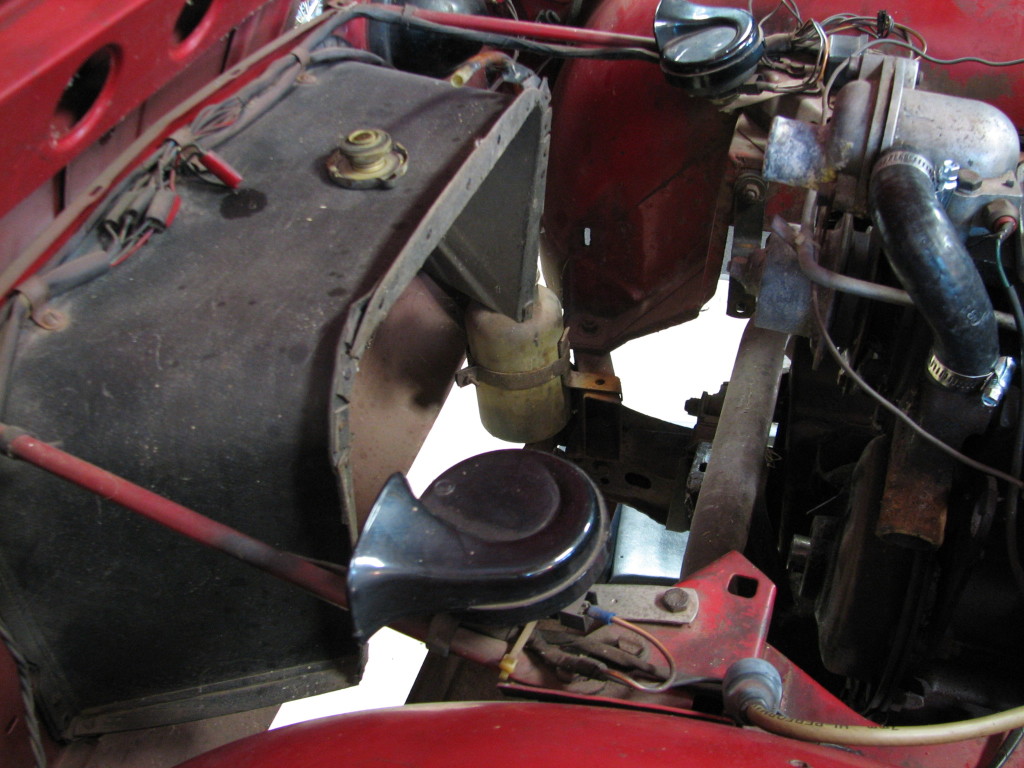
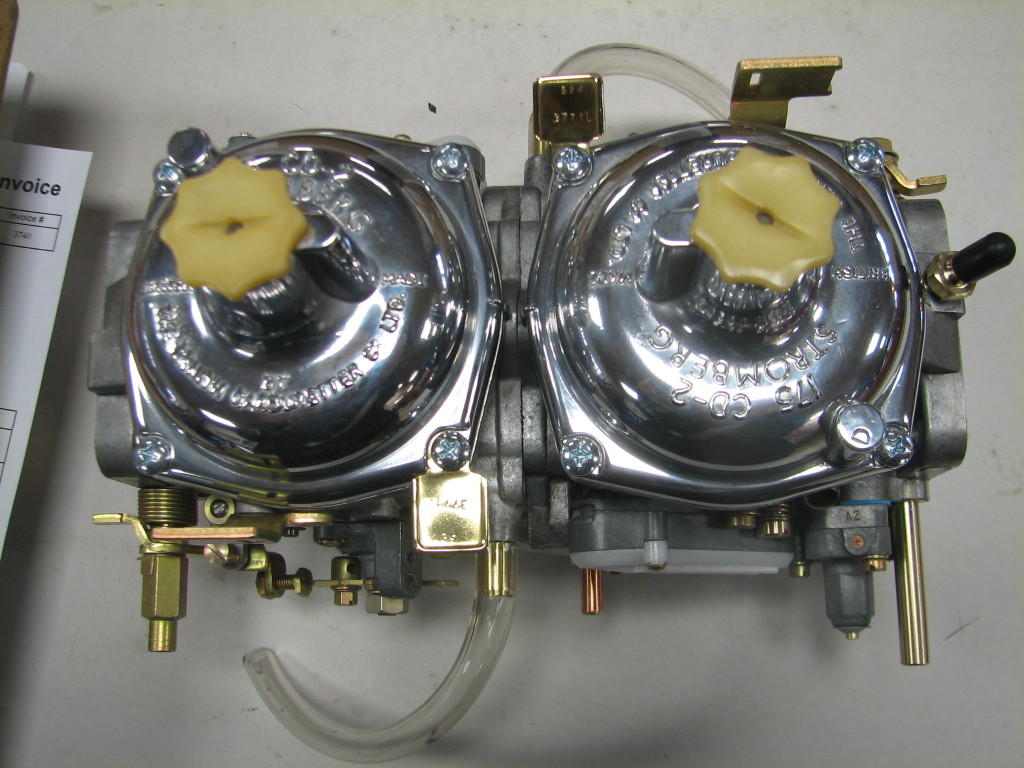
We continue to check systems on the Red TR4A that will also receive a new rear frame section. The hoses under the hood are now either inflexible or dust, the brake and clutch pedals were rusted to the support shaft, and we’ve already documented that the carburetors were stuck solid and due to meet Gary Martin for a complete refurbishment. Let’s take a look…
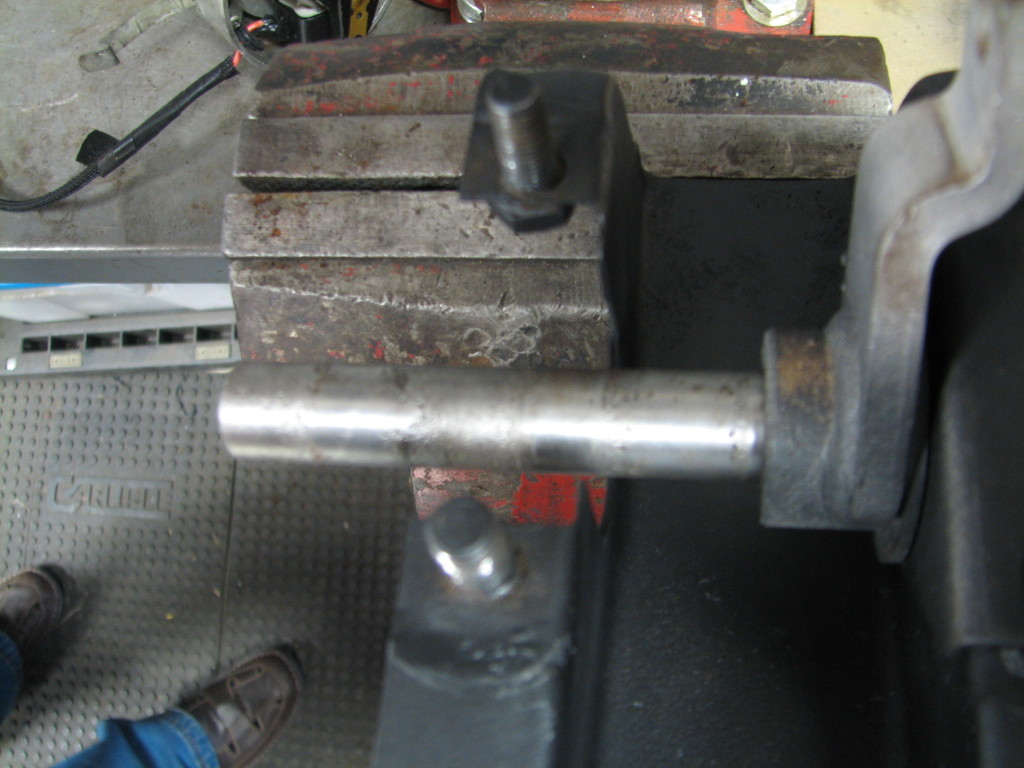
It’s hard to see because my picture isn’t the best, but the shaft still shows a bit of scarring left over from the rust that welded the pedals to the shaft. I didn’t get a before picture.
Fuel Injected Triumph Stag Conversion Update
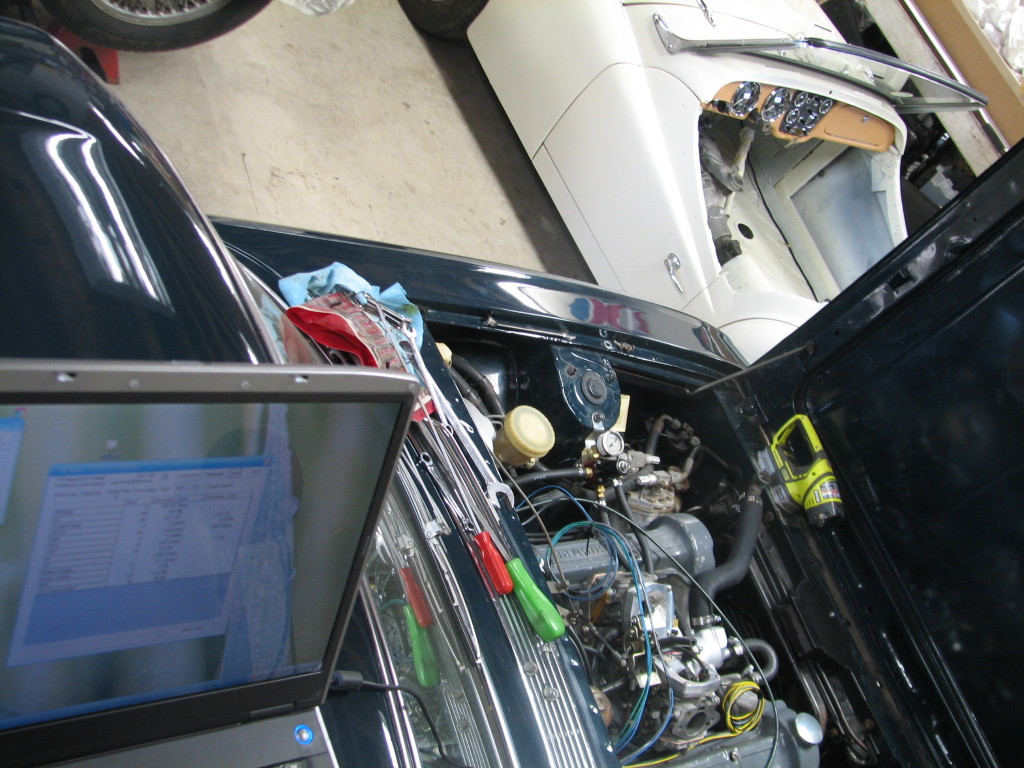
Progress is steady on the Stag Fuel Injection Conversion. All the sensors are in place. Some time Friday was spent dialing in the Throttle Position Sensor with the laptop and included software. Chip and Dean had to do some slight adjustment on the throttle butterflies to make sure they were synchronized. Start up should be real soon.
Green Triumph TR6 Update
Allow me to report in on the Green TR6. Follow along with the pictures below…
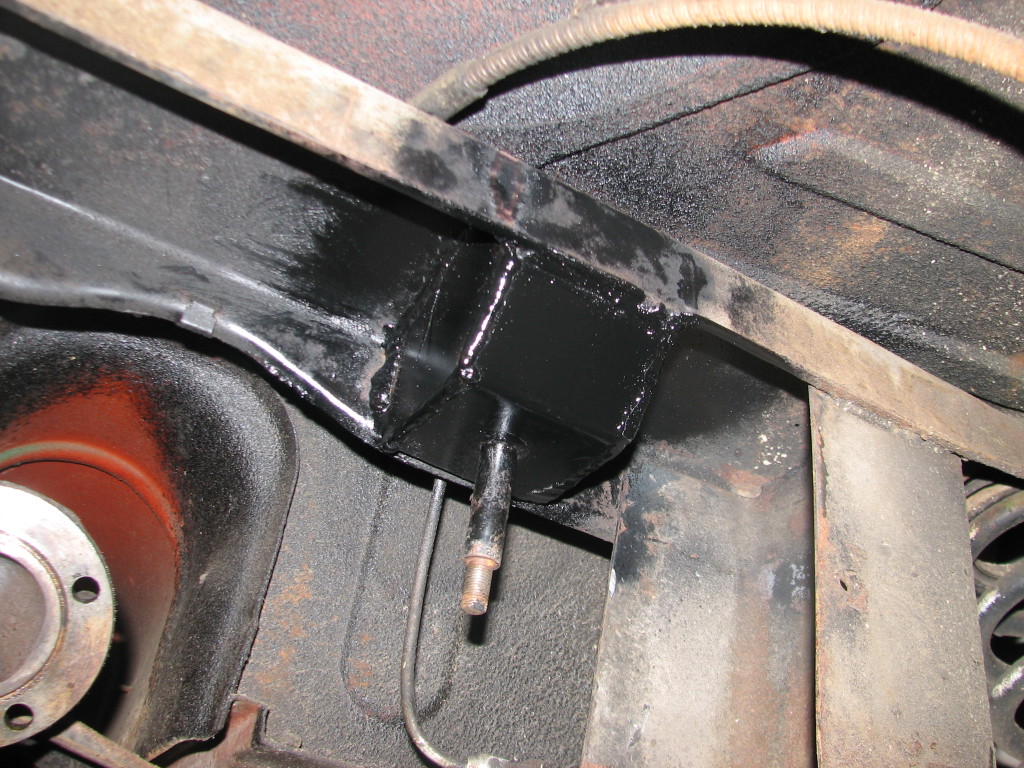
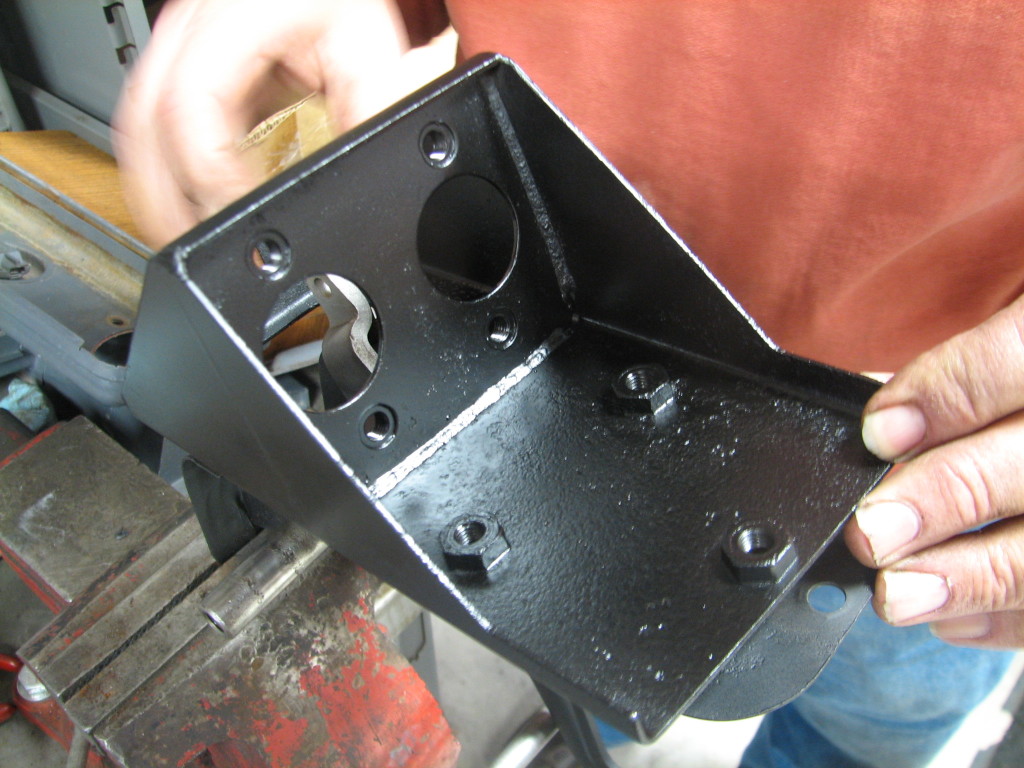
Picture of the TR6 Differential Mount after Chip has welded in metal to box it in and make it stronger. This will guard against the rear differential mount crack.
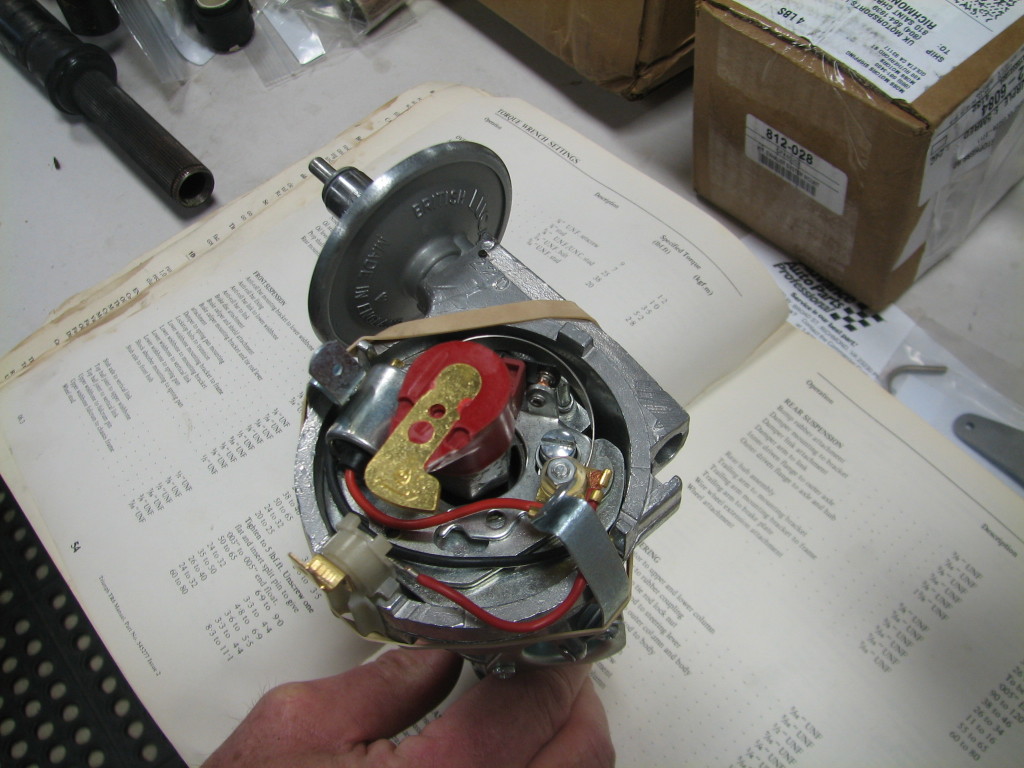
Rebuilt TR6 Distributor from Advanced Distributors.
We have just a few odds and ends to finish up and this car should be ready to go.
Green Triumph TR6 Improvements – Including a Picture of the TR6 Differential Mounts
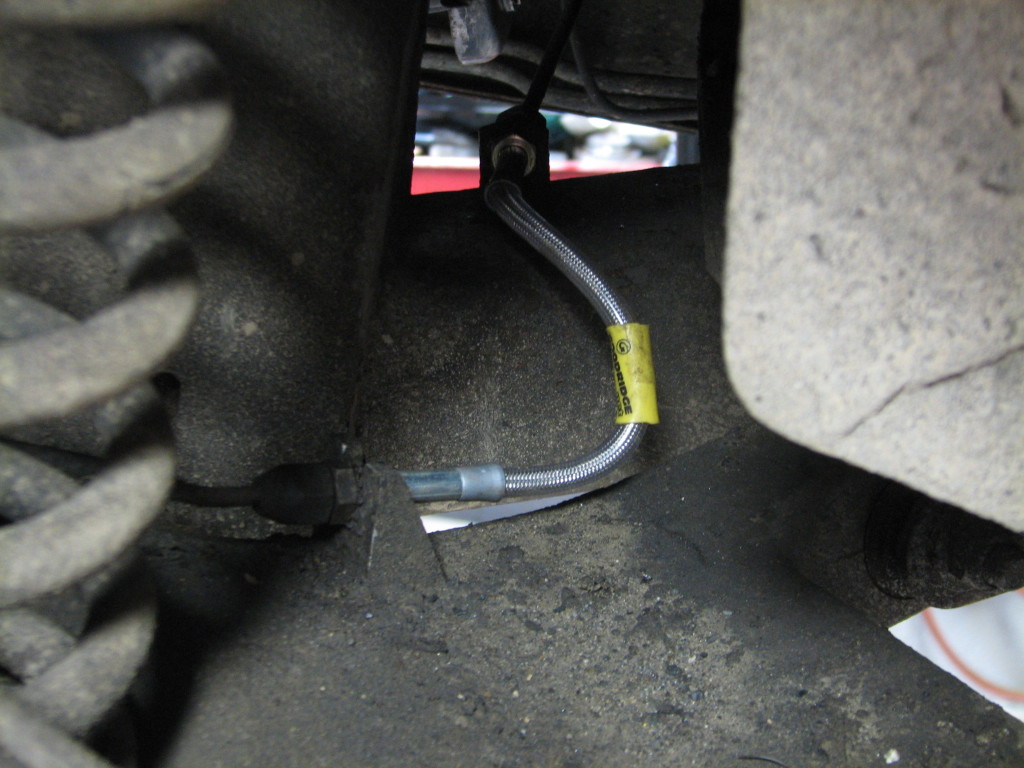
Back on March 1, 2013, we introduced this Green TR6, and it’s time for an update. This car is getting Toyota calipers to replace the stock front calipers, and new rotors as well. New coolant hoses will go in, and tube shocks are replacing the original lever shocks. The exhaust needs some repair, and the differential is leaking, which gives me a great opportunity to show the TR6 differential mounts that result in many inquiries because of their propensity to crack. Alas, pictures seem to communicate the changes better than words, so peruse the pictures below for an idea on the progress.
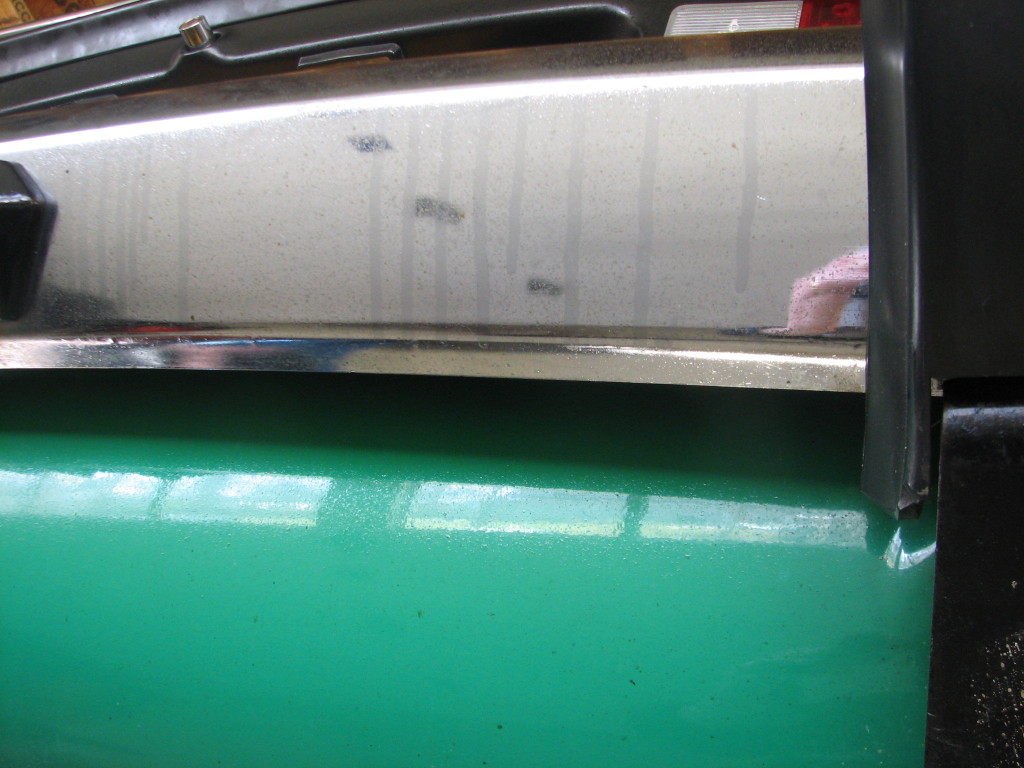
Here, I was trying to show all the differential oil that has leaked out and sprayed the underside of the car. The differential pinion seal is leaking in this car.
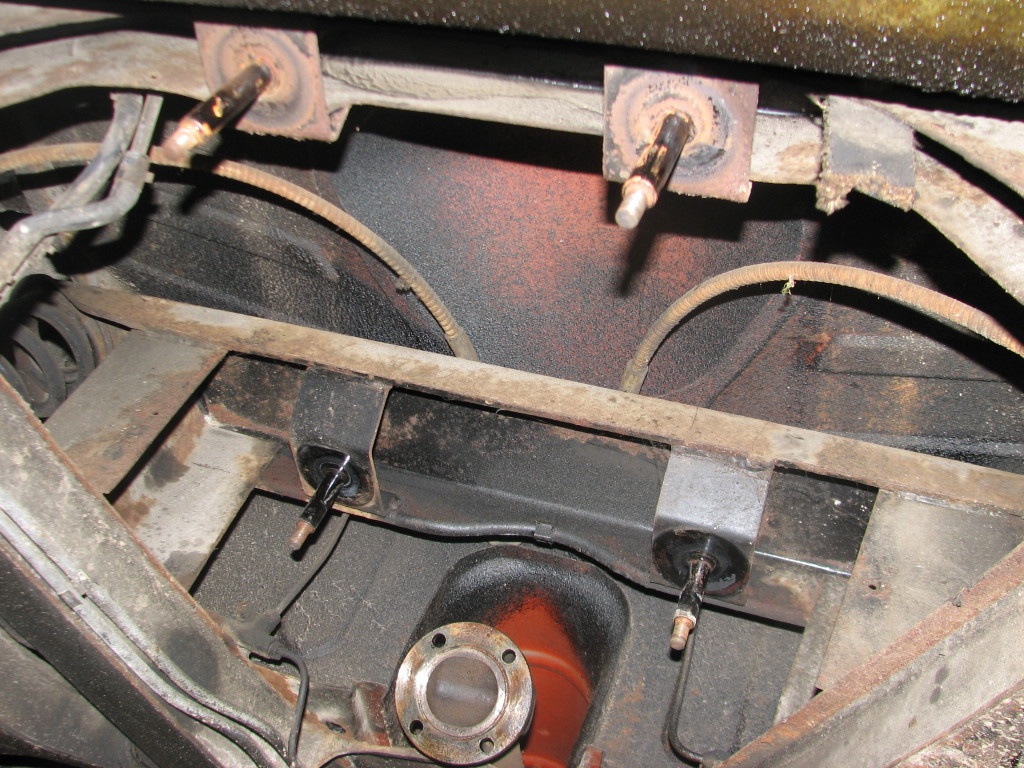
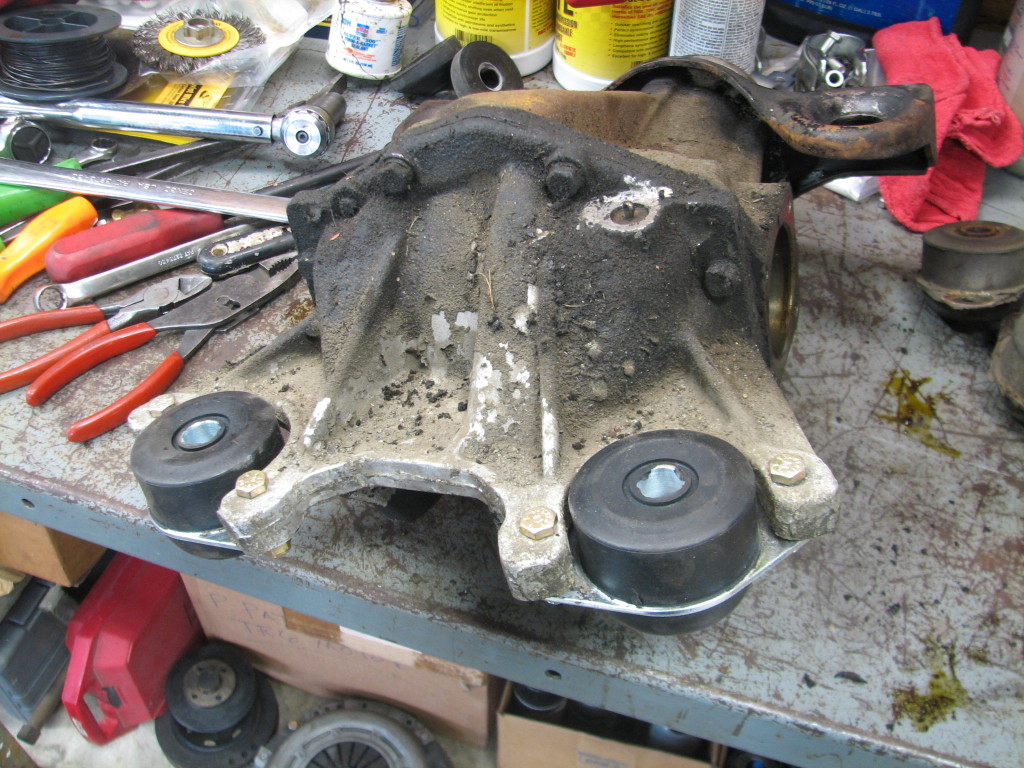
Photo of the four differential mounts while the differential is removed. The ones in the top portion of the photograph are towards the rear of the car. The lower ones are towards the front of the car. The front mount on the passenger’s side (the American passenger’s side, that is) of the car is generally the one that goes first. The cracks can be either visible on the bottom radiating out from the center or on top next to the body where they are hard to see. To be clear, these are not cracked… just showing what the mounts look like.
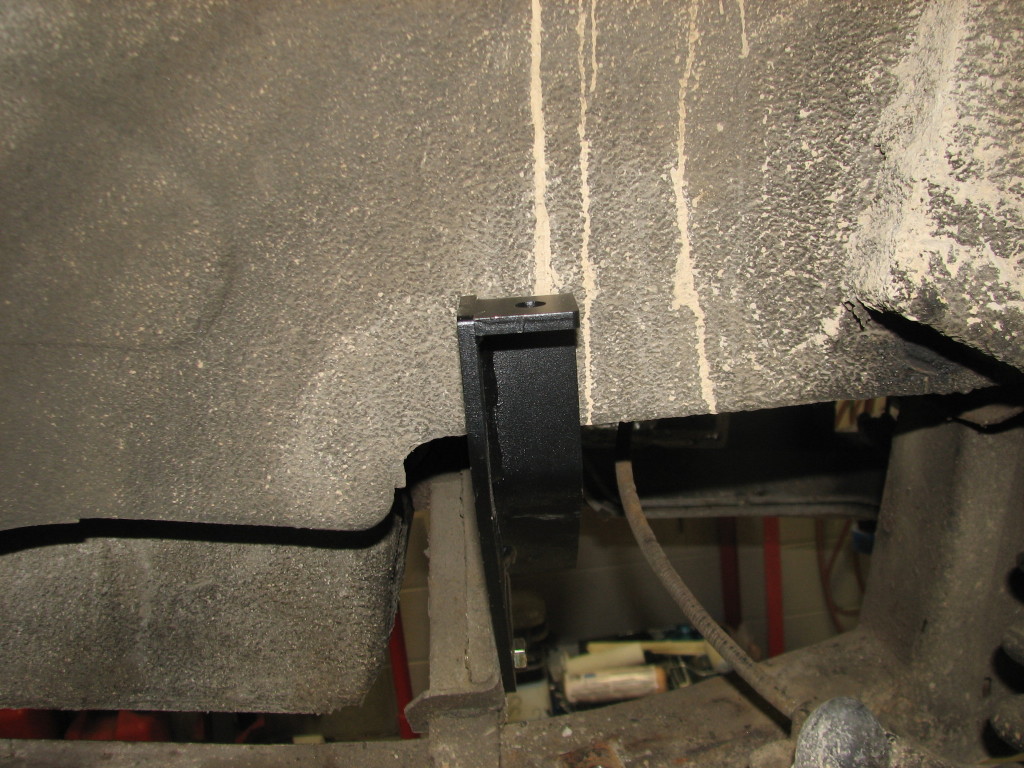
We are replacing the old lever shocks with tube shocks. This brace is part of that package. It’s not finished, as Chip will weld in another brace to guard against fore/aft stresses.
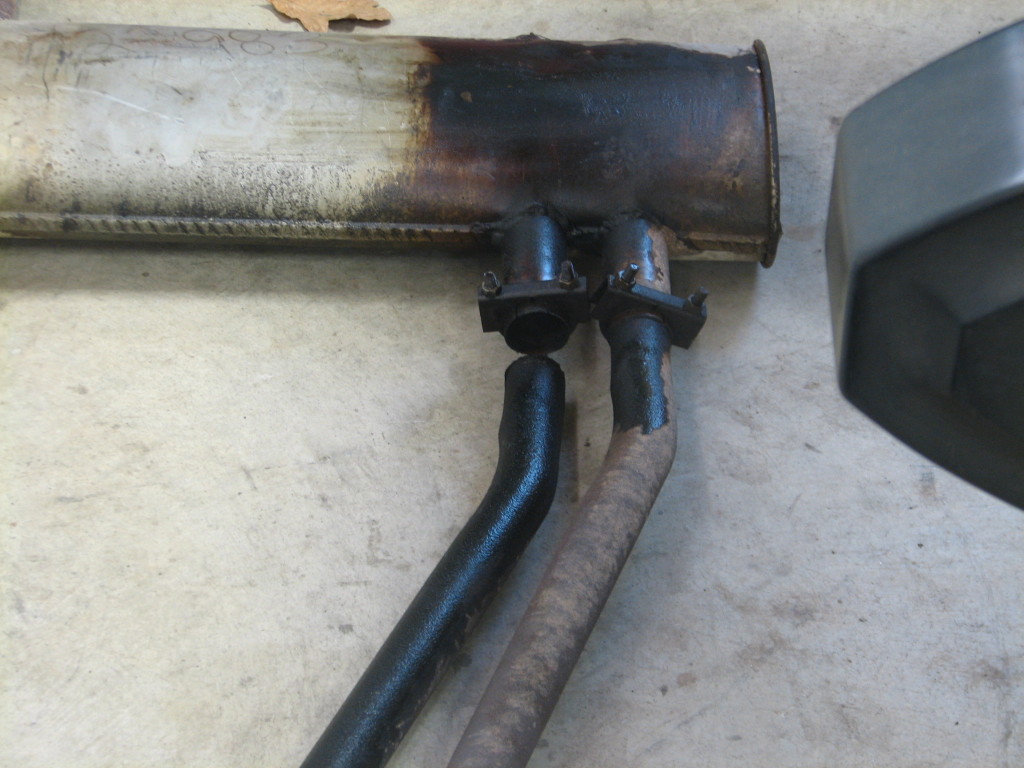
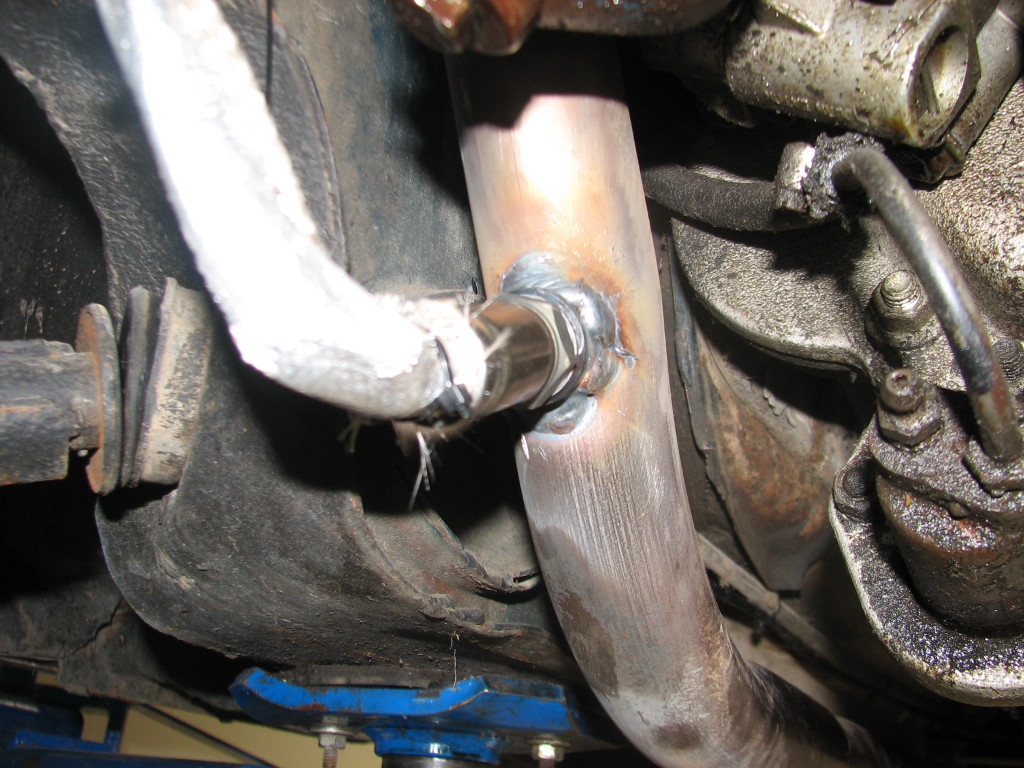
Customer mentioned a rattle or sound from the exhaust. When Chip removed the exhaust, the tube on the left fell off.
The “stumble” previously mentioned (in the first post on this car) should respond to a distributor rebuild (by Advanced Distributors) and the carb work that Gary Martin is doing for us. Should any of these repairs or modifications spark a question, contact us and we’ll give you as much information as we can. Thanks for visiting.


