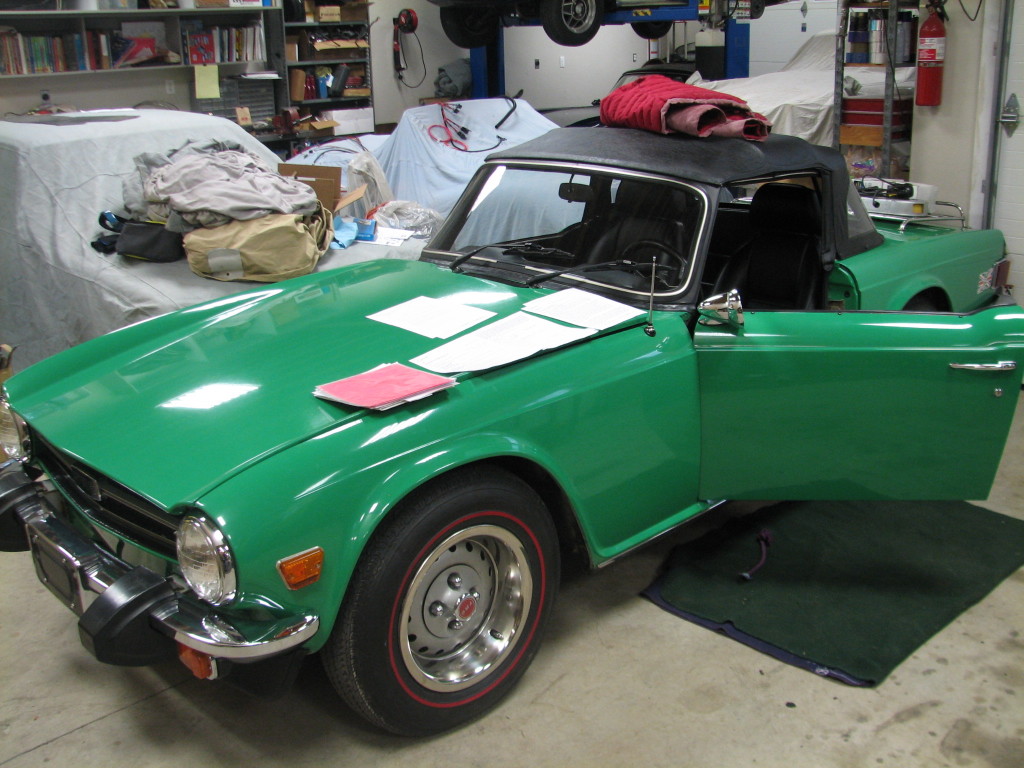
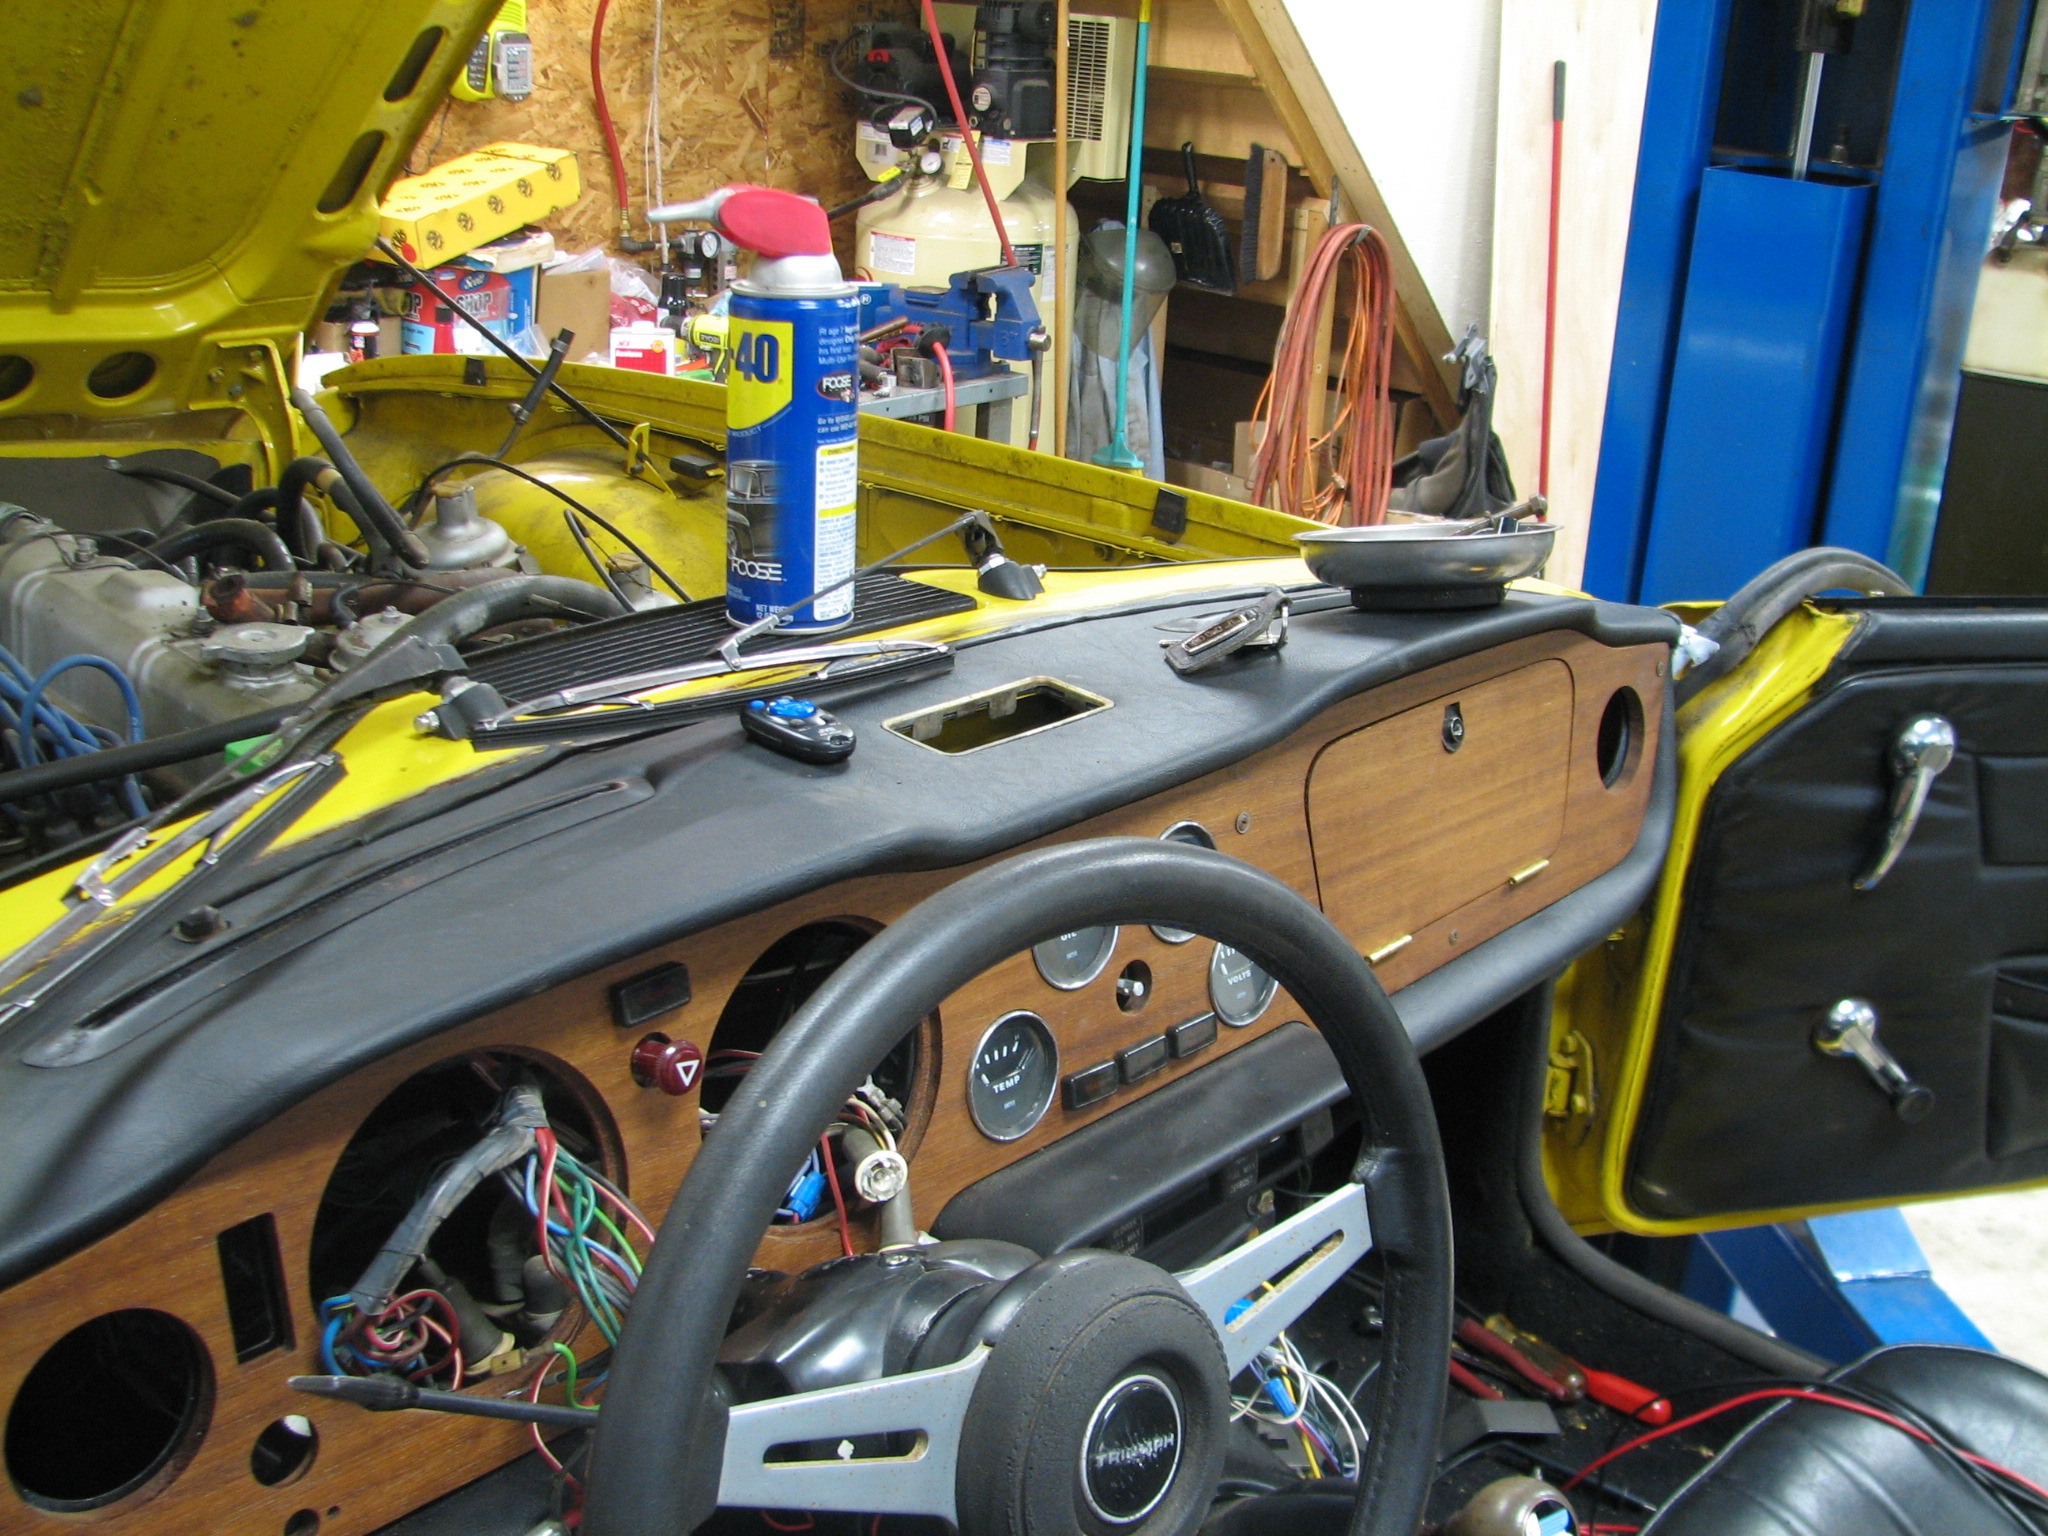
Back on March 1, 2013, we introduced this Green TR6, and it’s time for an update. This car is getting Toyota calipers to replace the stock front calipers, and new rotors as well. New coolant hoses will go in, and tube shocks are replacing the original lever shocks. The exhaust needs some repair, and the differential is leaking, which gives me a great opportunity to show the TR6 differential mounts that result in many inquiries because of their propensity to crack. Alas, pictures seem to communicate the changes better than words, so peruse the pictures below for an idea on the progress.
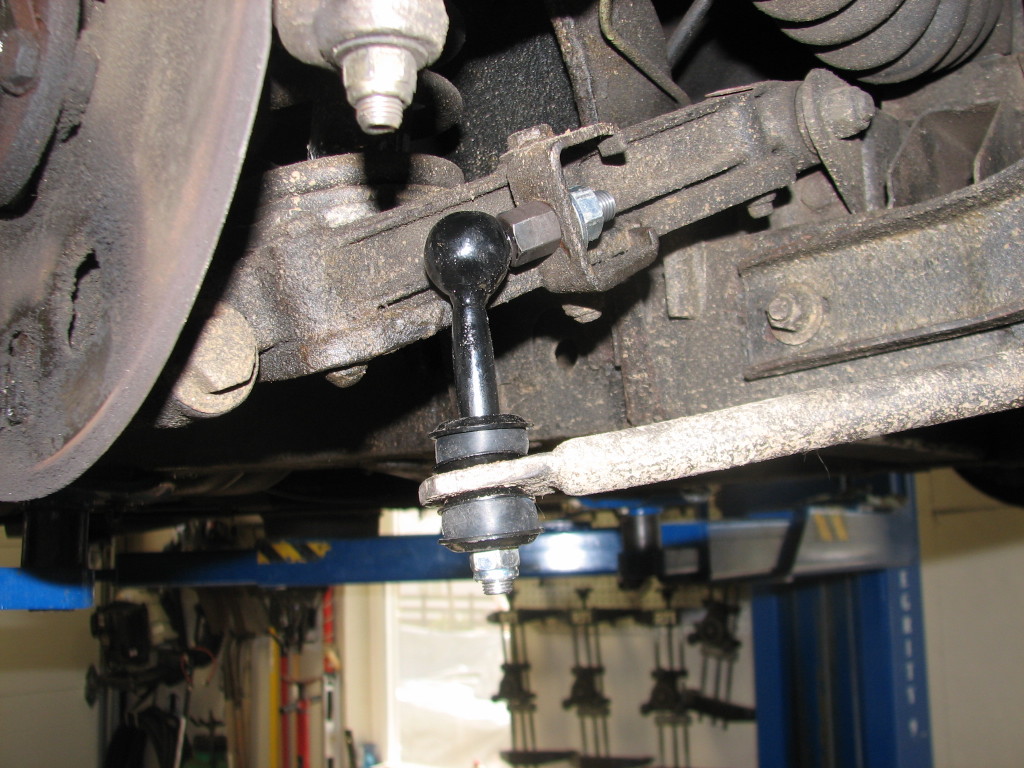
New Sway Bar Links.

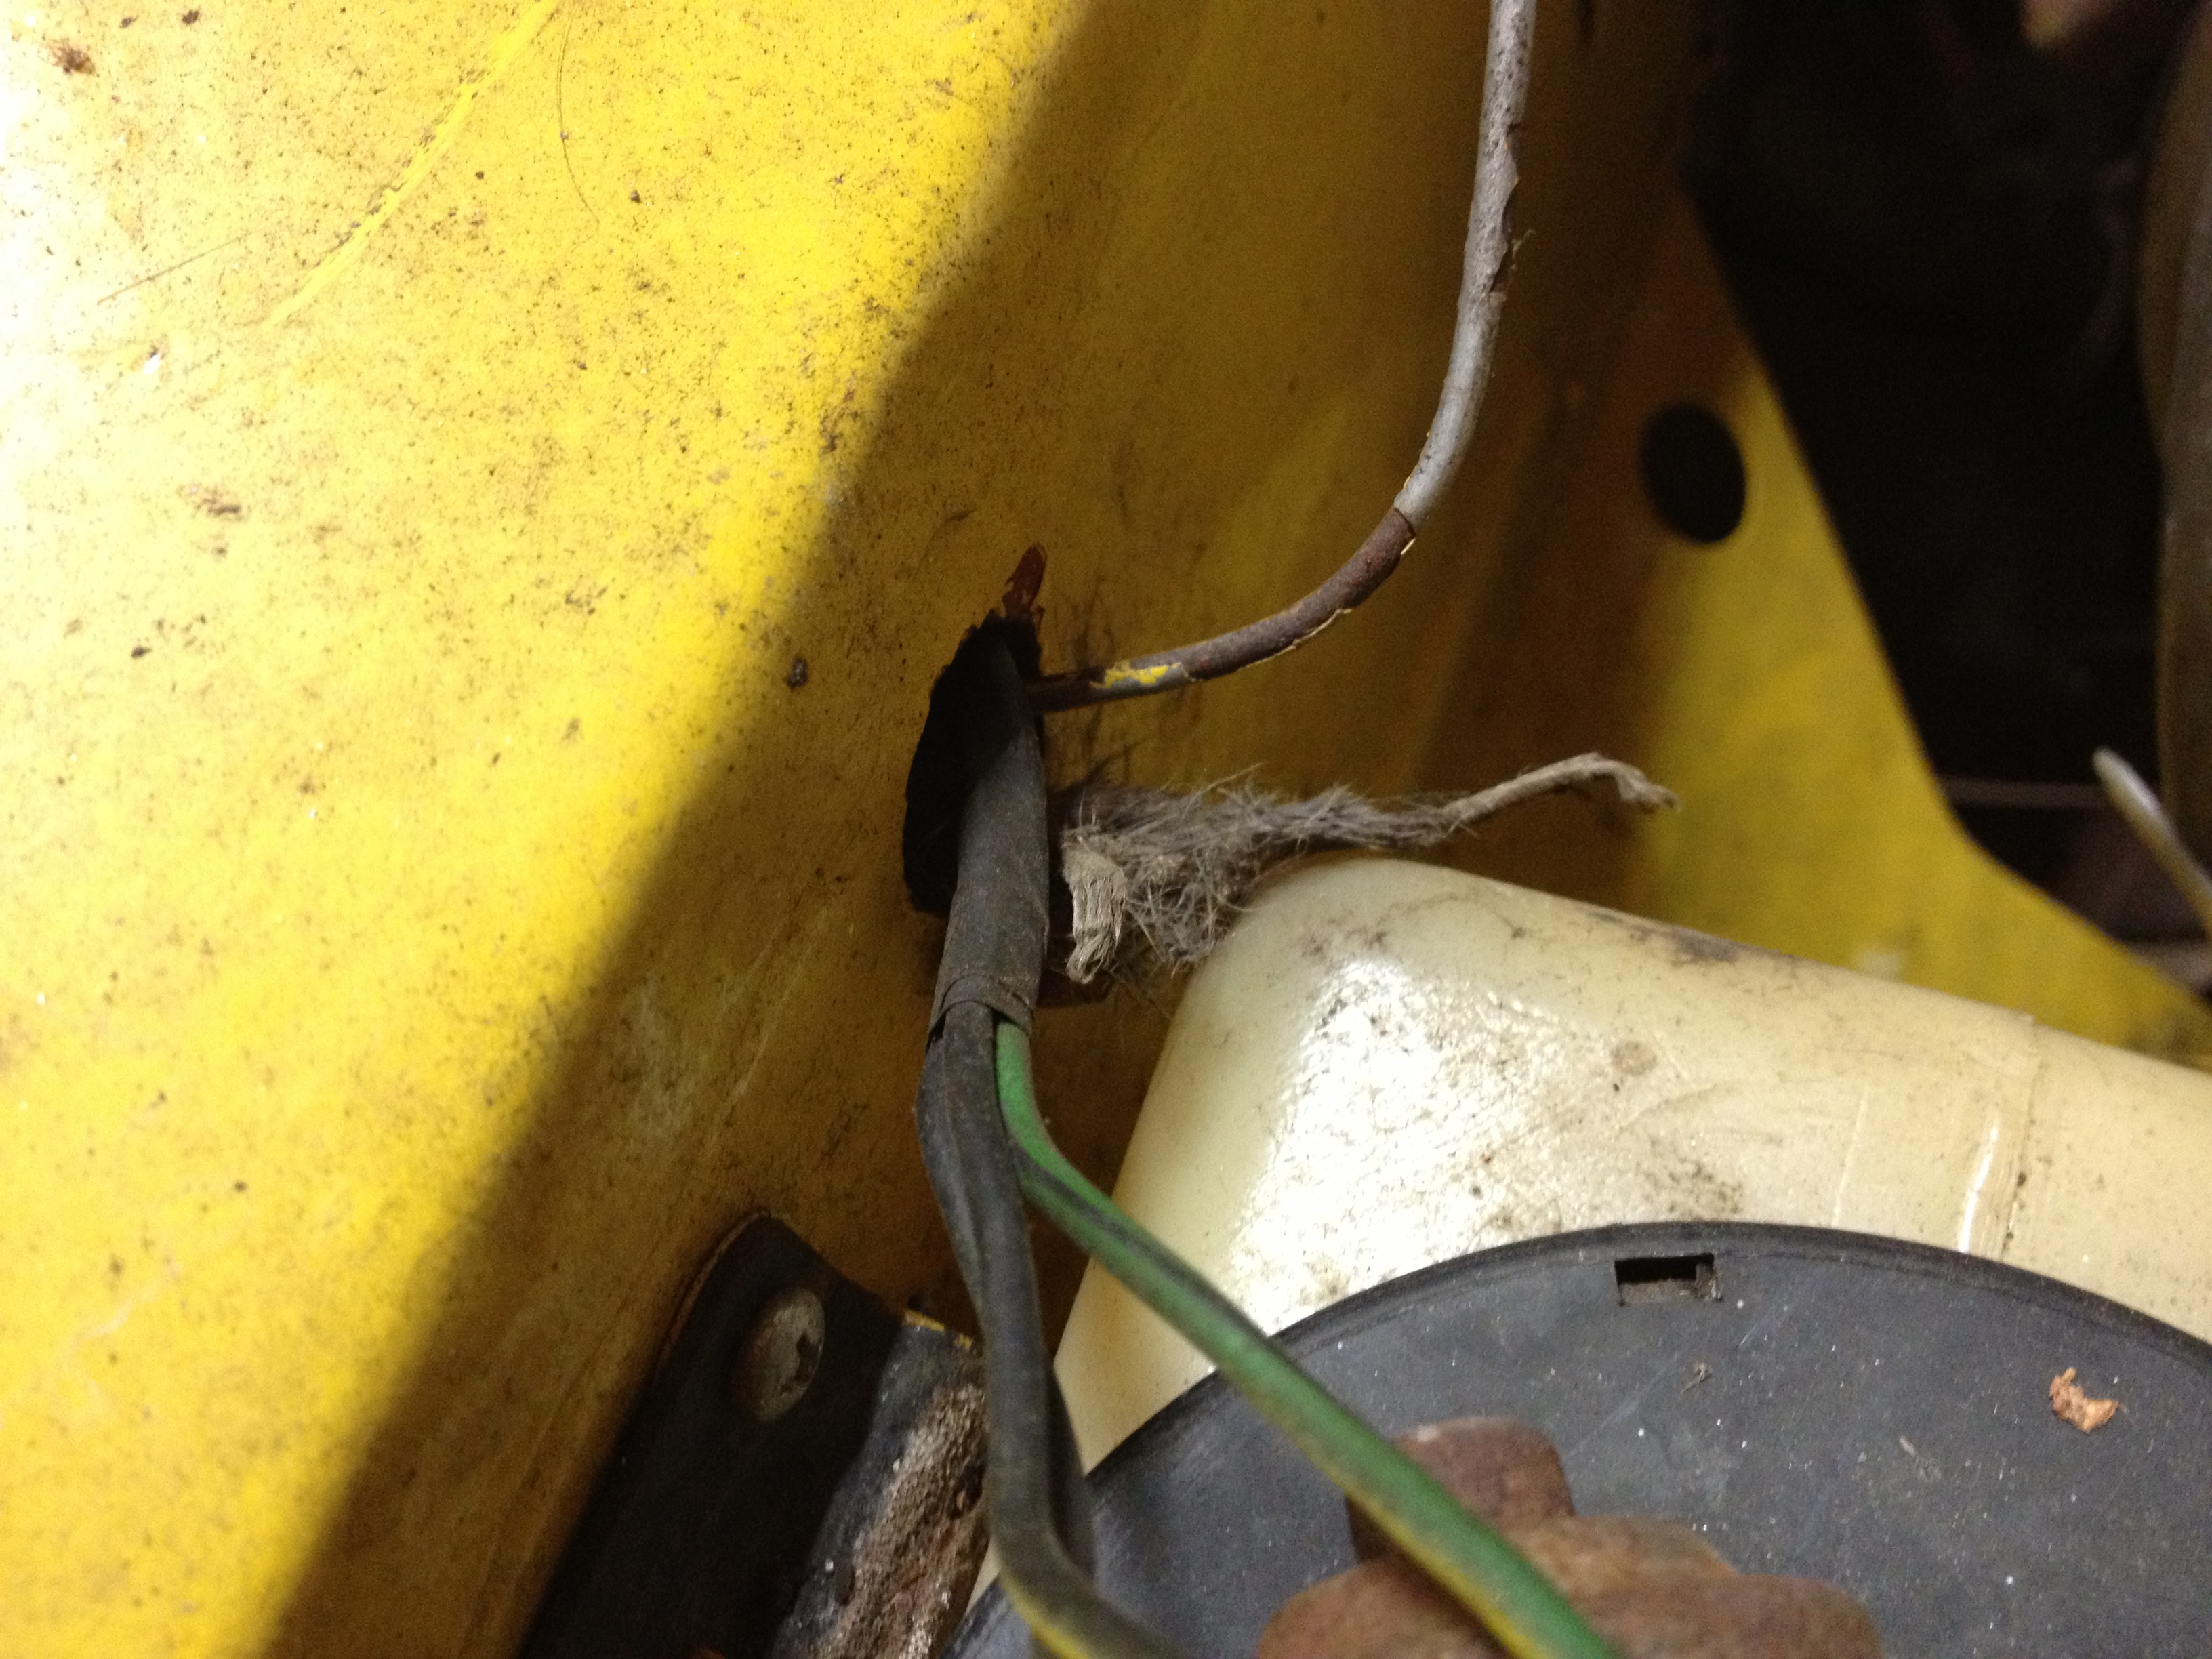
Here, I was trying to show all the differential oil that has leaked out and sprayed the underside of the car. The differential pinion seal is leaking in this car.

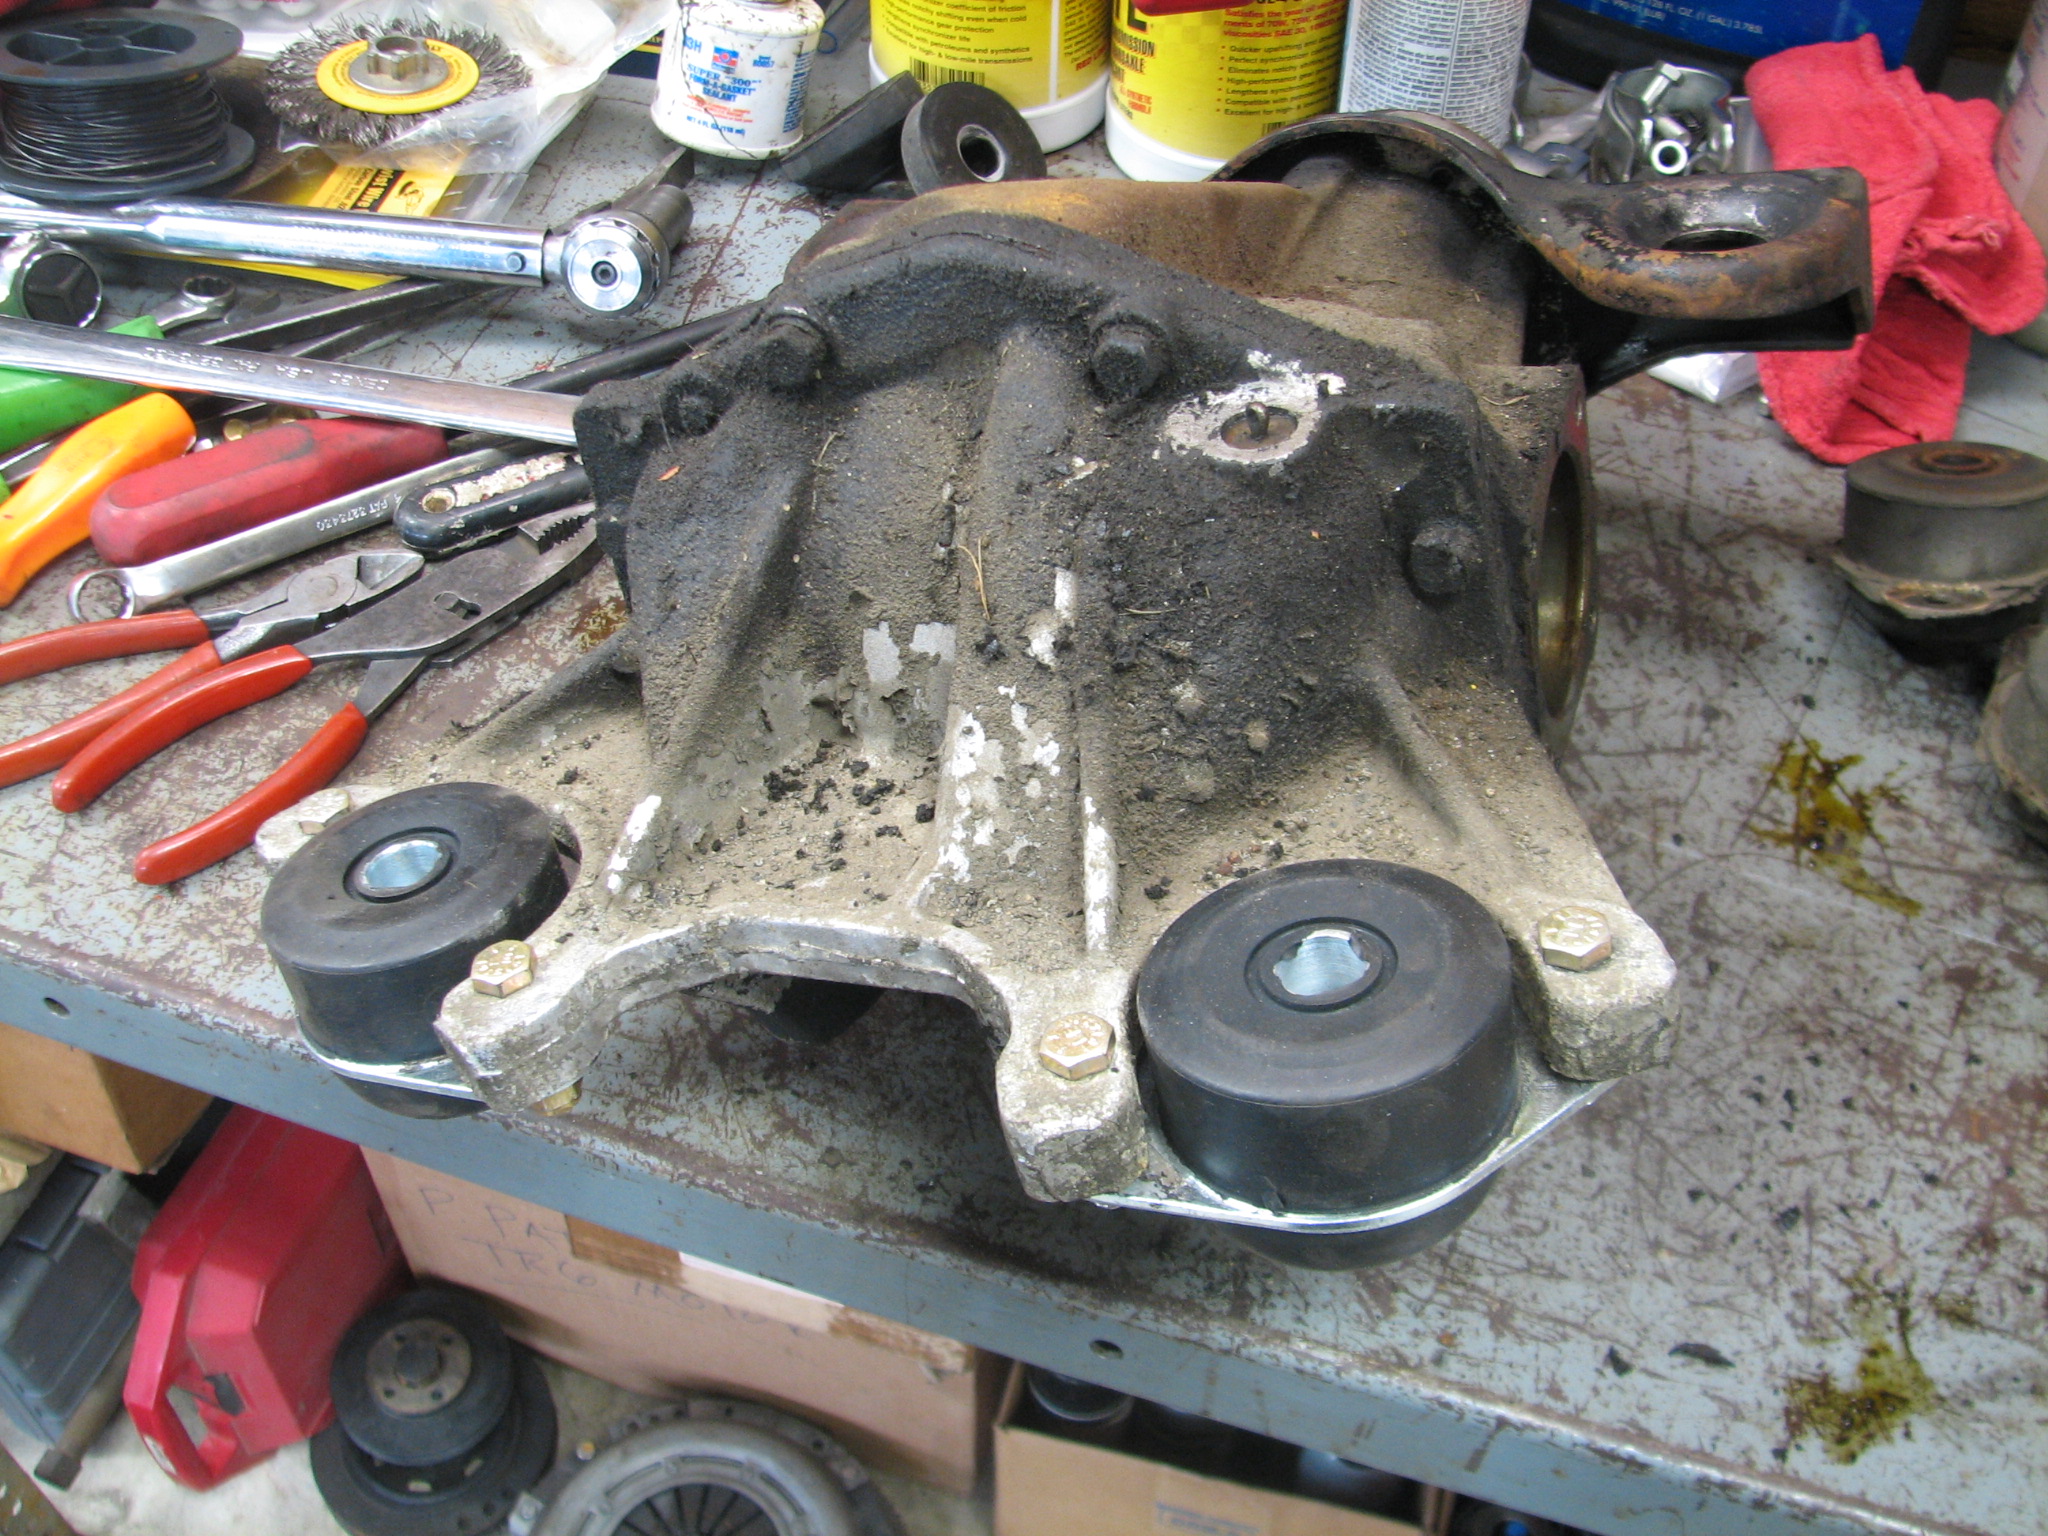
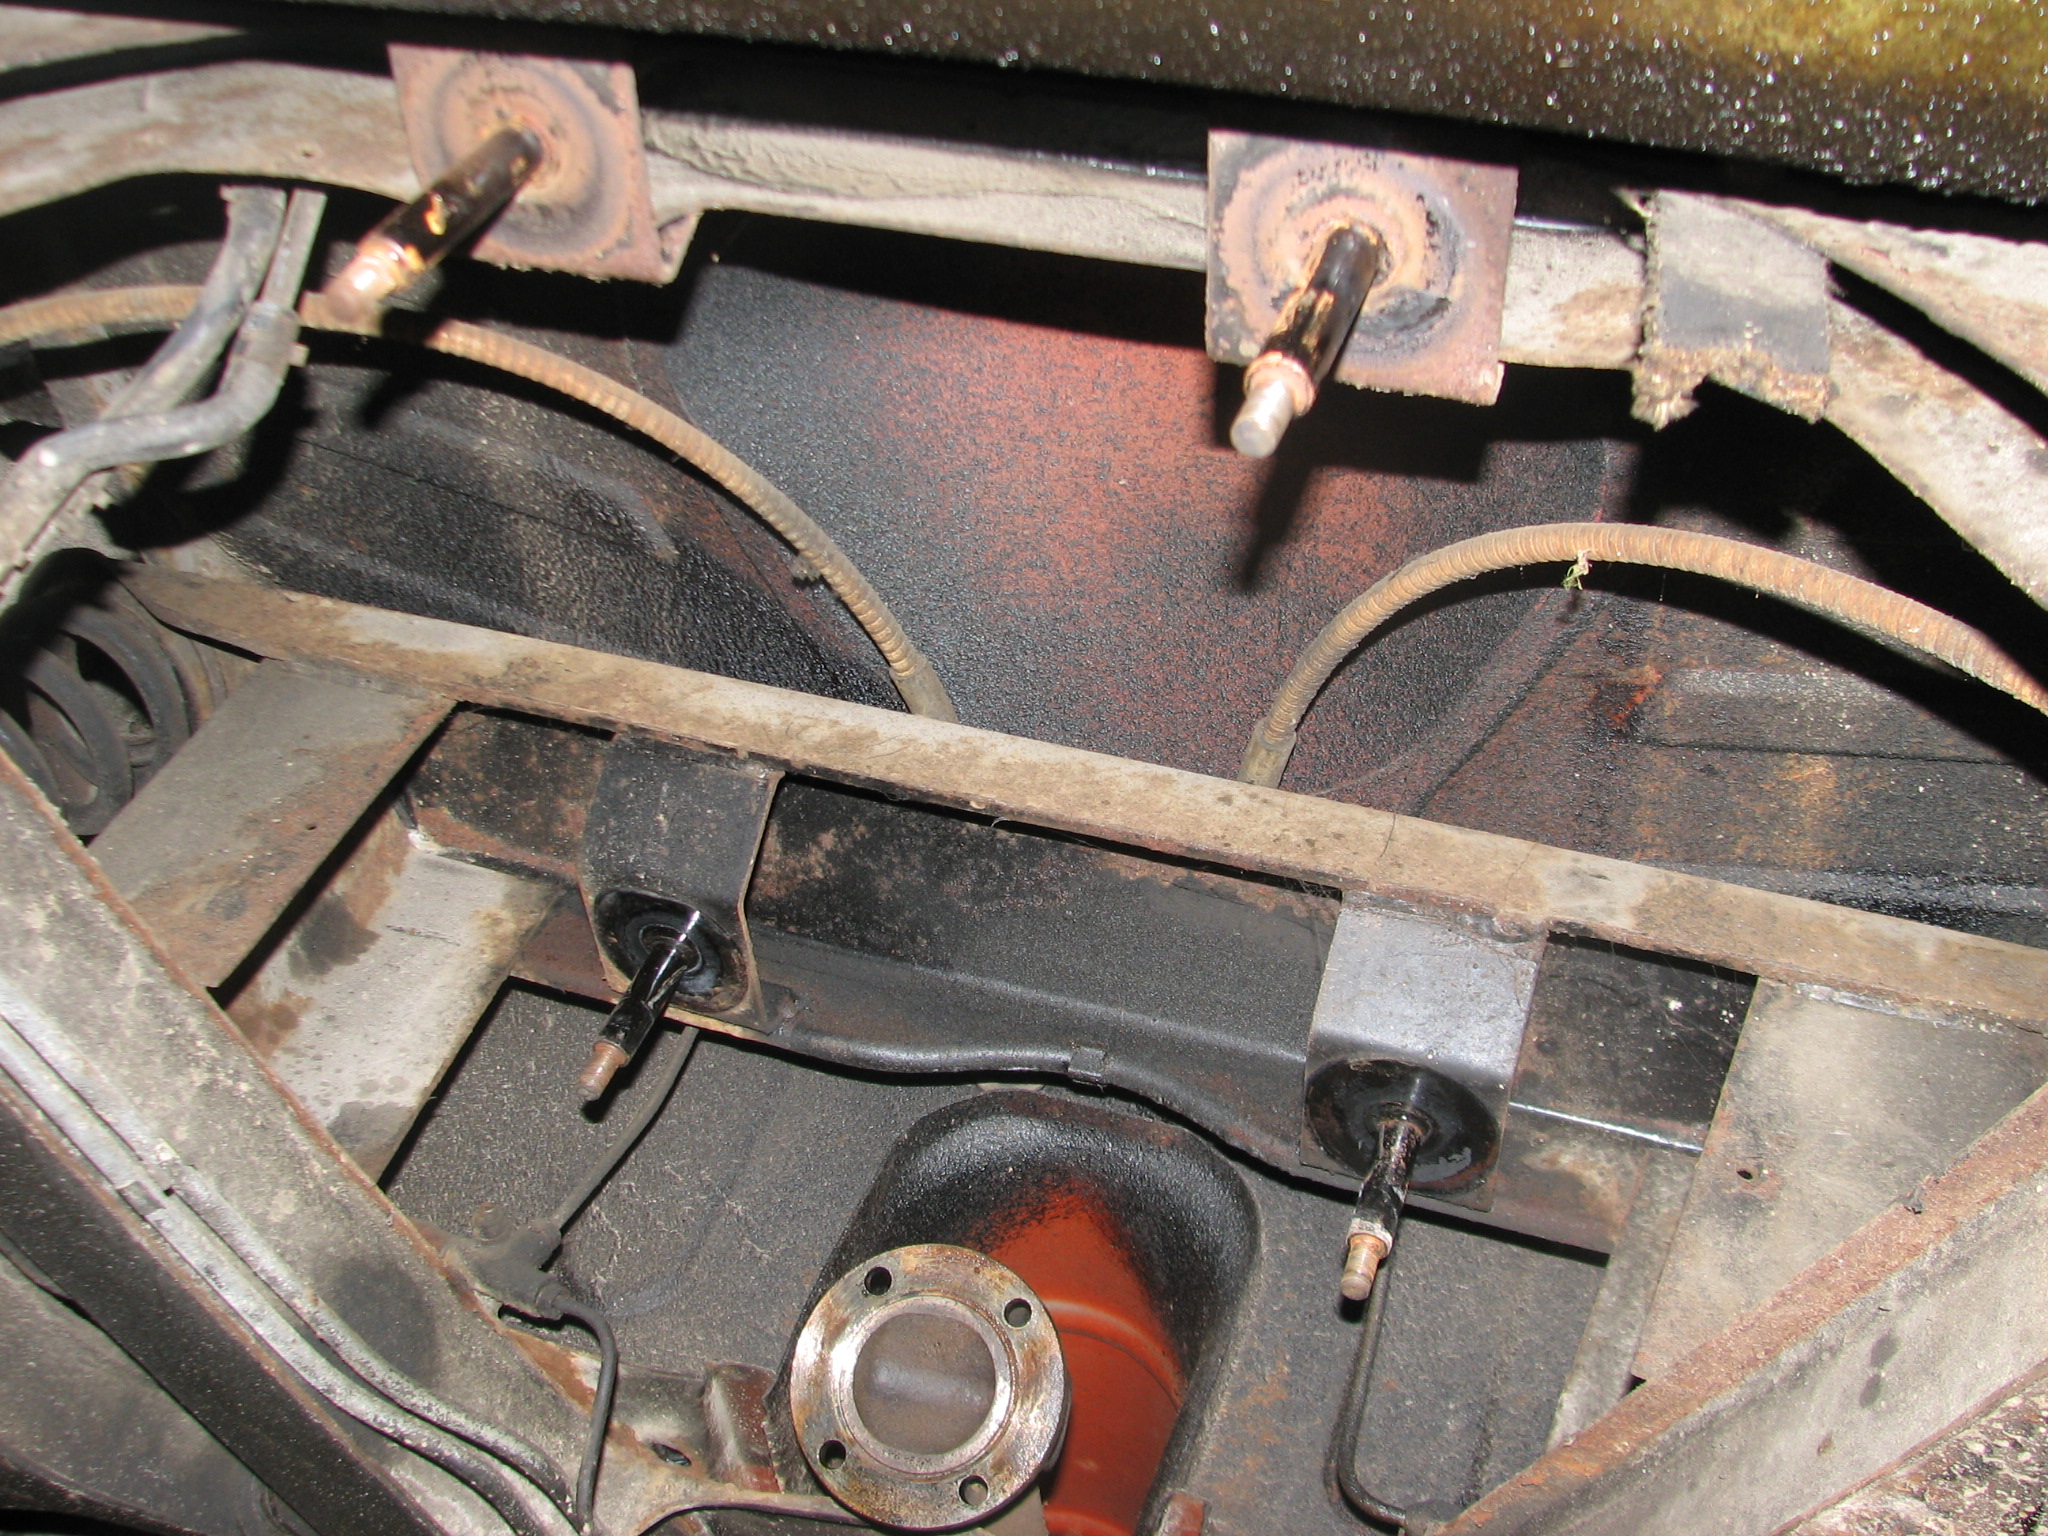
Photo of the four differential mounts while the differential is removed. The ones in the top portion of the photograph are towards the rear of the car. The lower ones are towards the front of the car. The front mount on the passenger’s side (the American passenger’s side, that is) of the car is generally the one that goes first. The cracks can be either visible on the bottom radiating out from the center or on top next to the body where they are hard to see. To be clear, these are not cracked… just showing what the mounts look like.
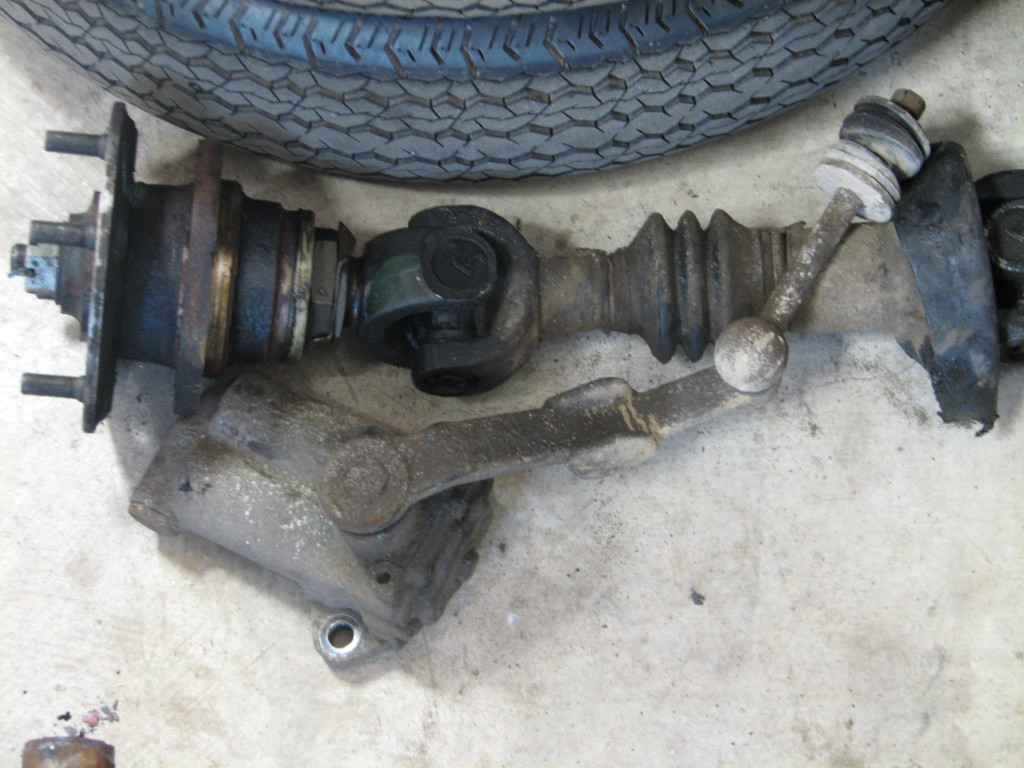
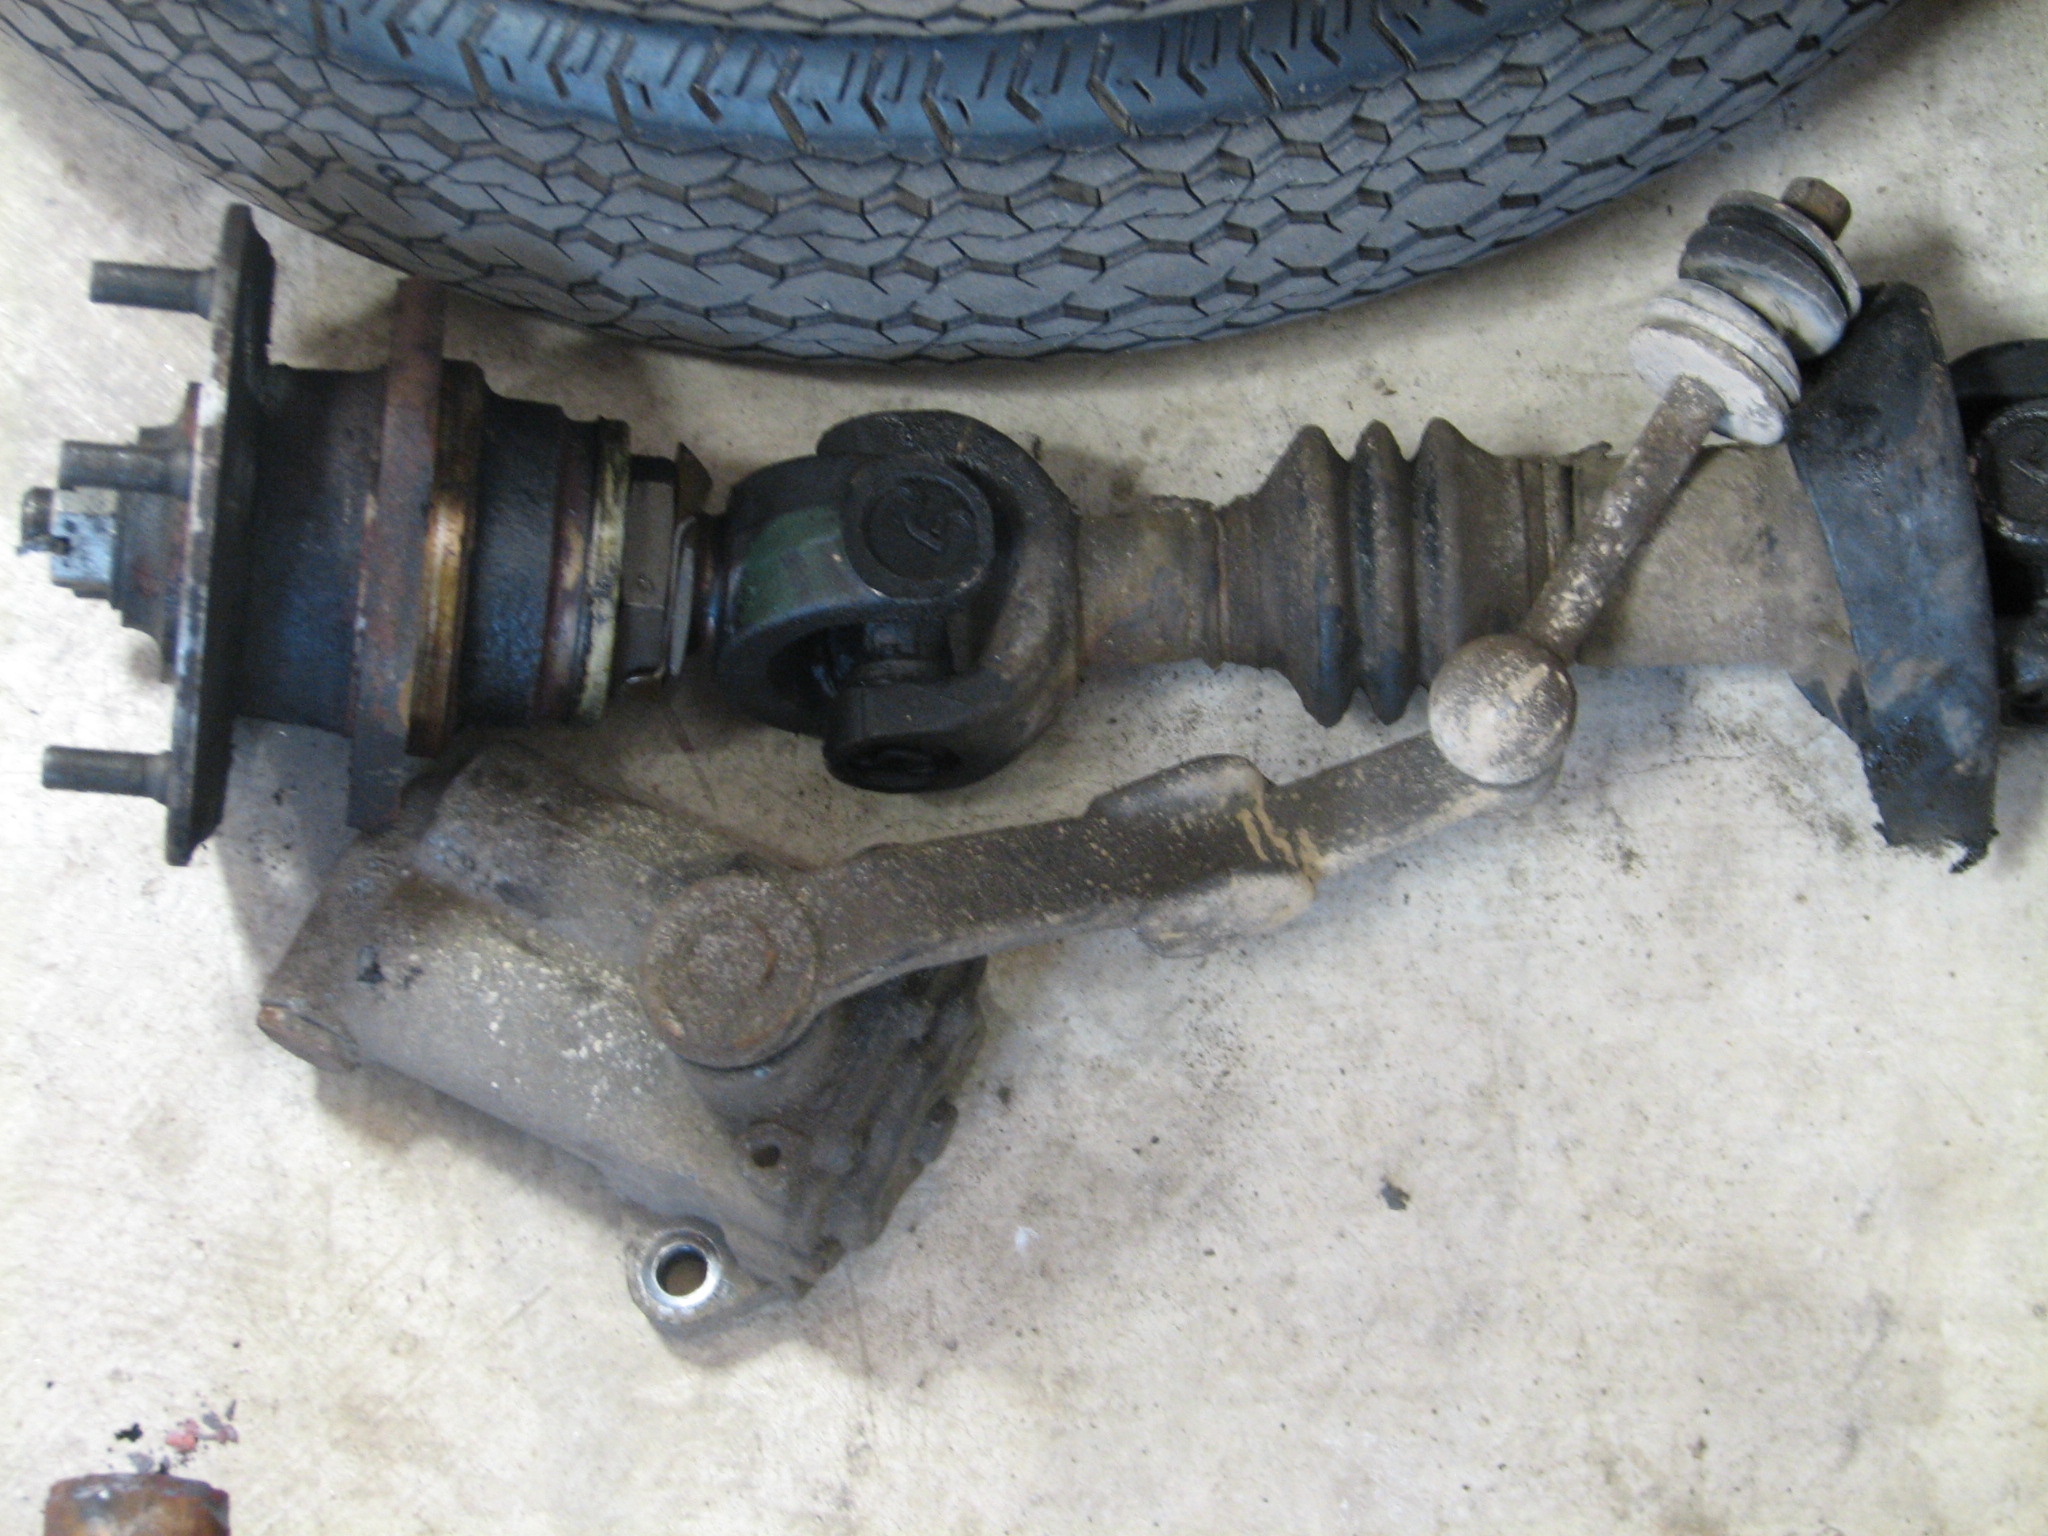
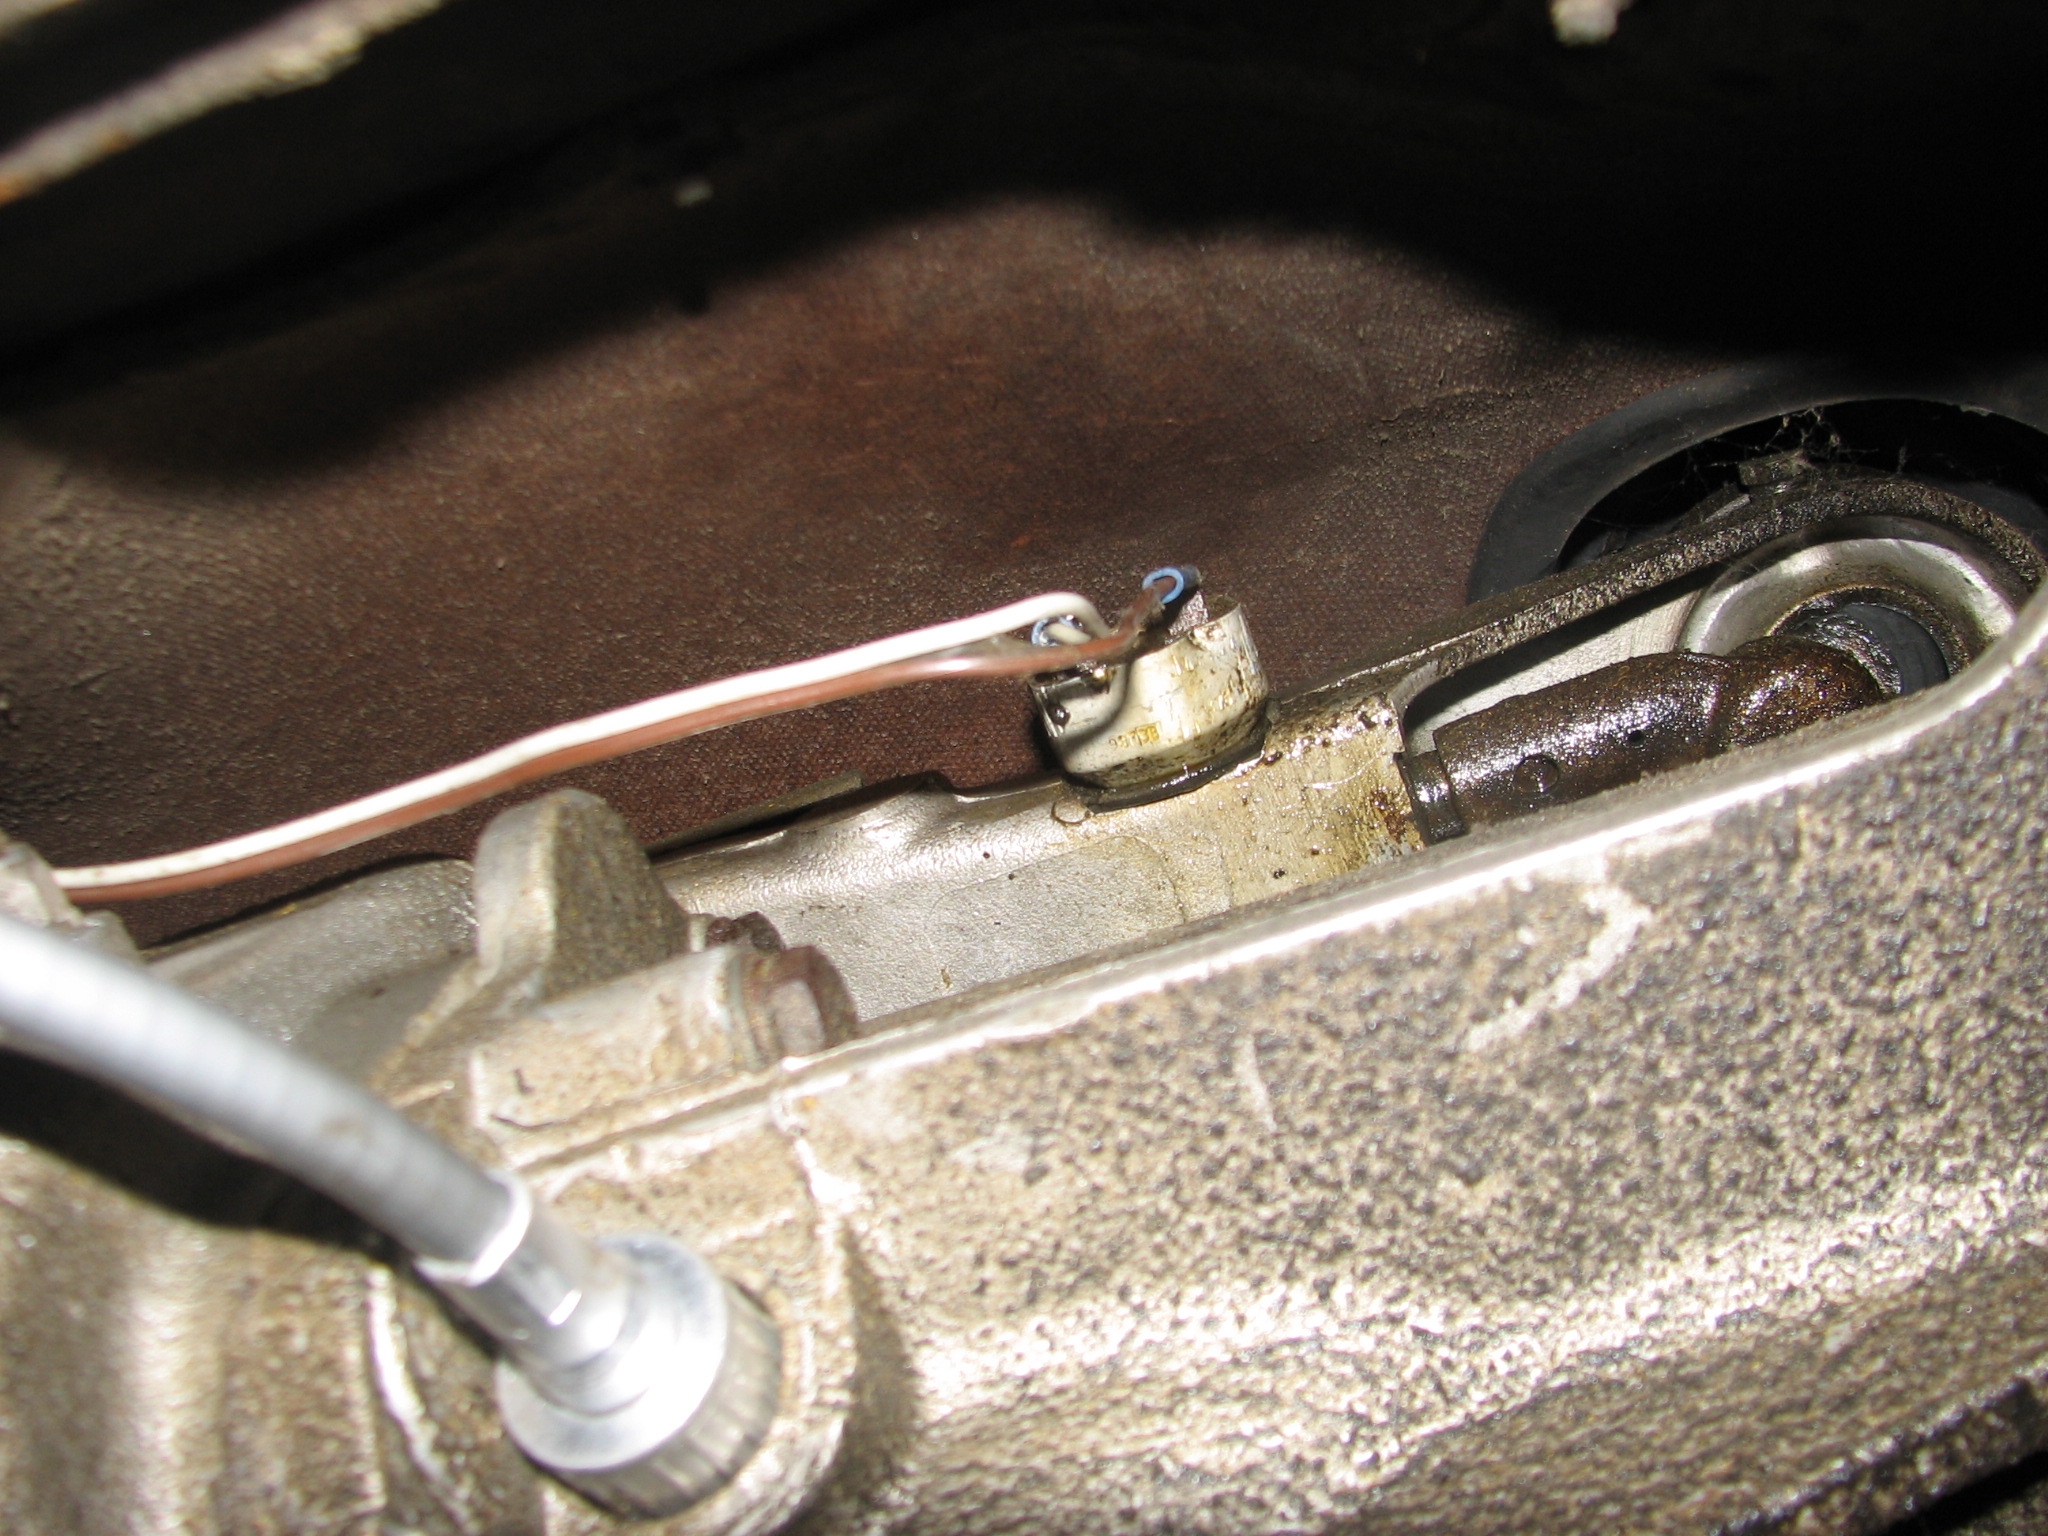
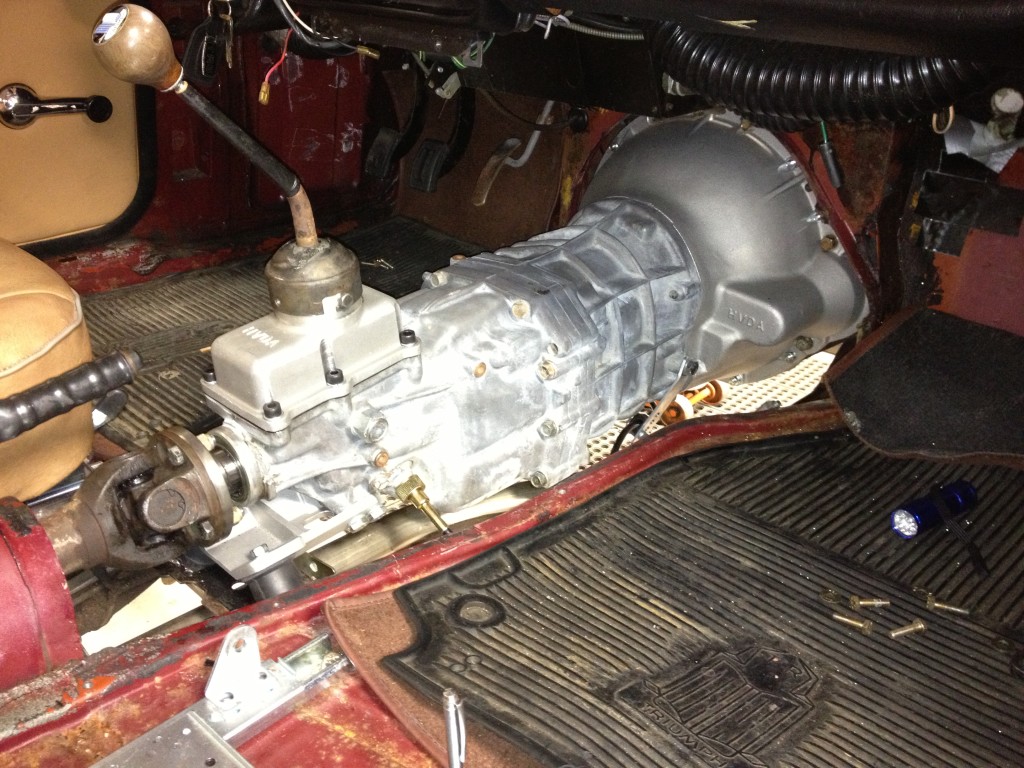
TR6 Half Shaft with Lever Shock Below
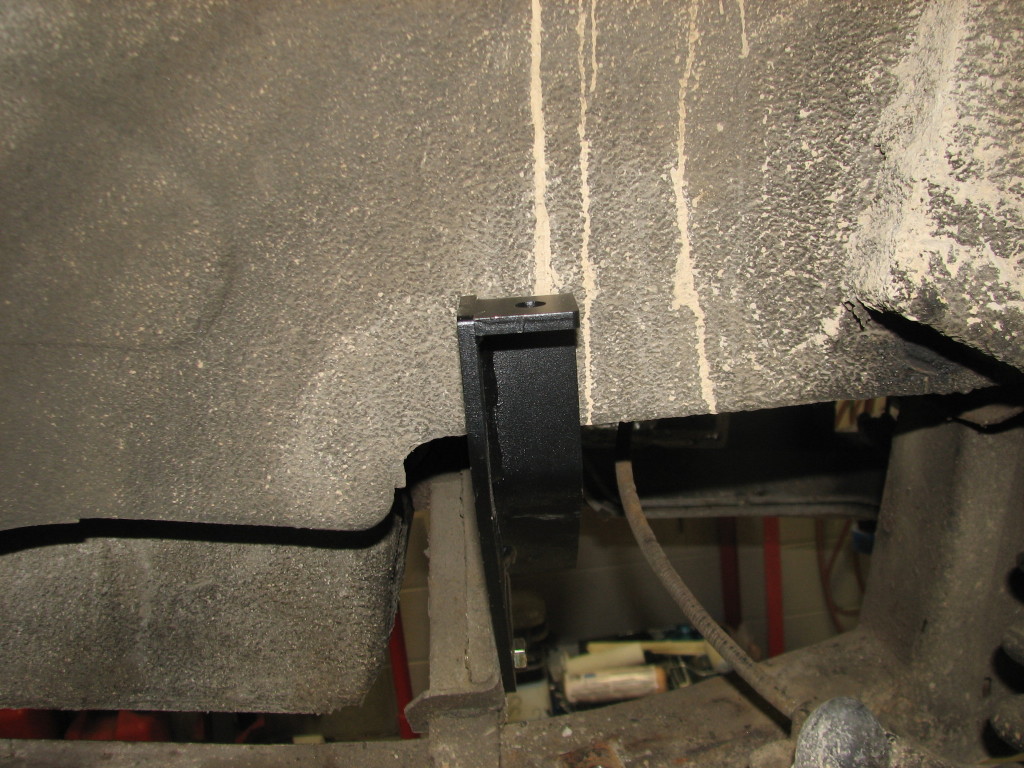
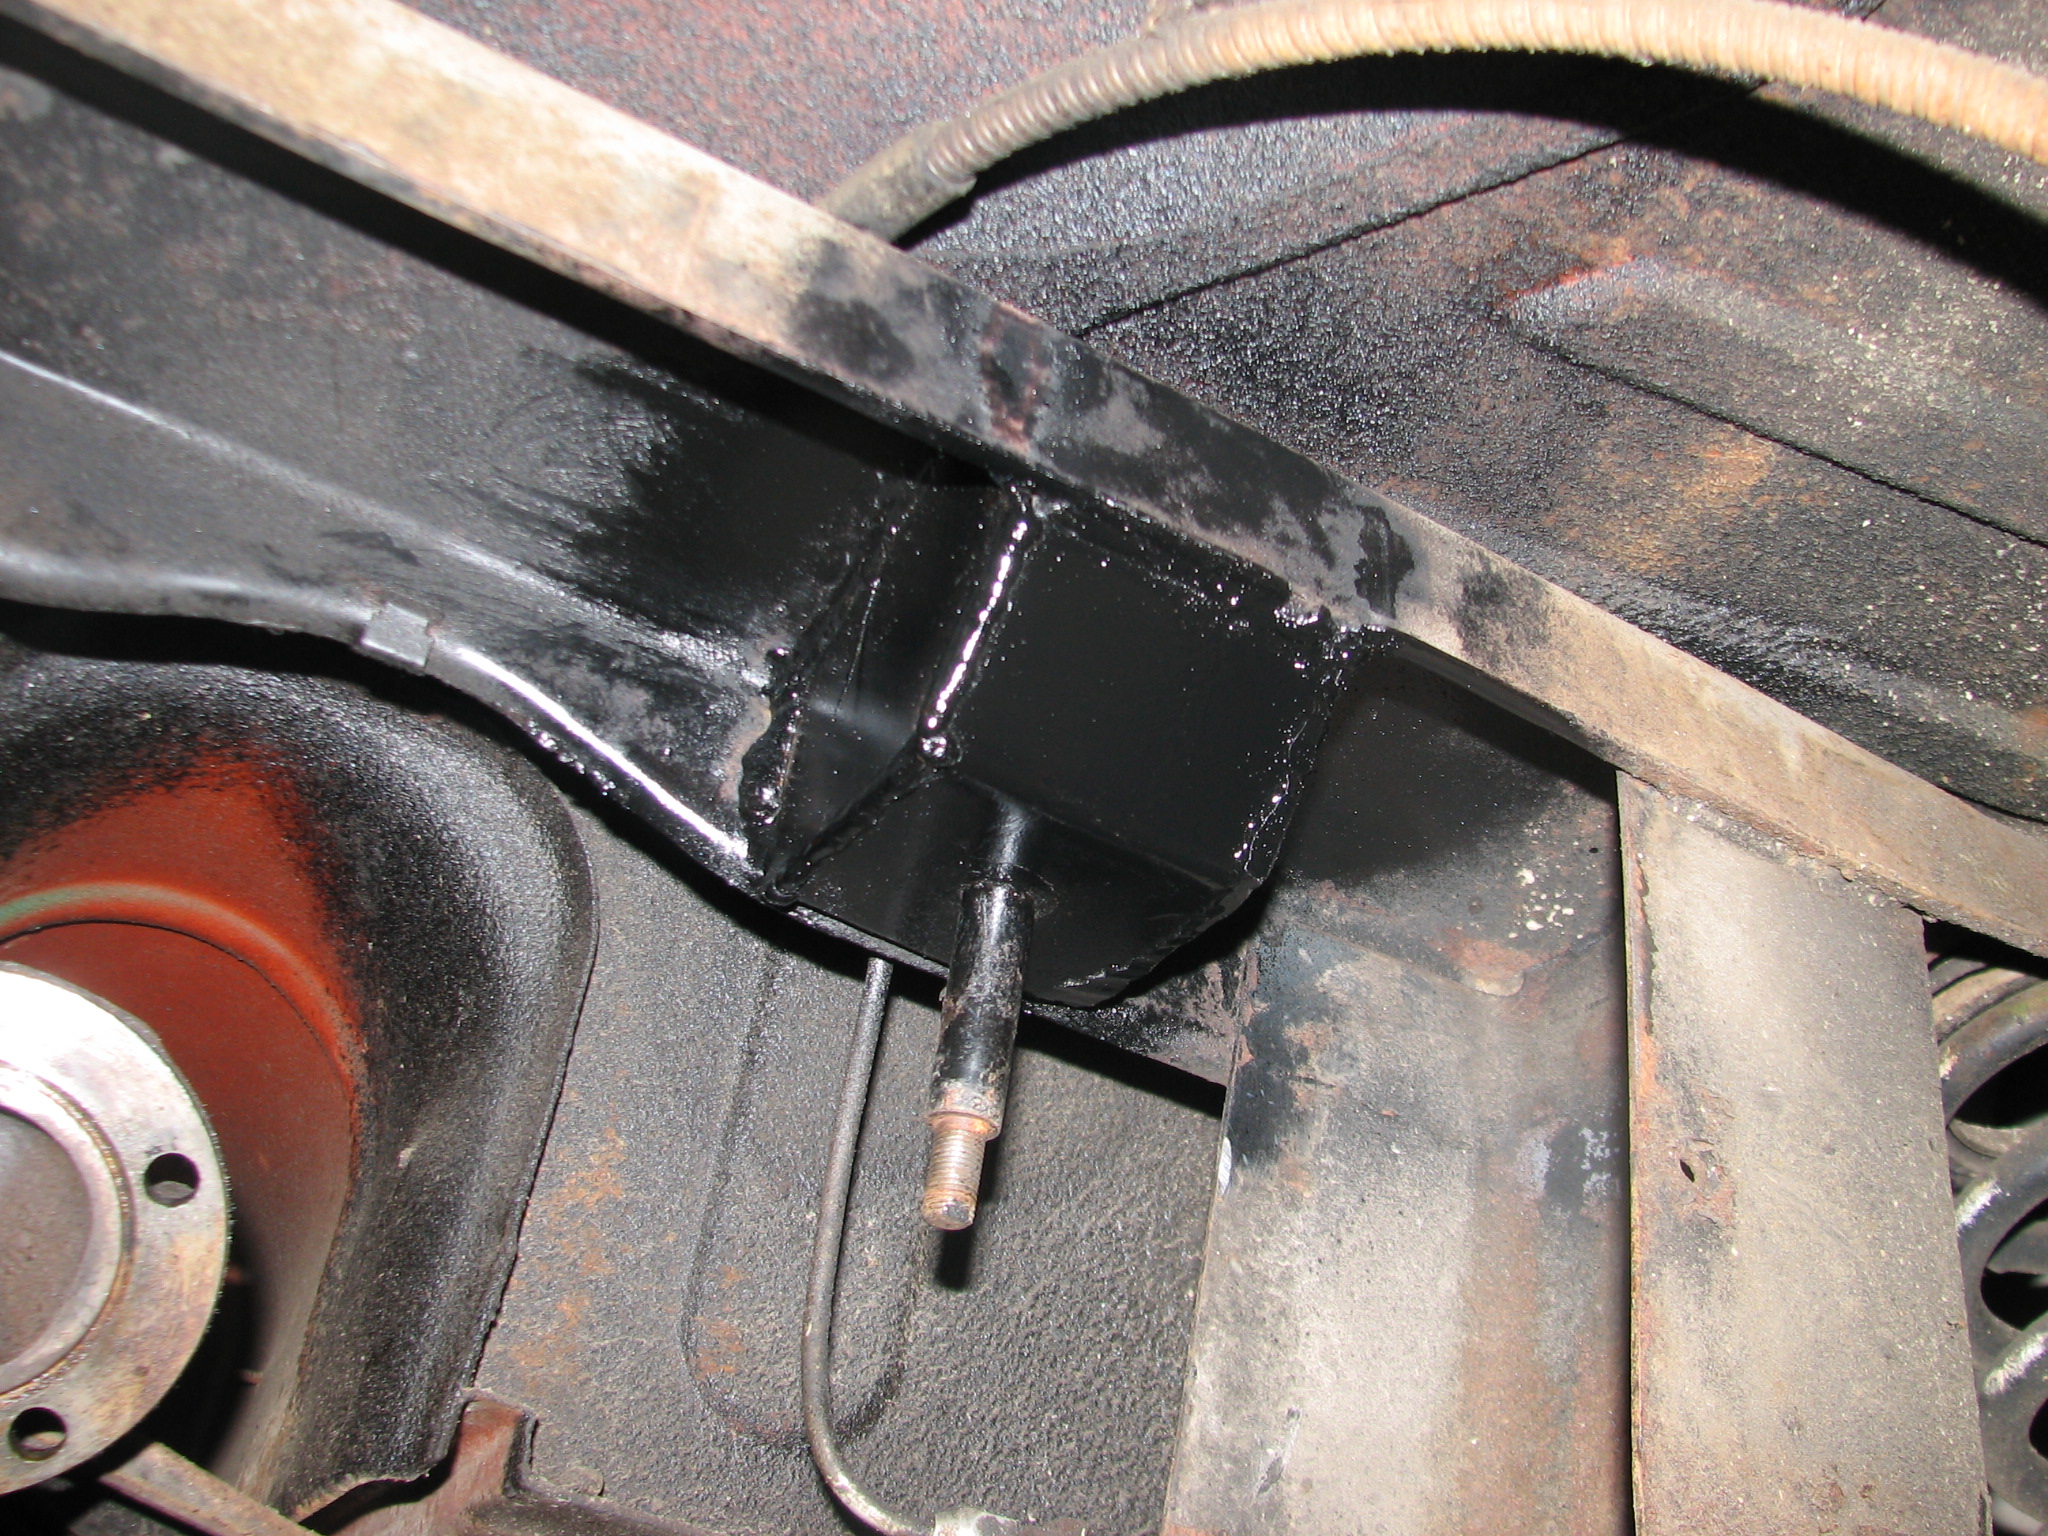
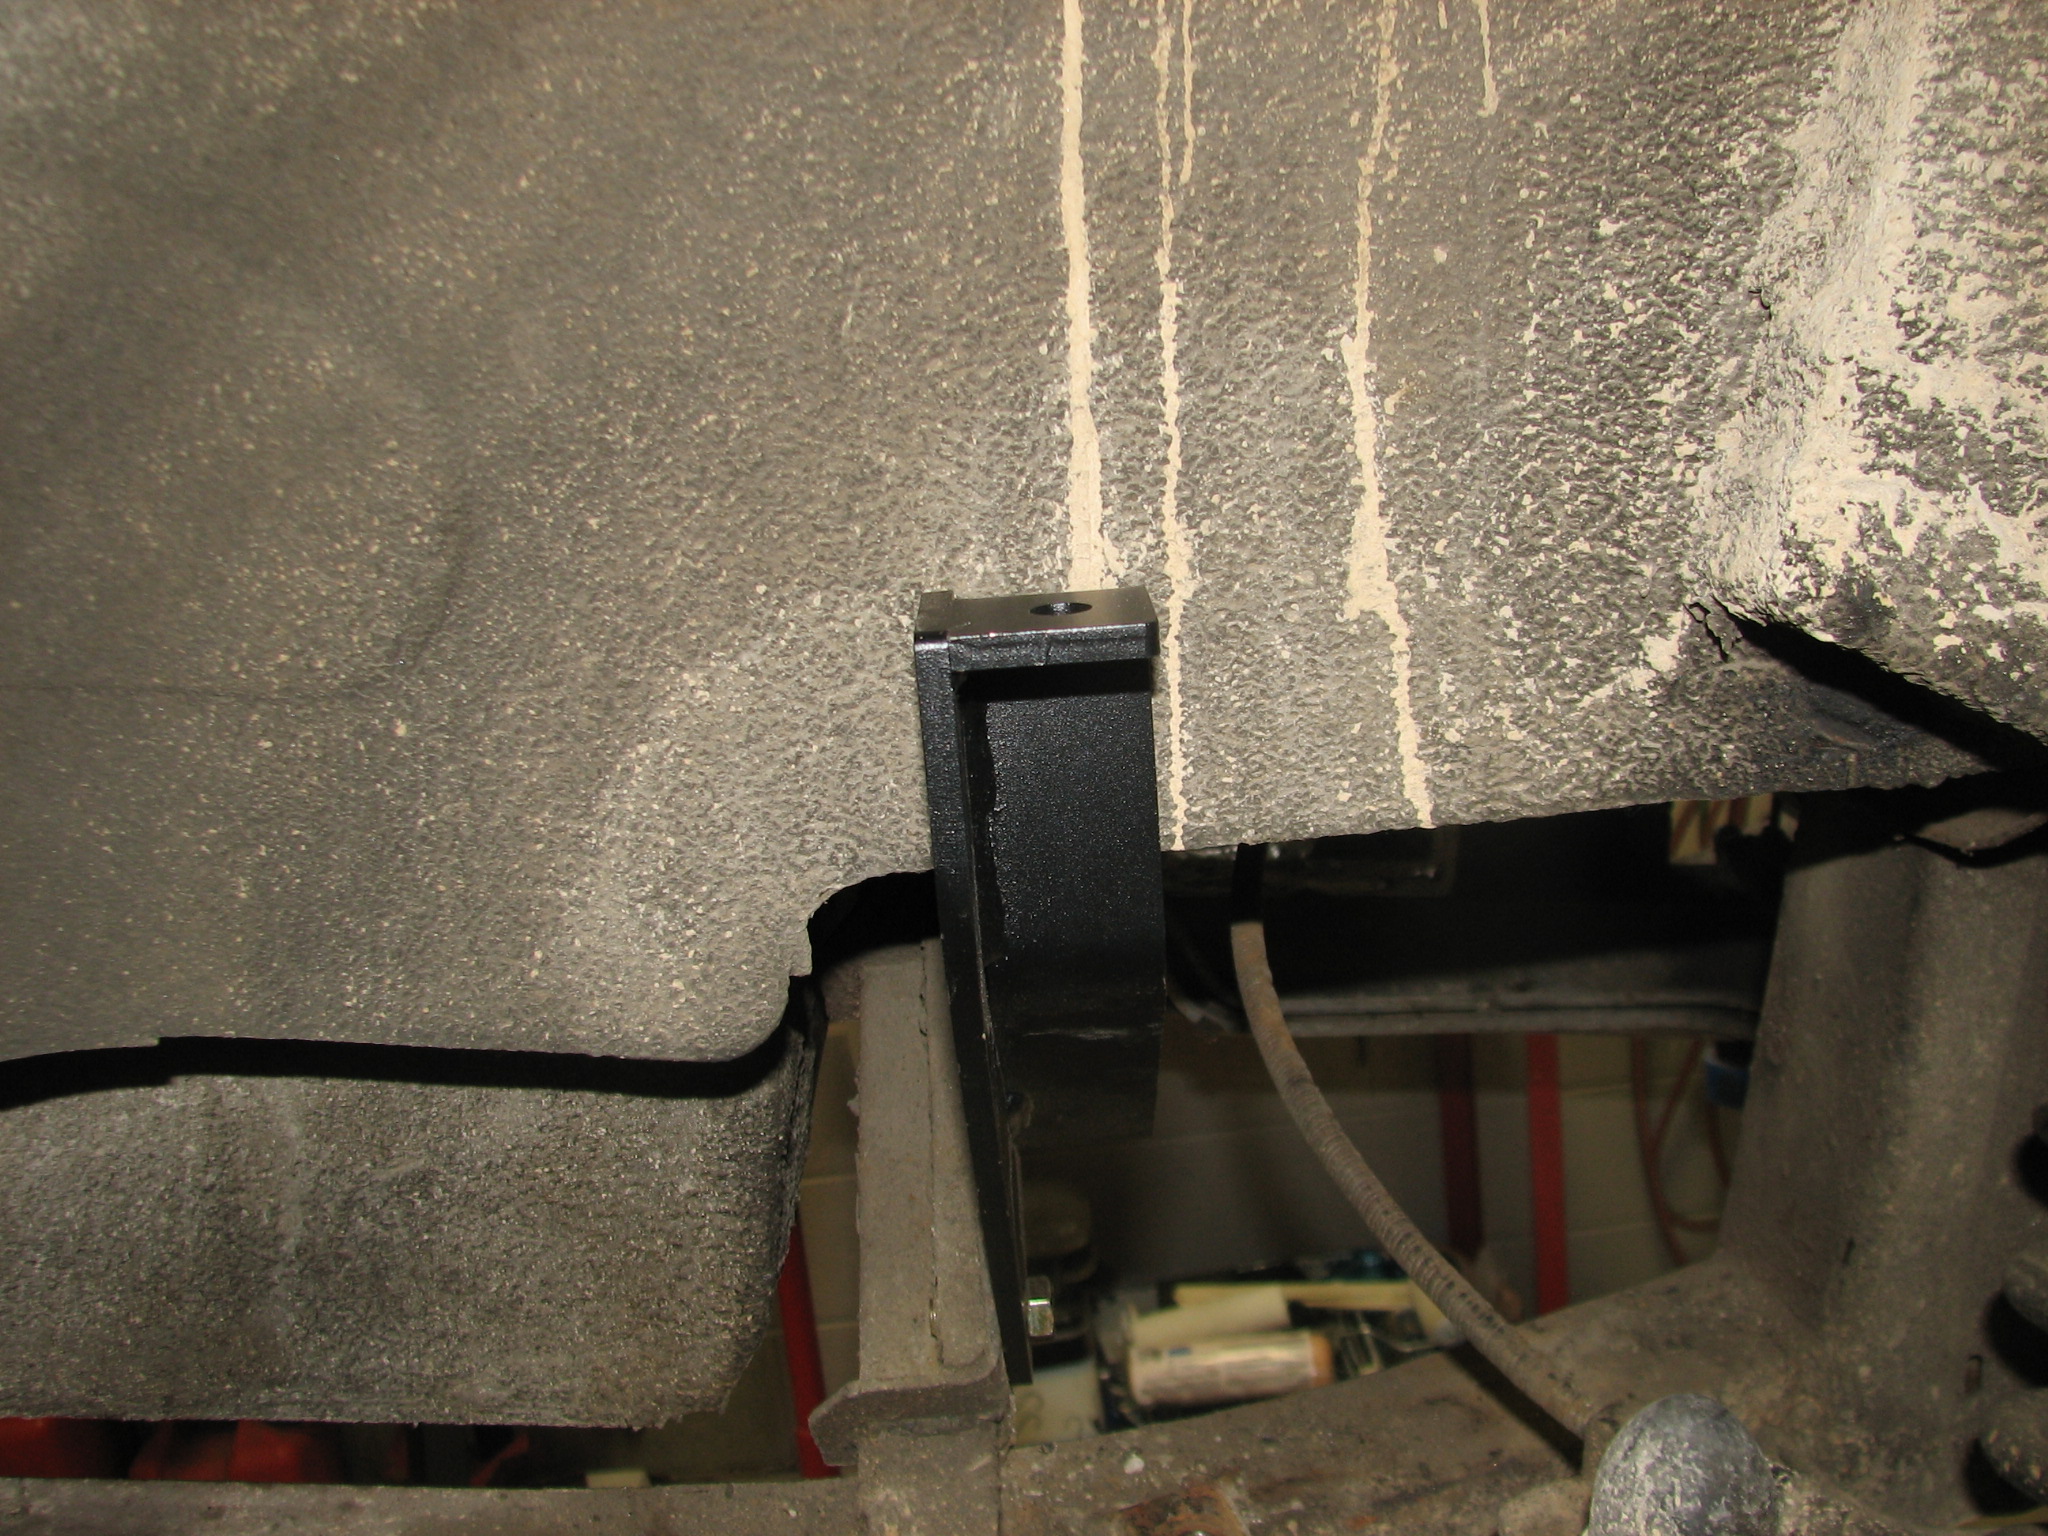
We are replacing the old lever shocks with tube shocks. This brace is part of that package. It’s not finished, as Chip will weld in another brace to guard against fore/aft stresses.
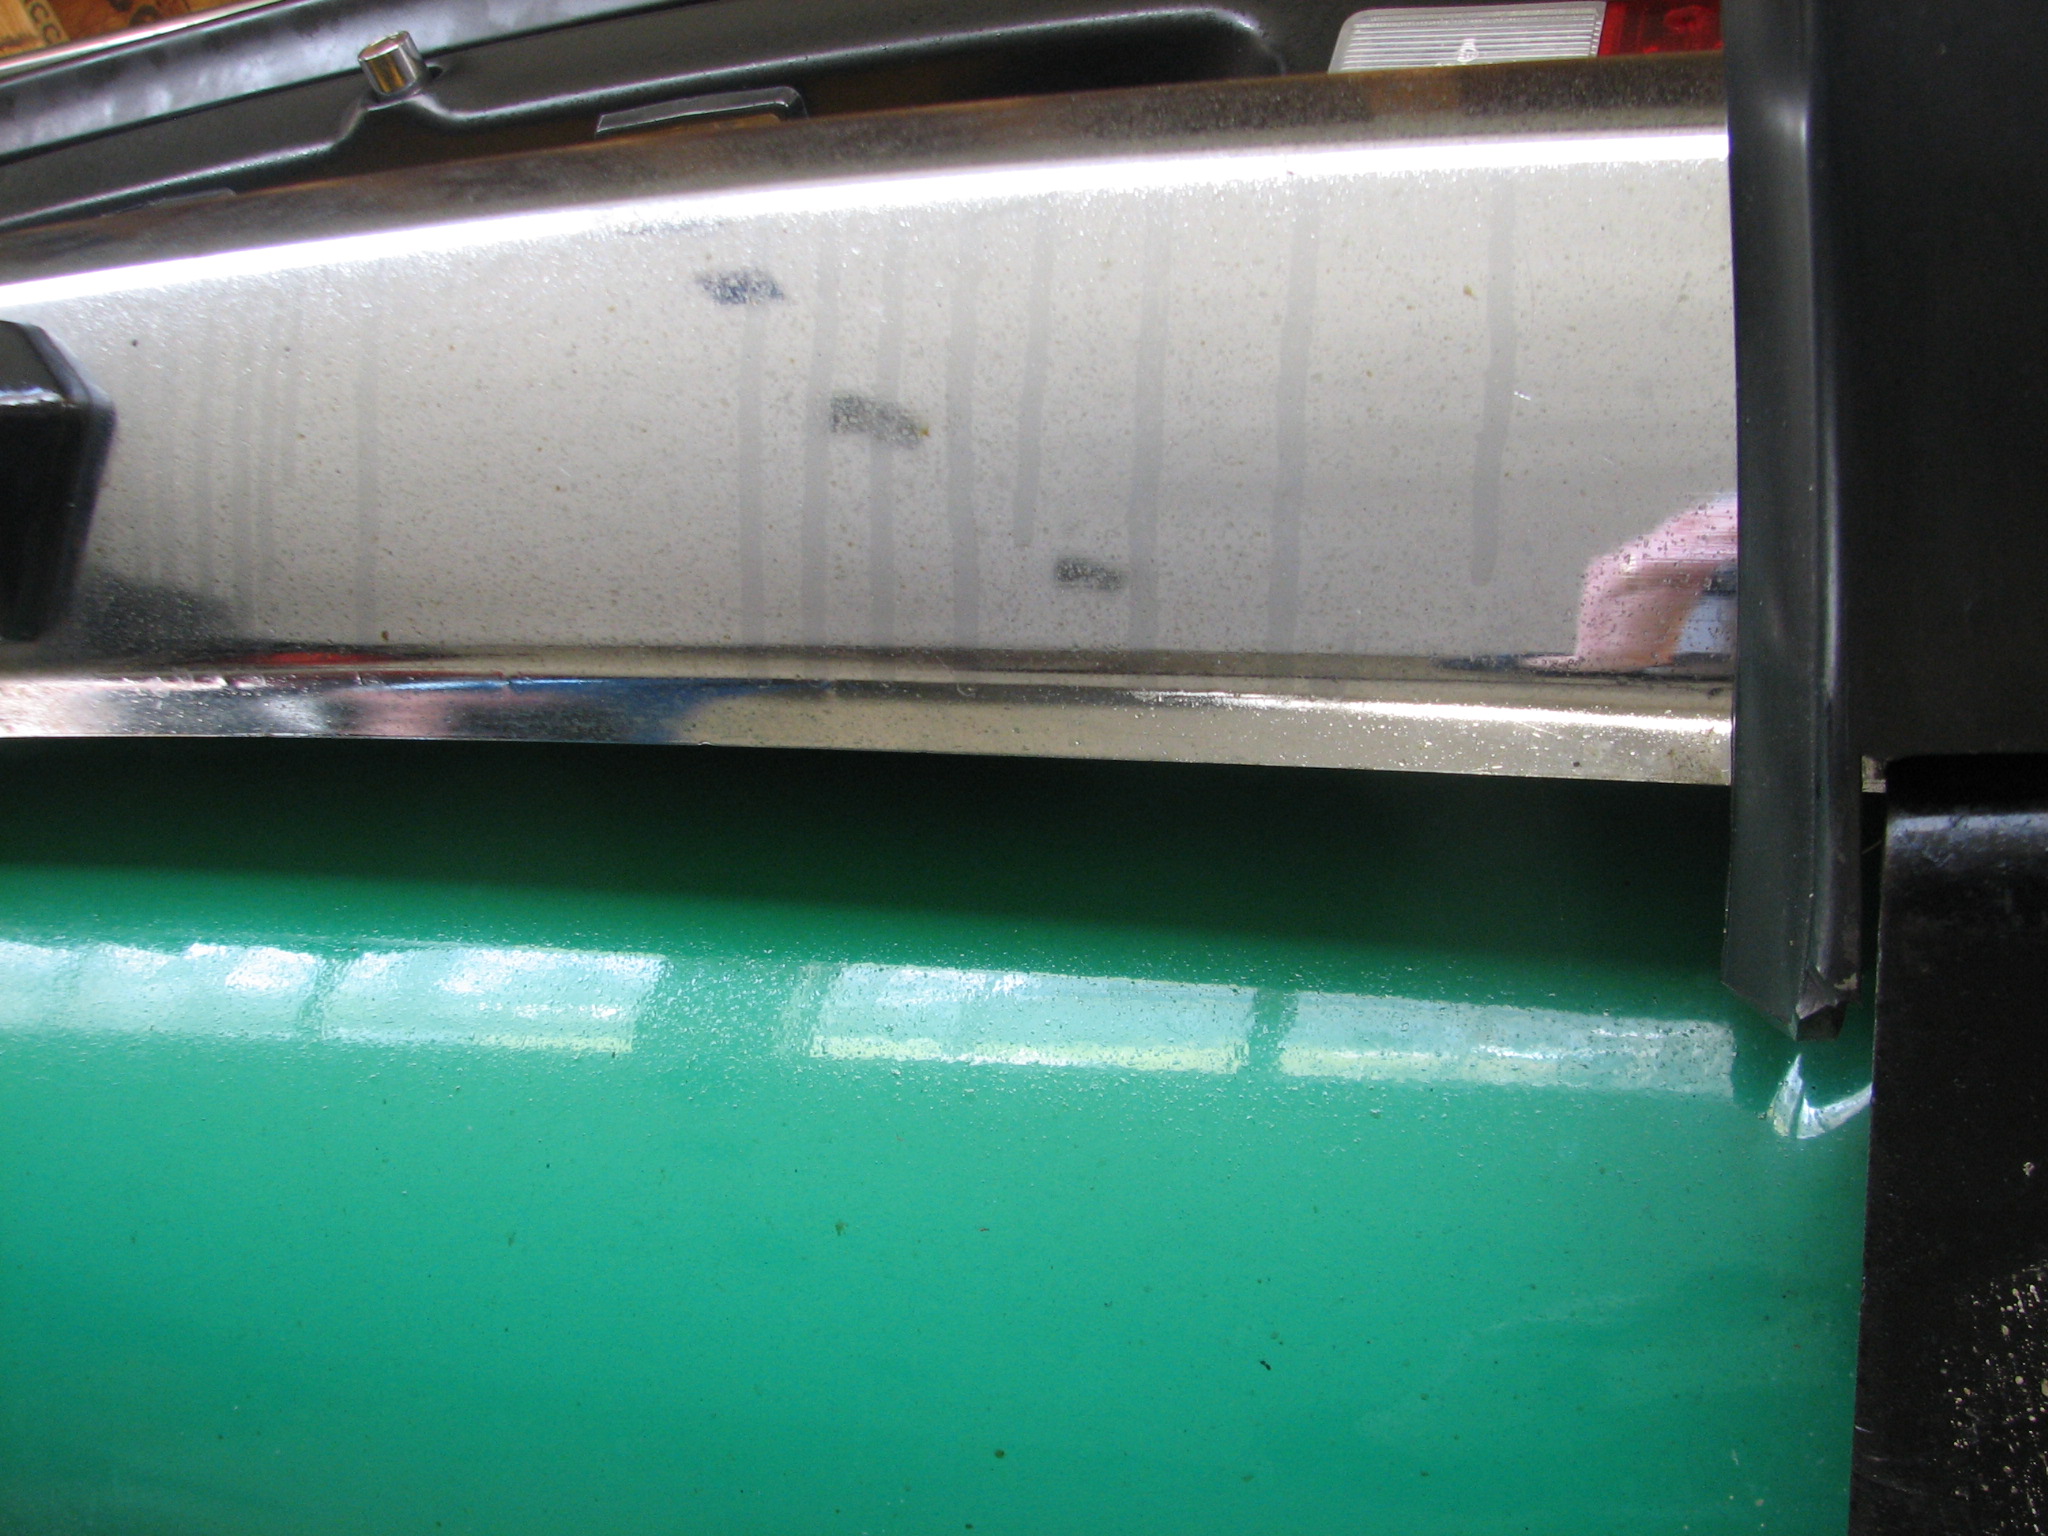
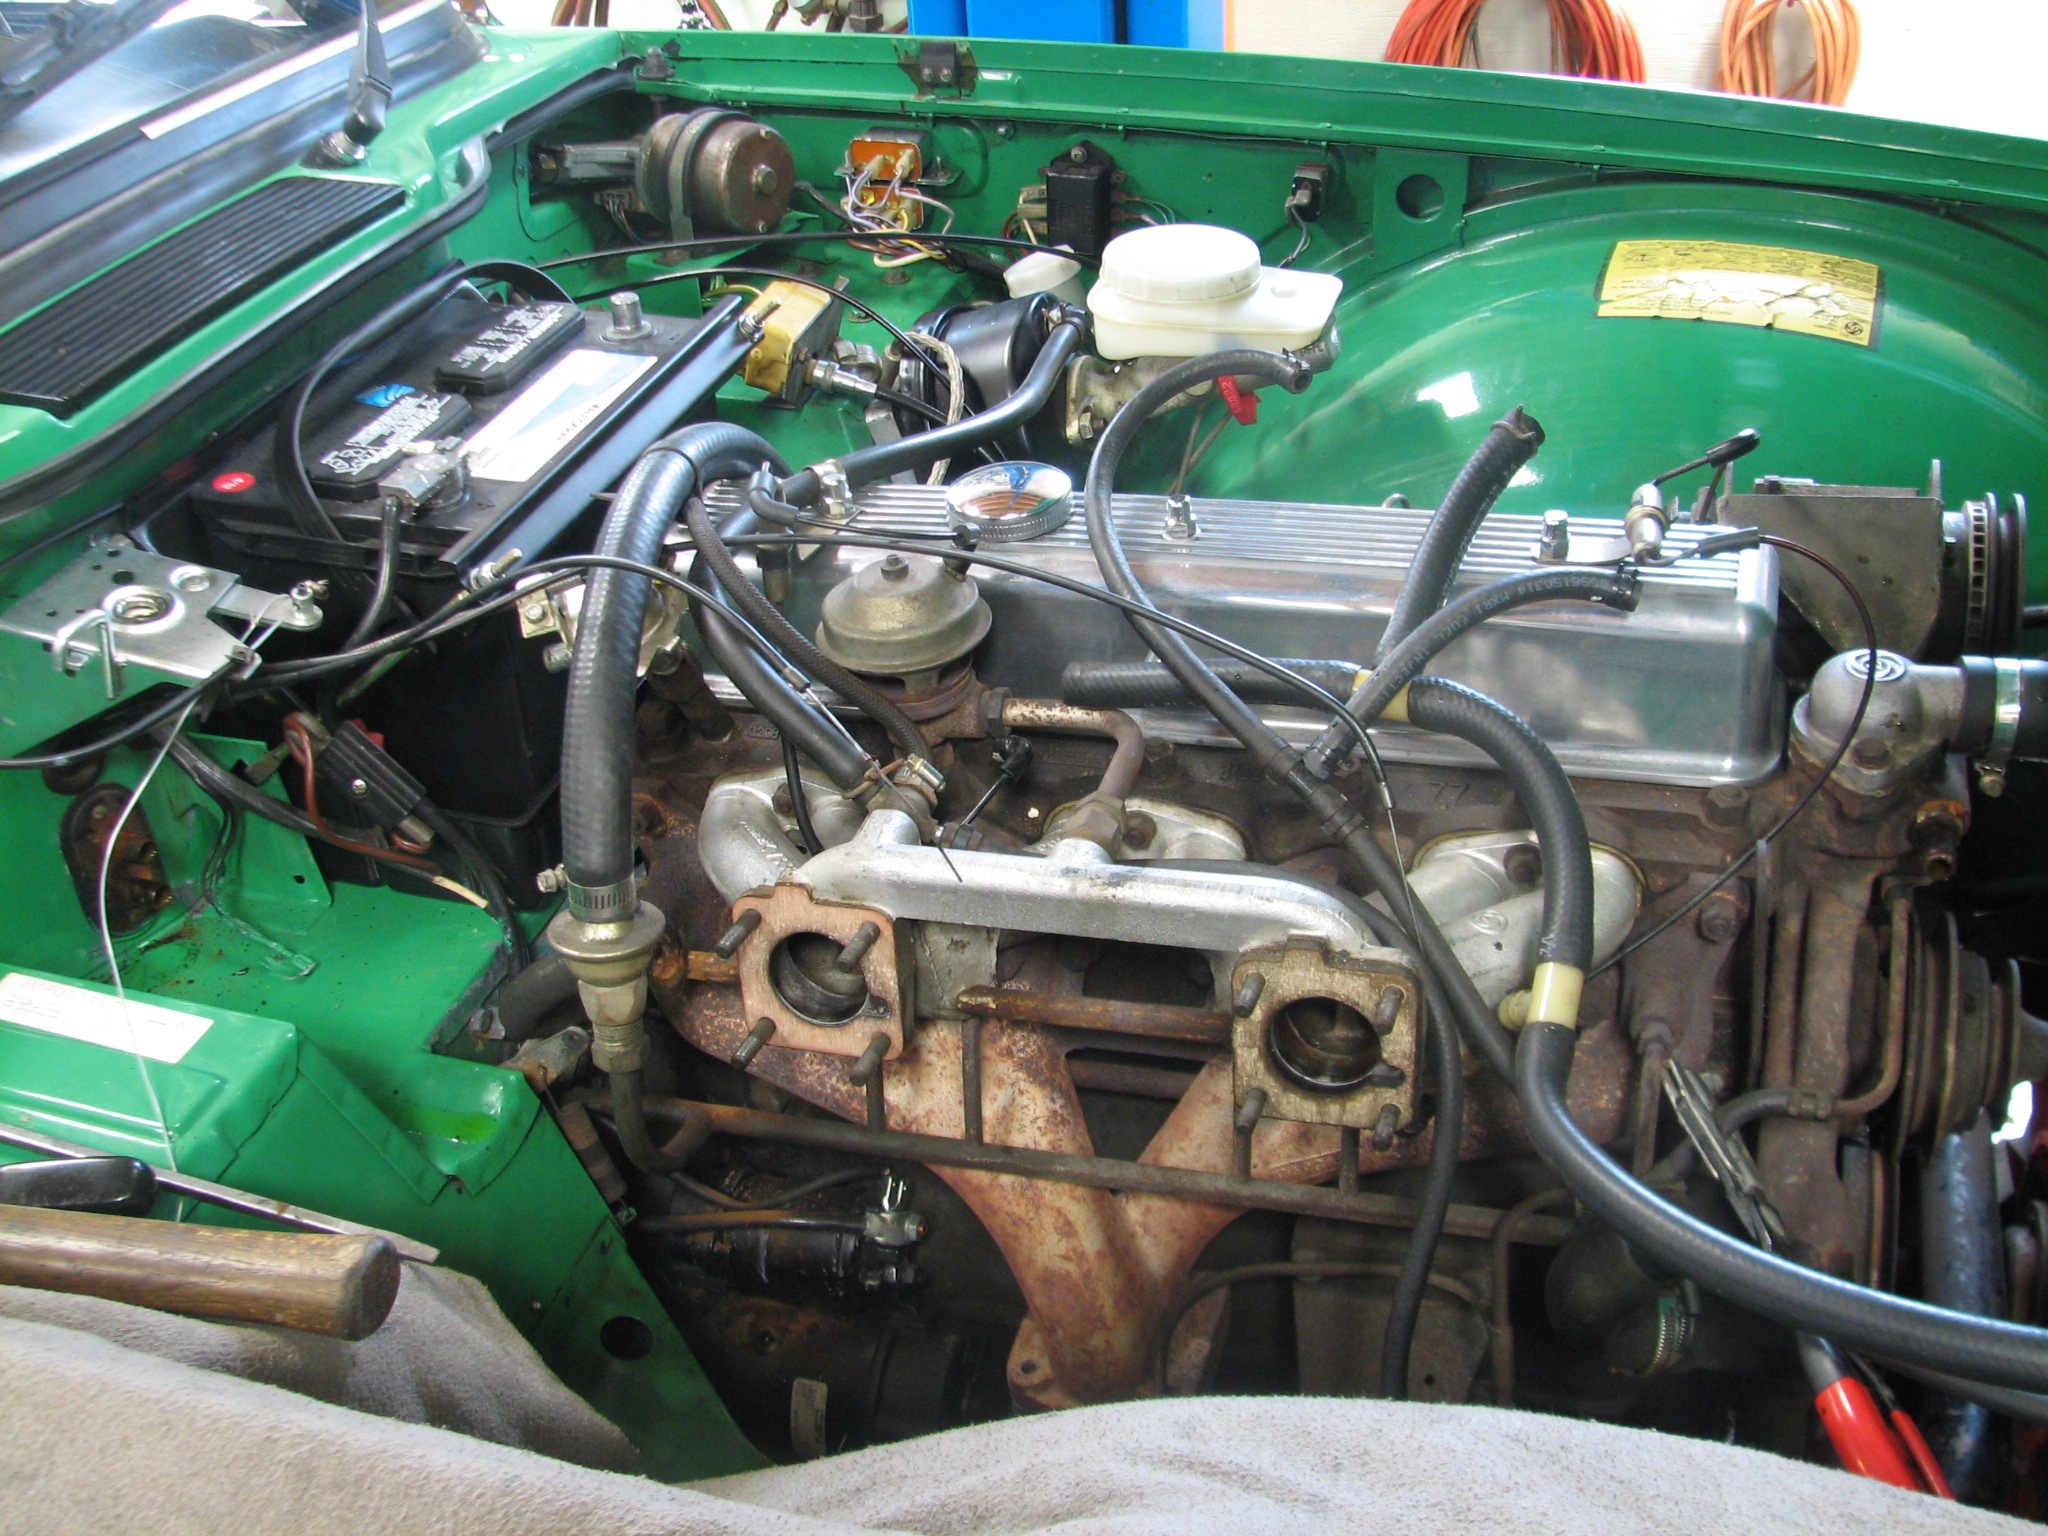
The car will get new coolant hoses and clamps.
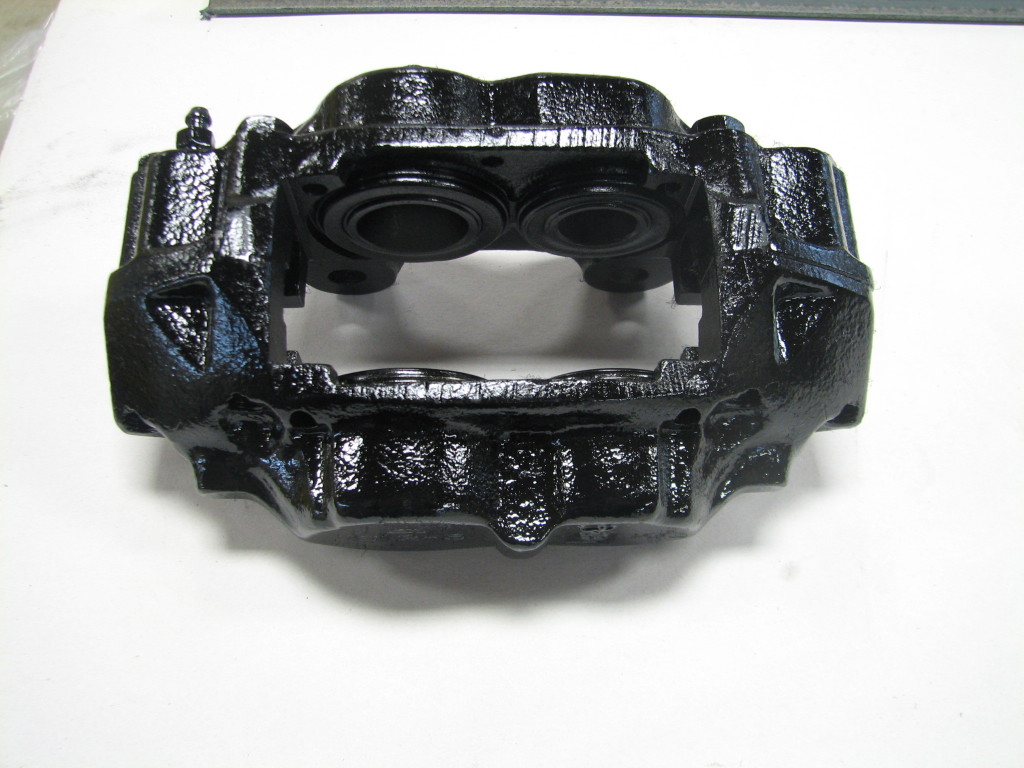
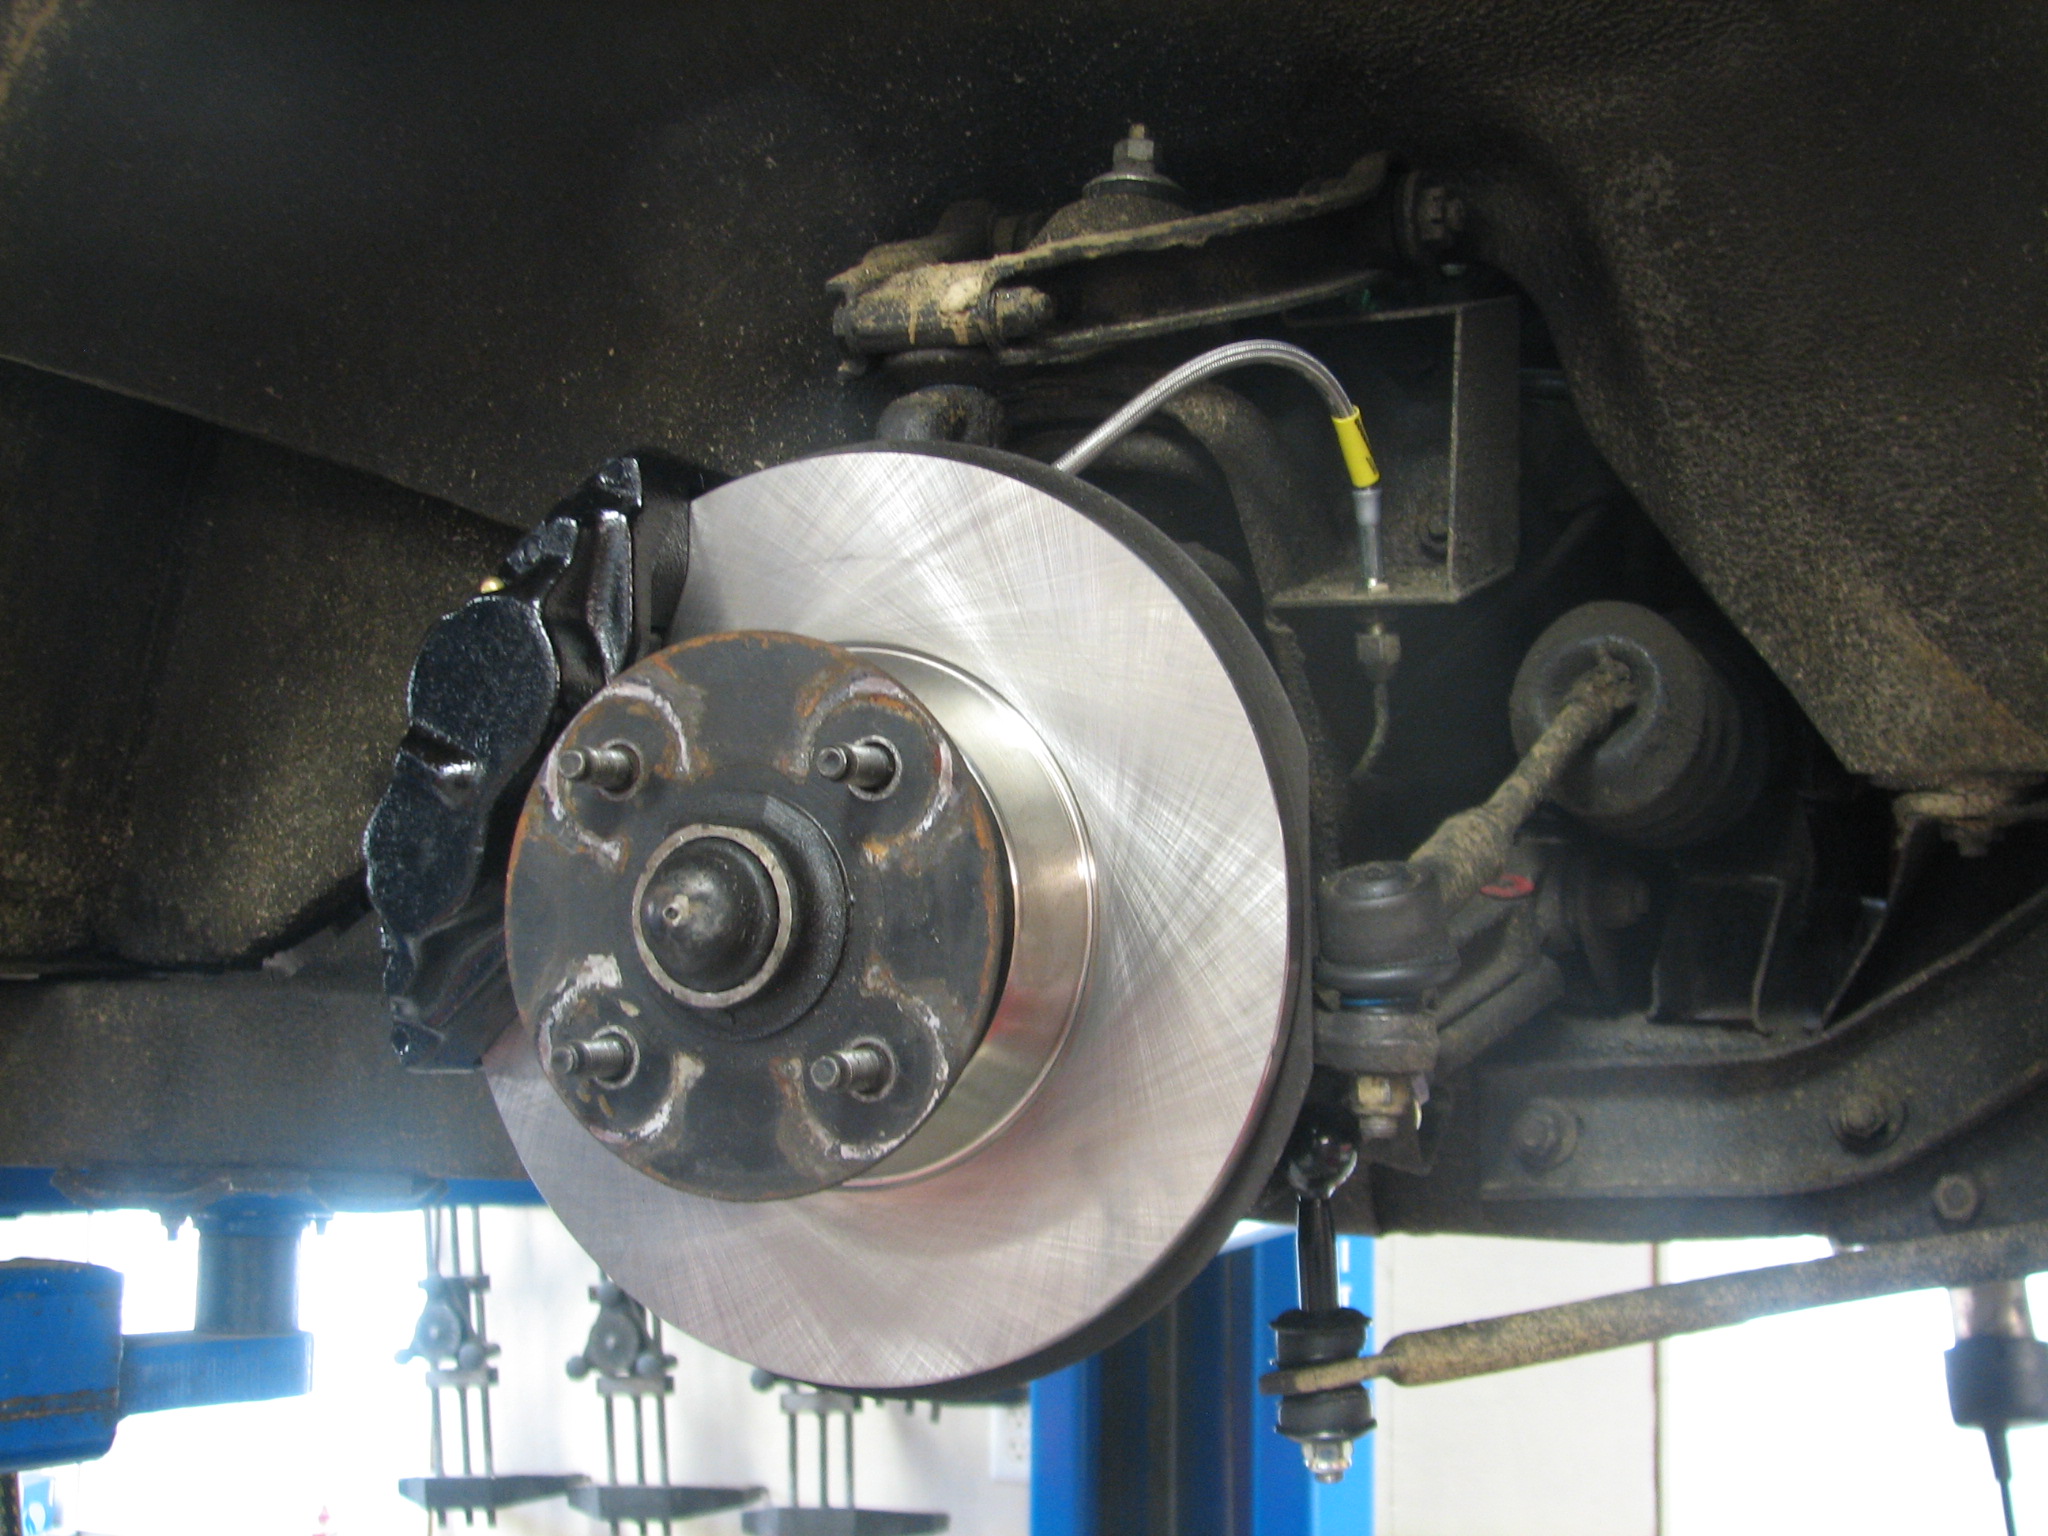
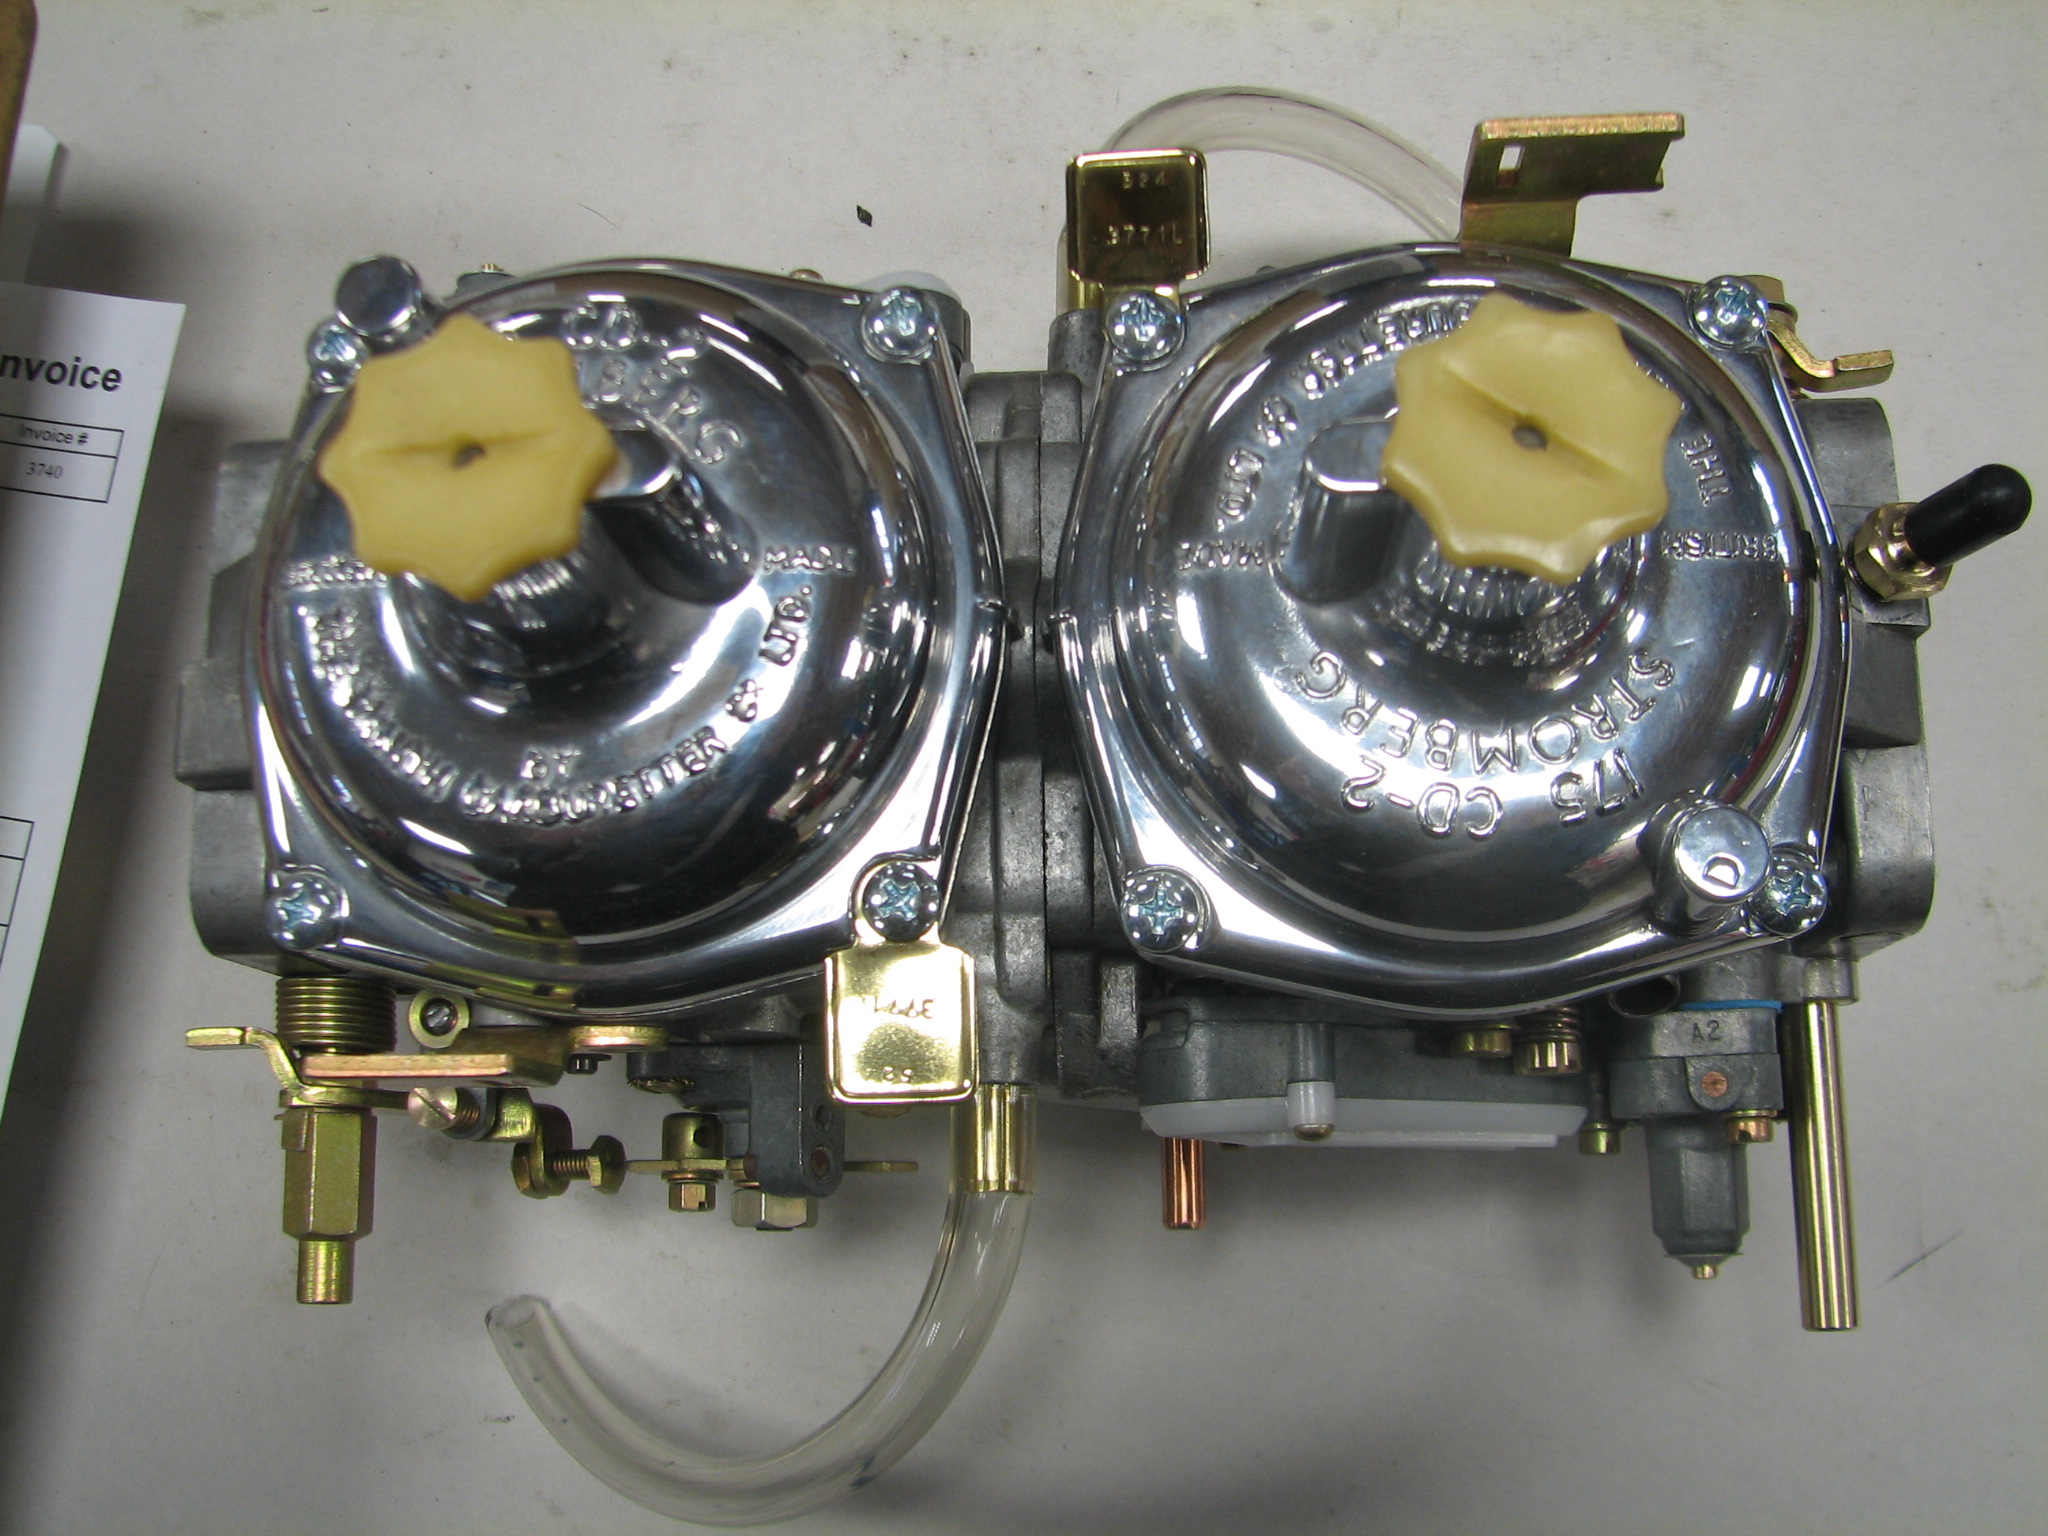
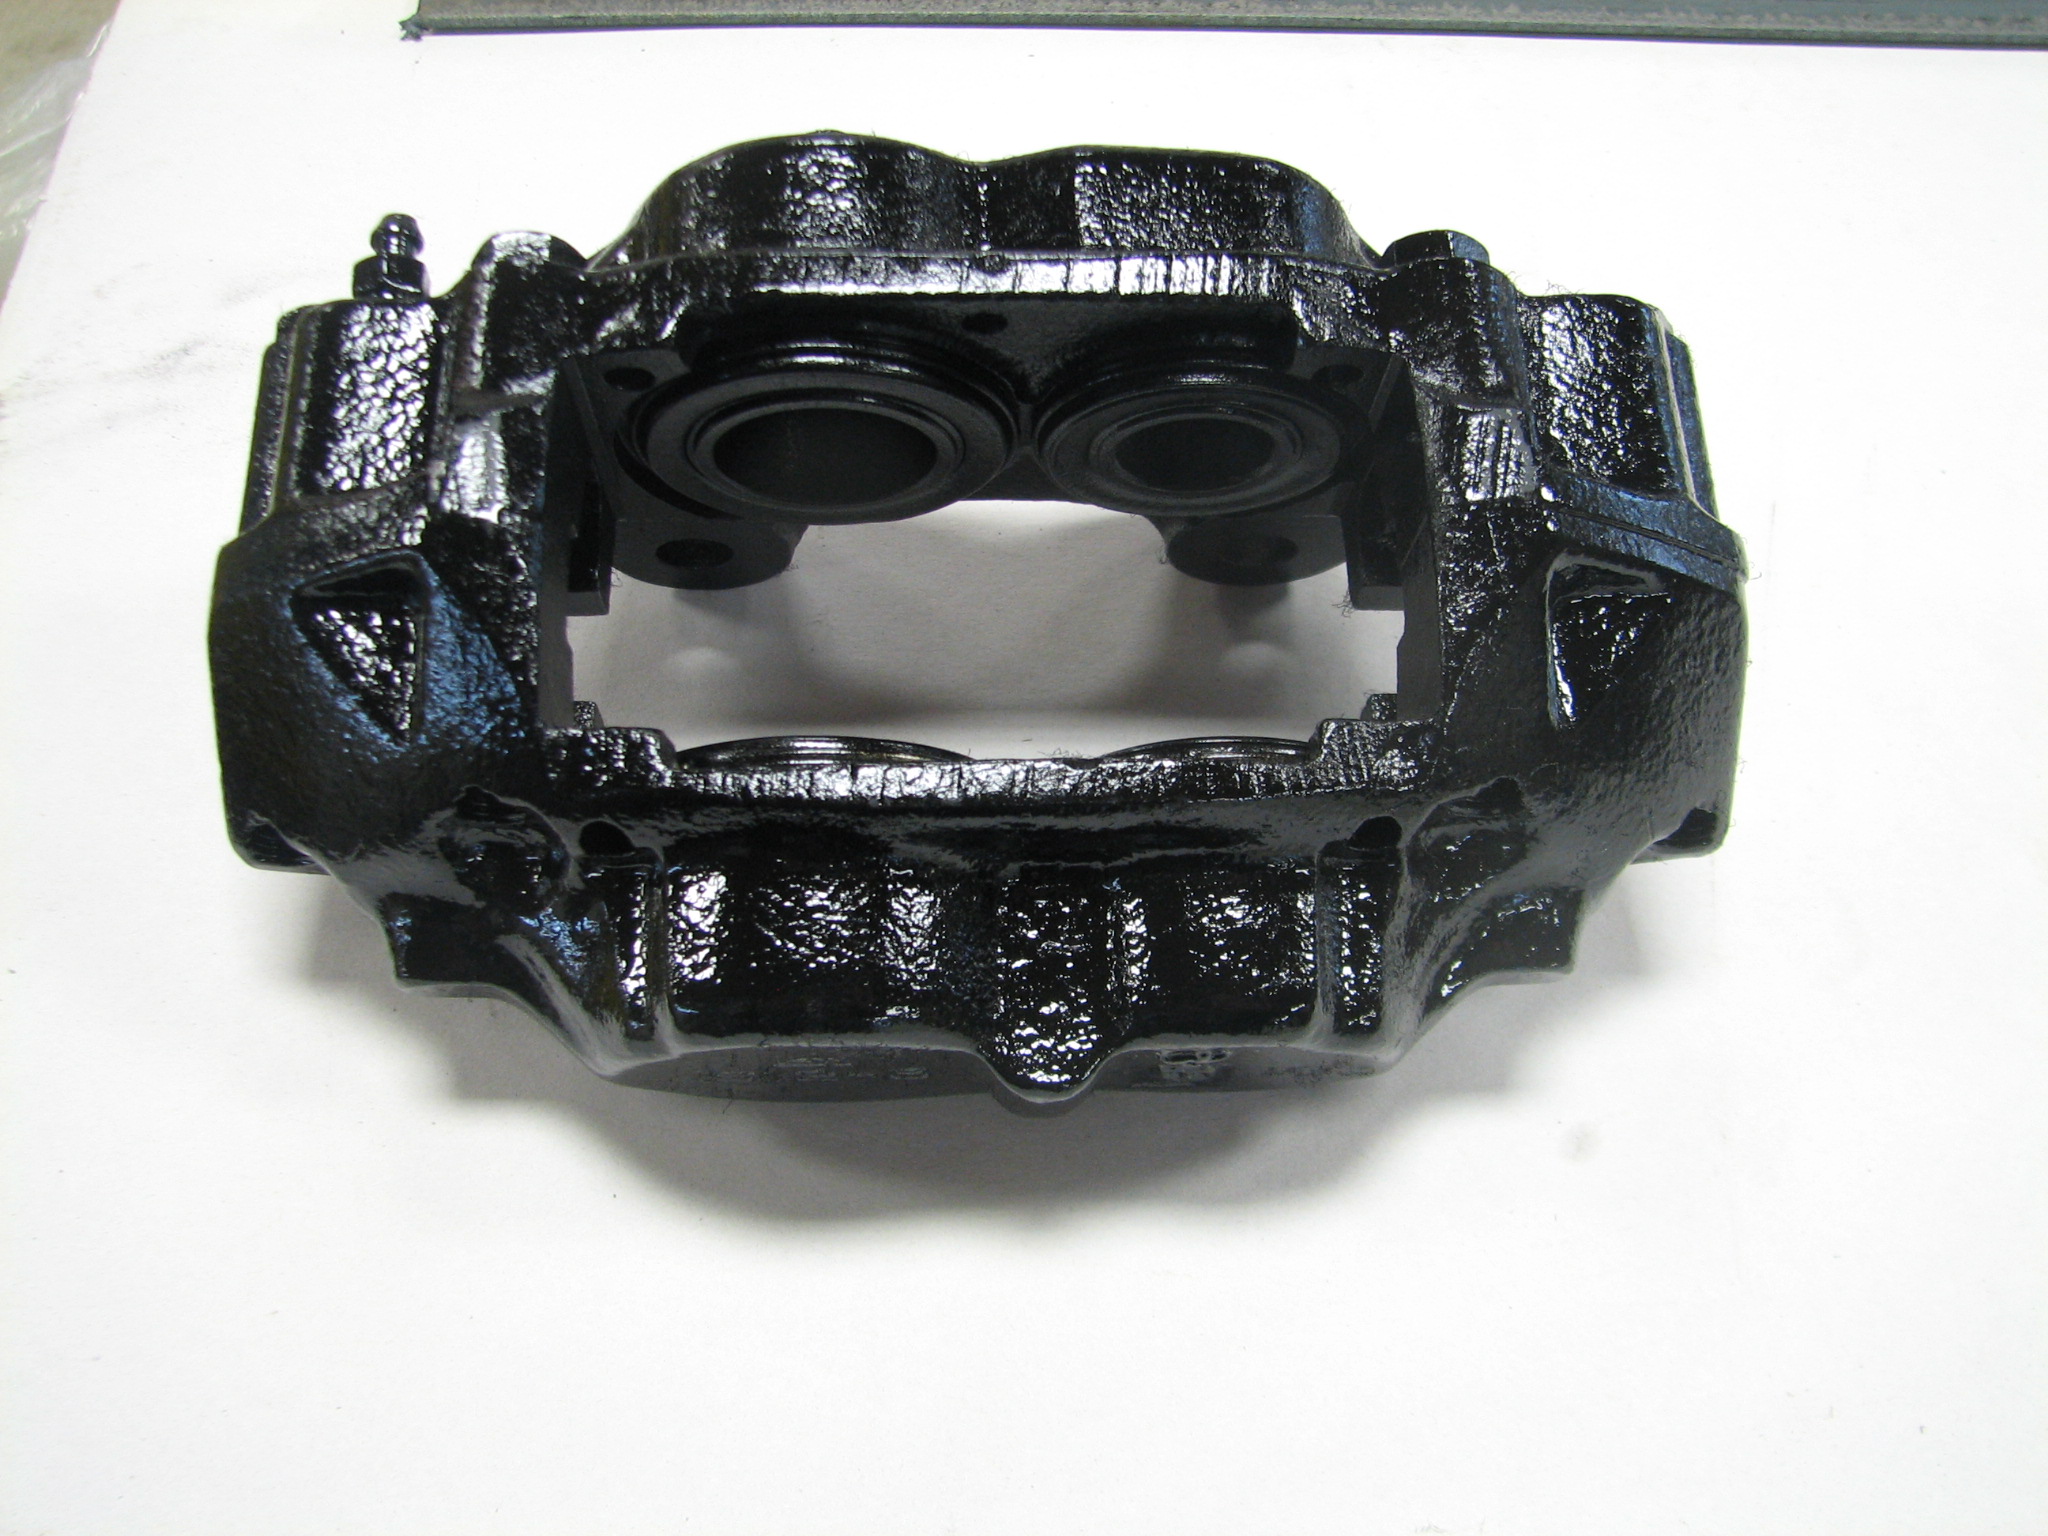
We’re replacing the Triumph calipers with Toyota calipers.
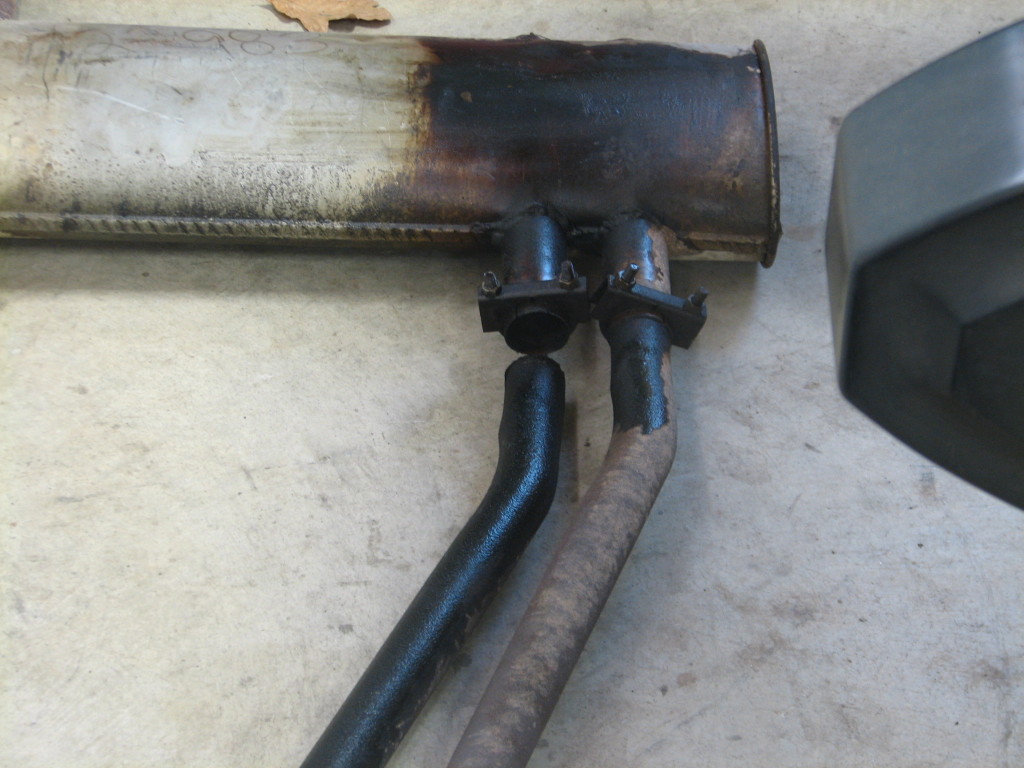
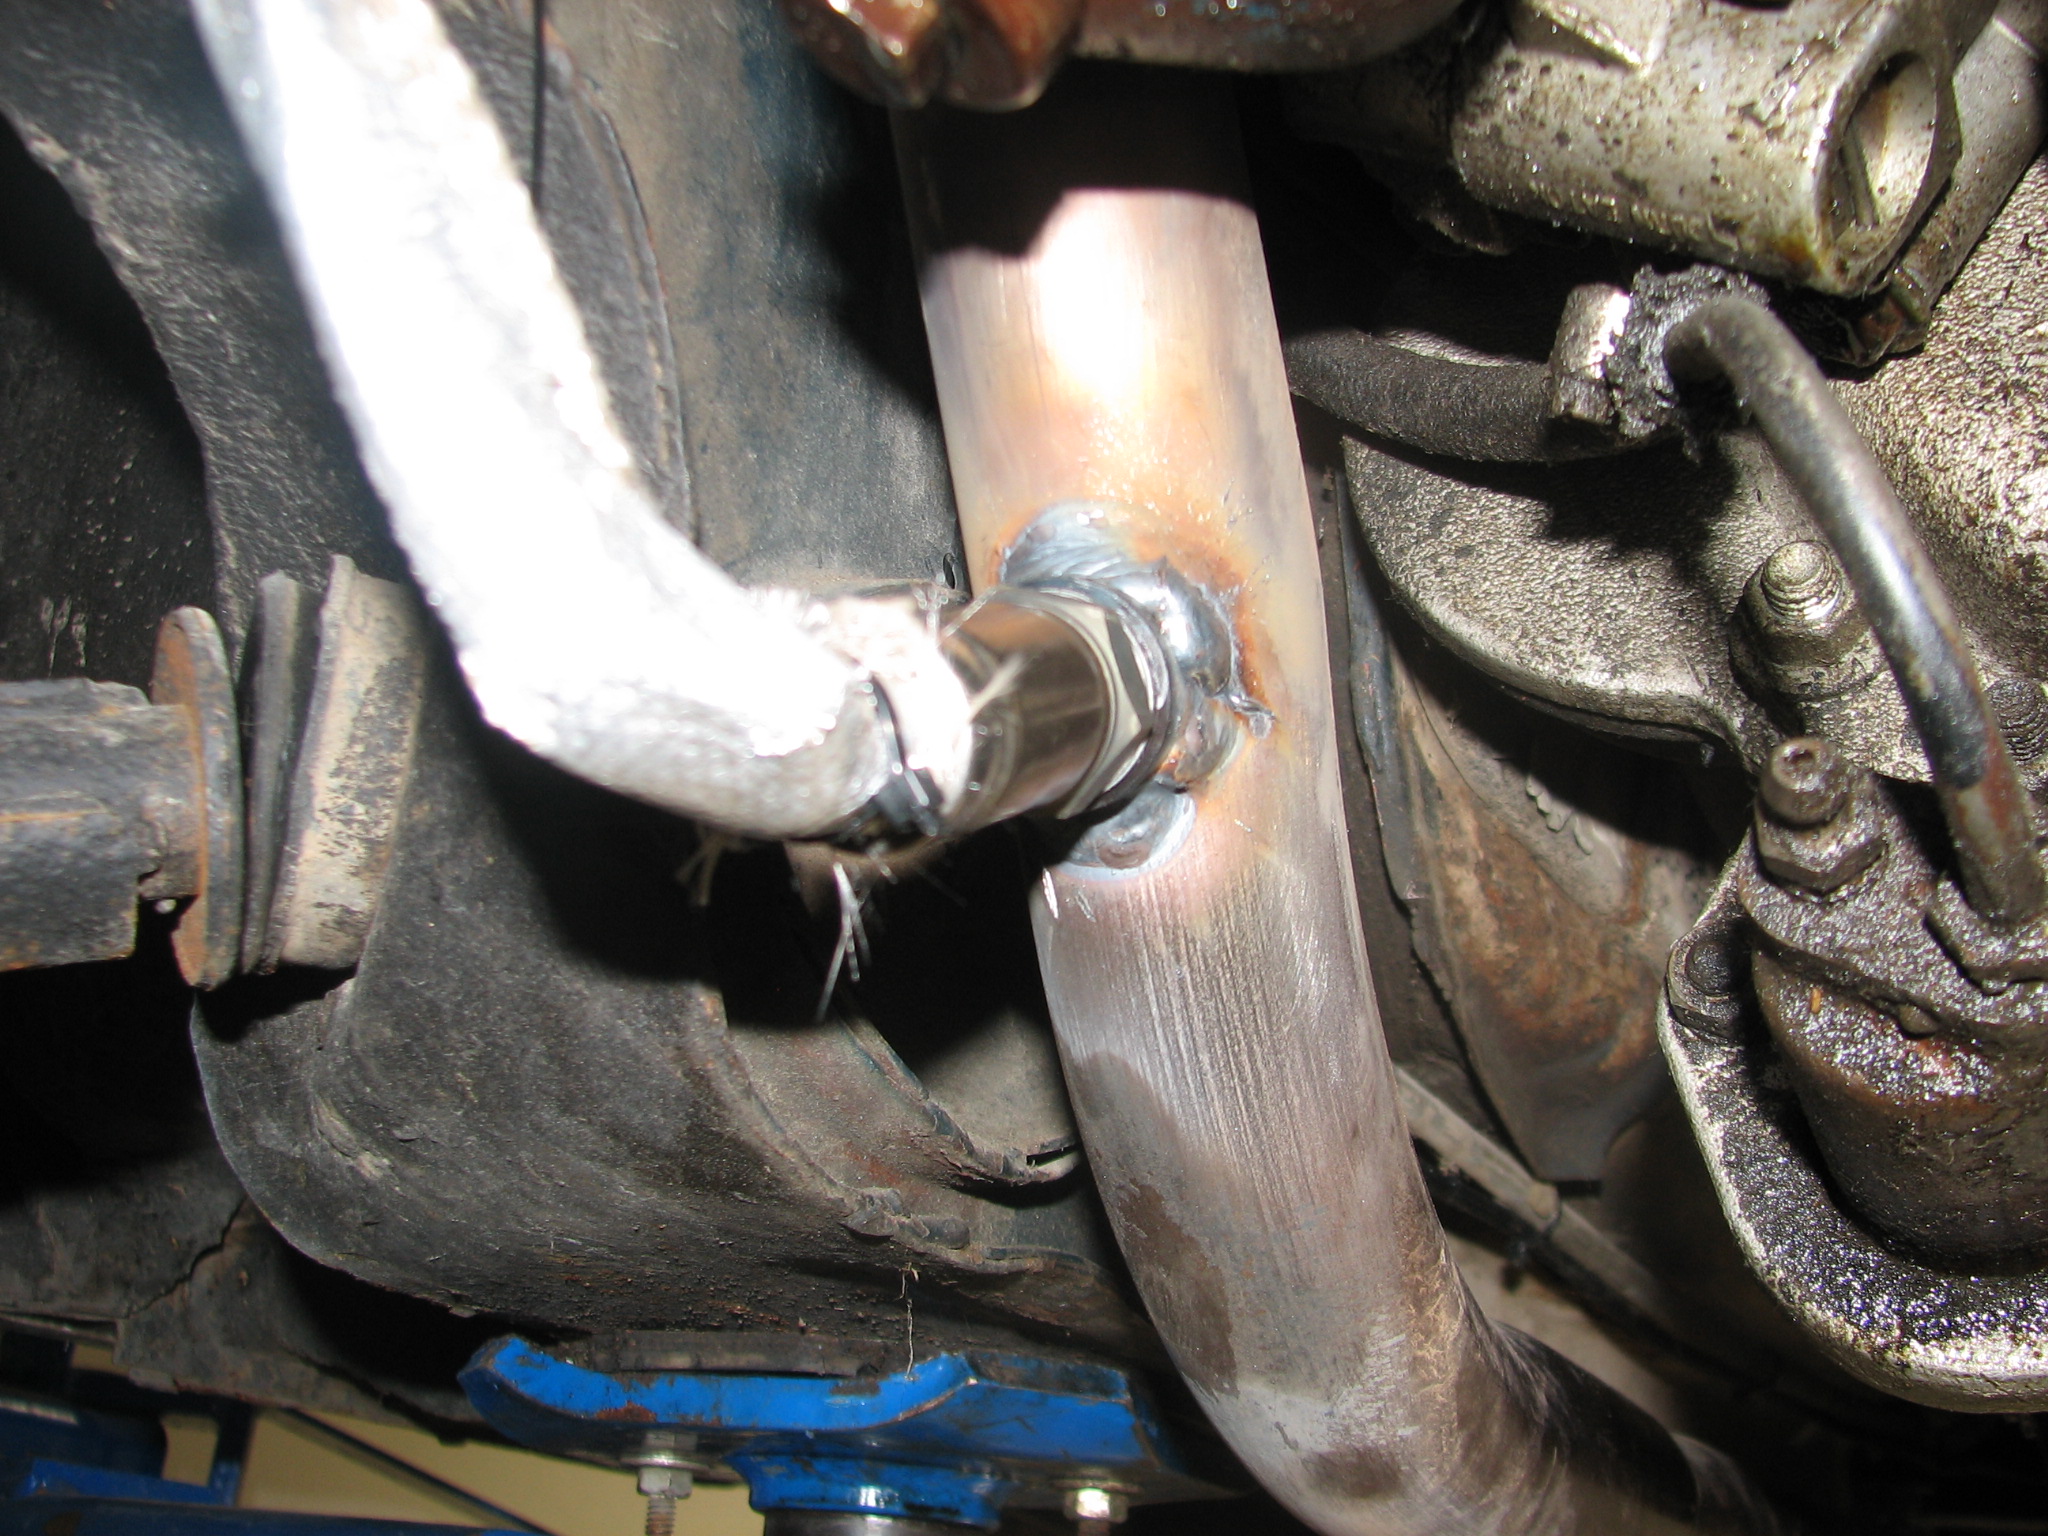
Customer mentioned a rattle or sound from the exhaust. When Chip removed the exhaust, the tube on the left fell off.
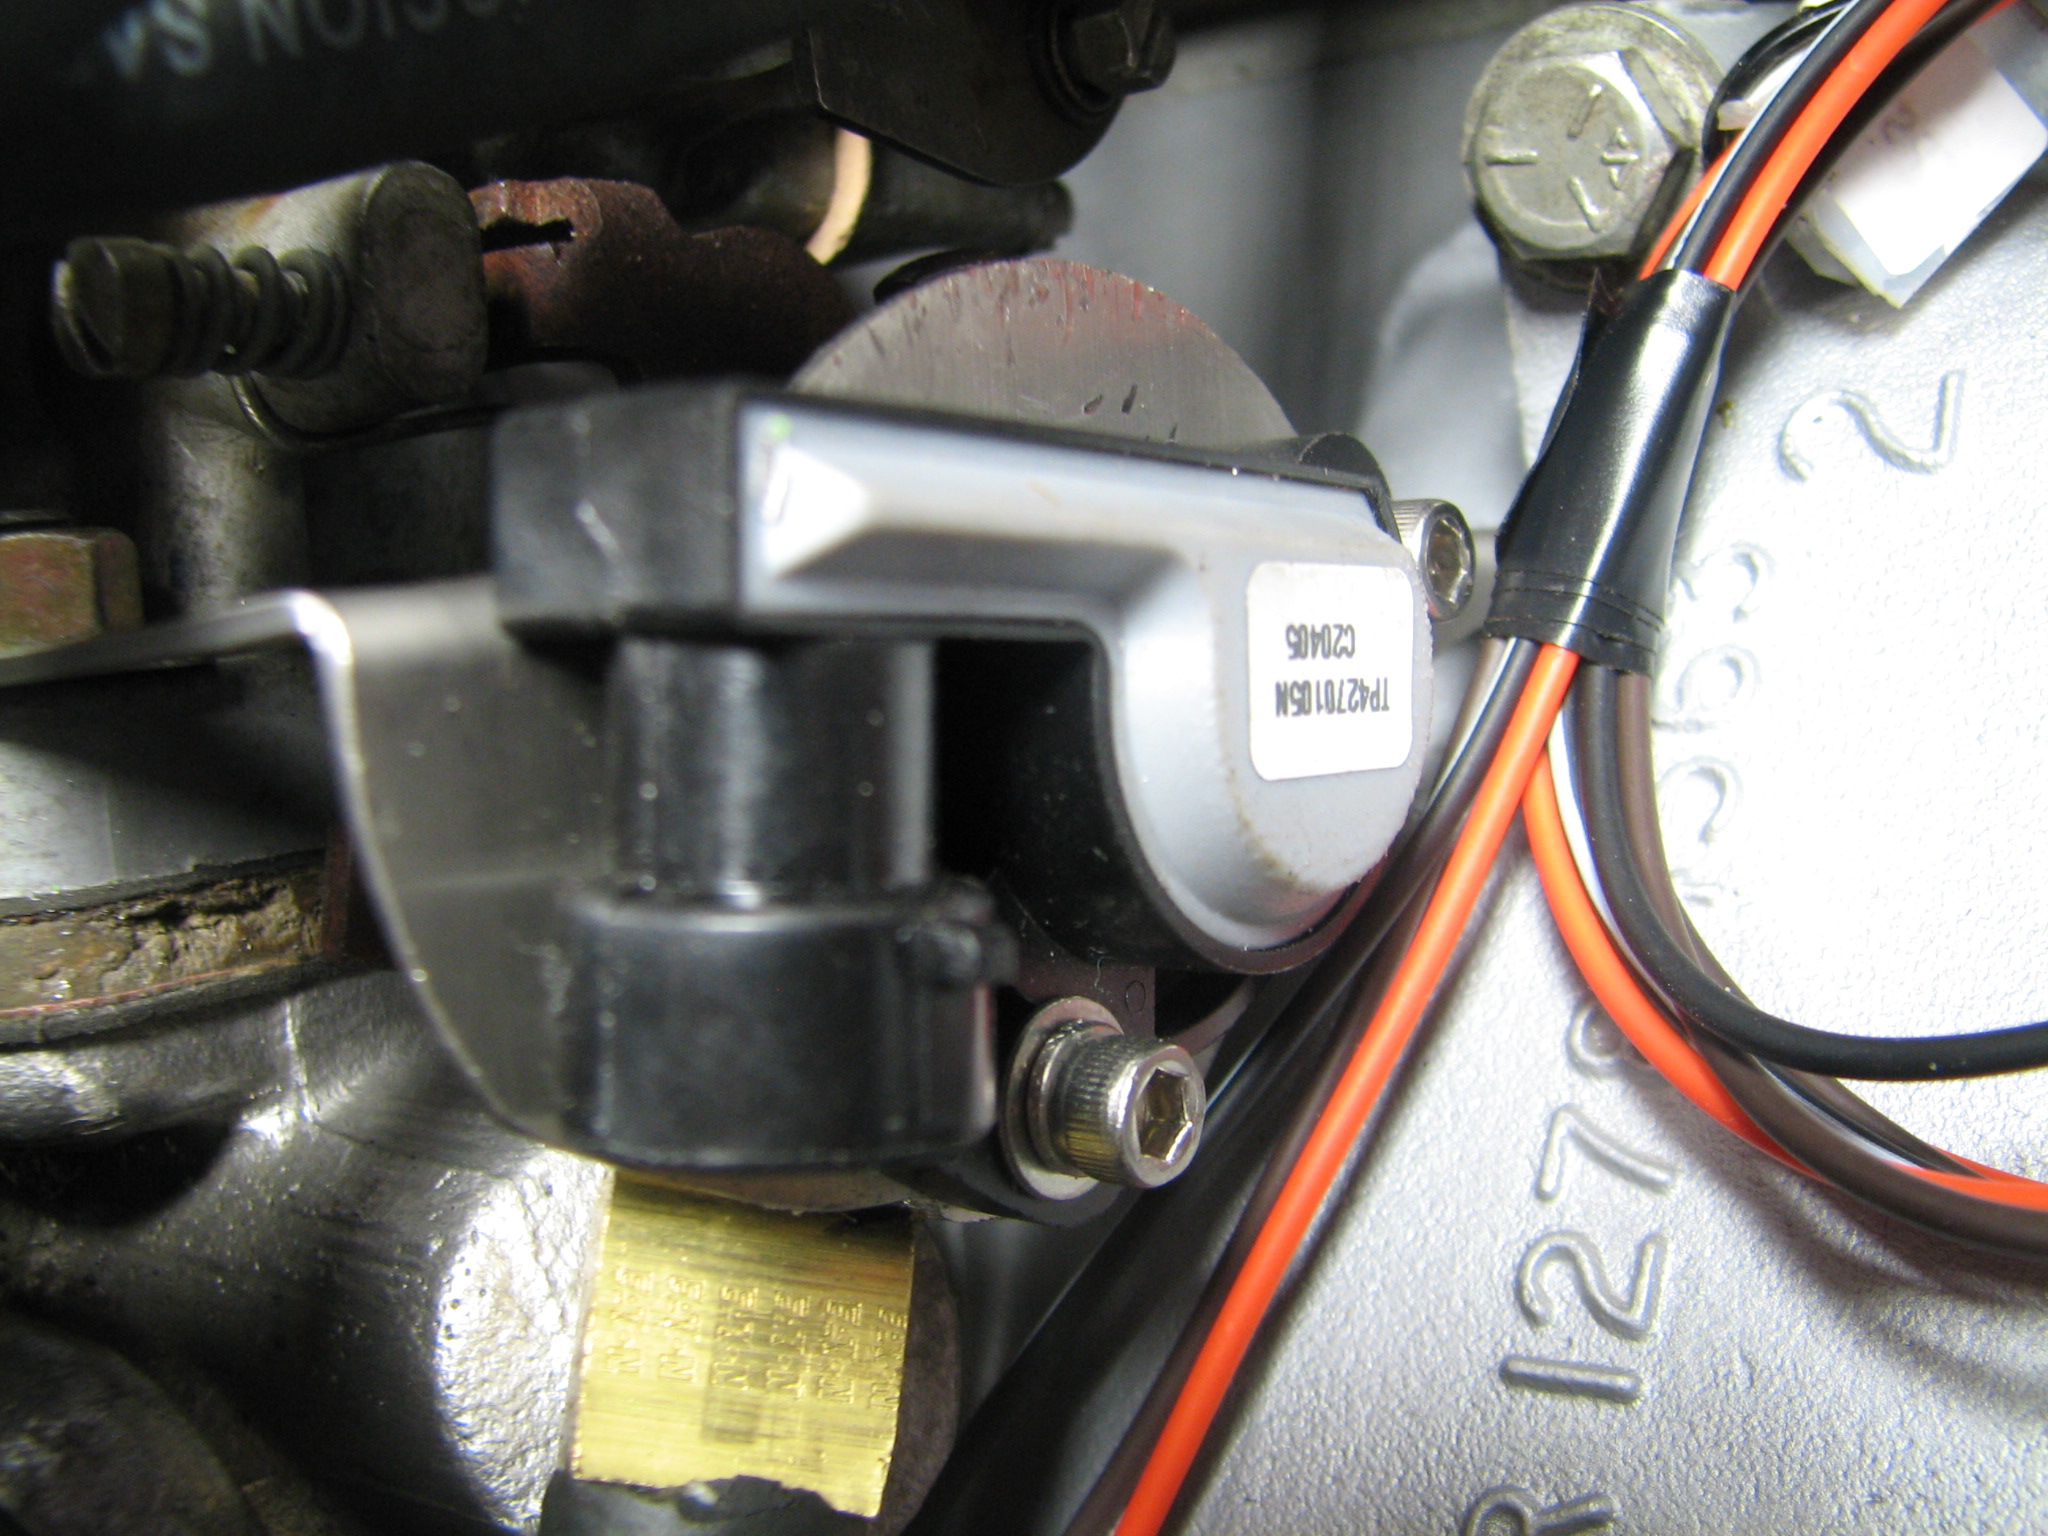
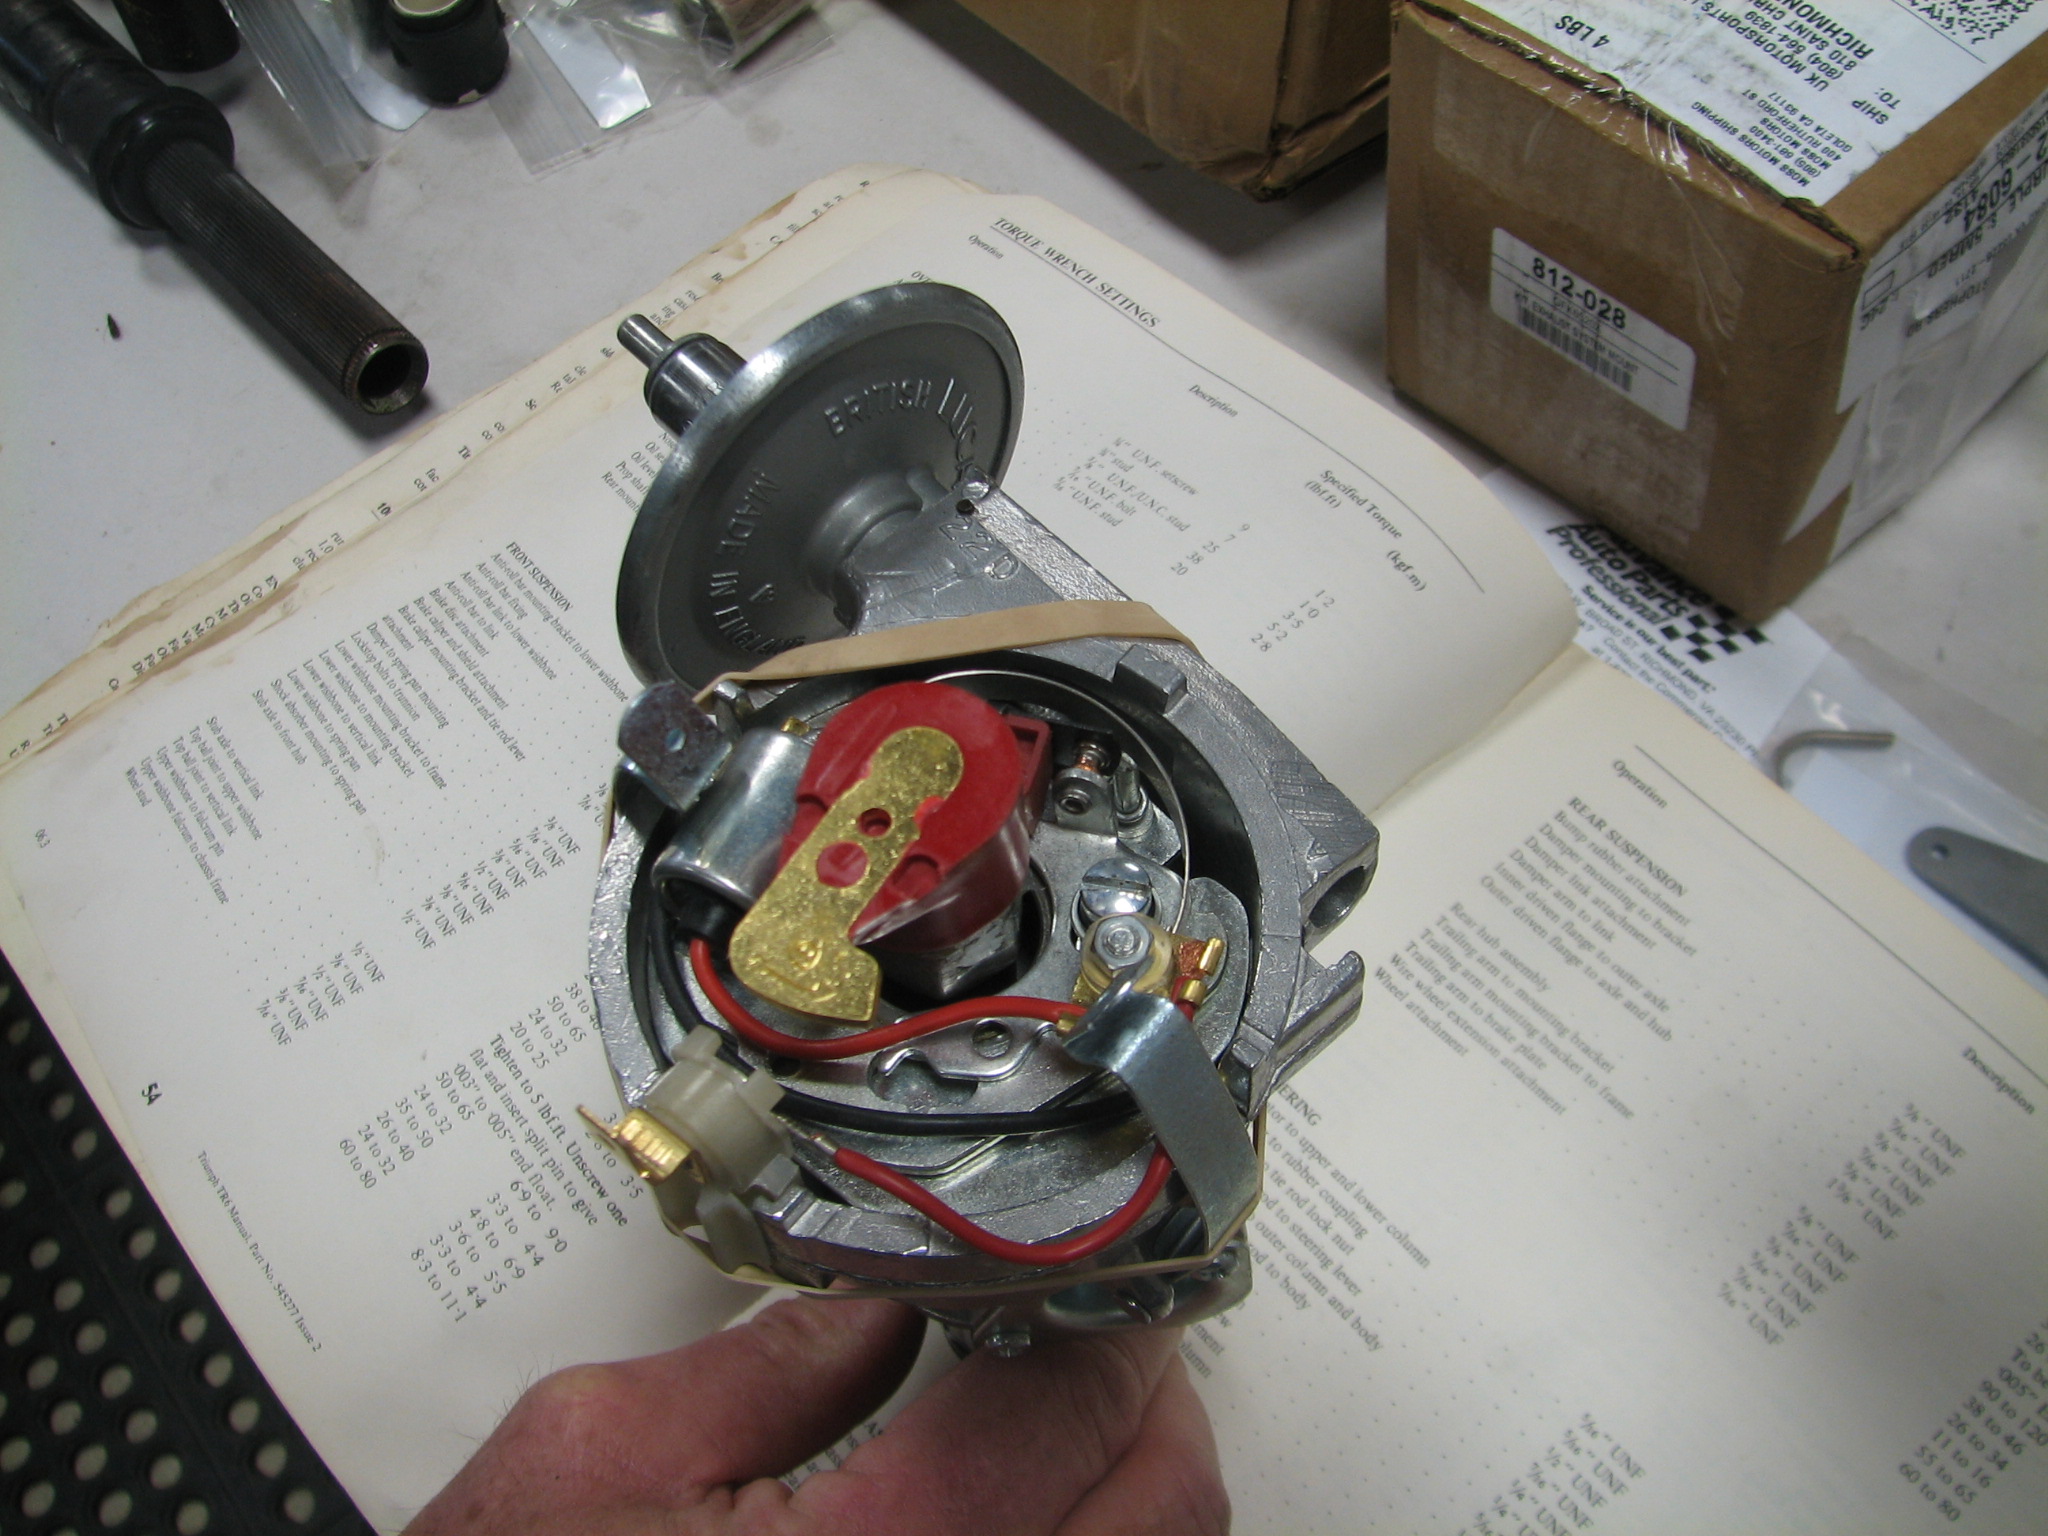
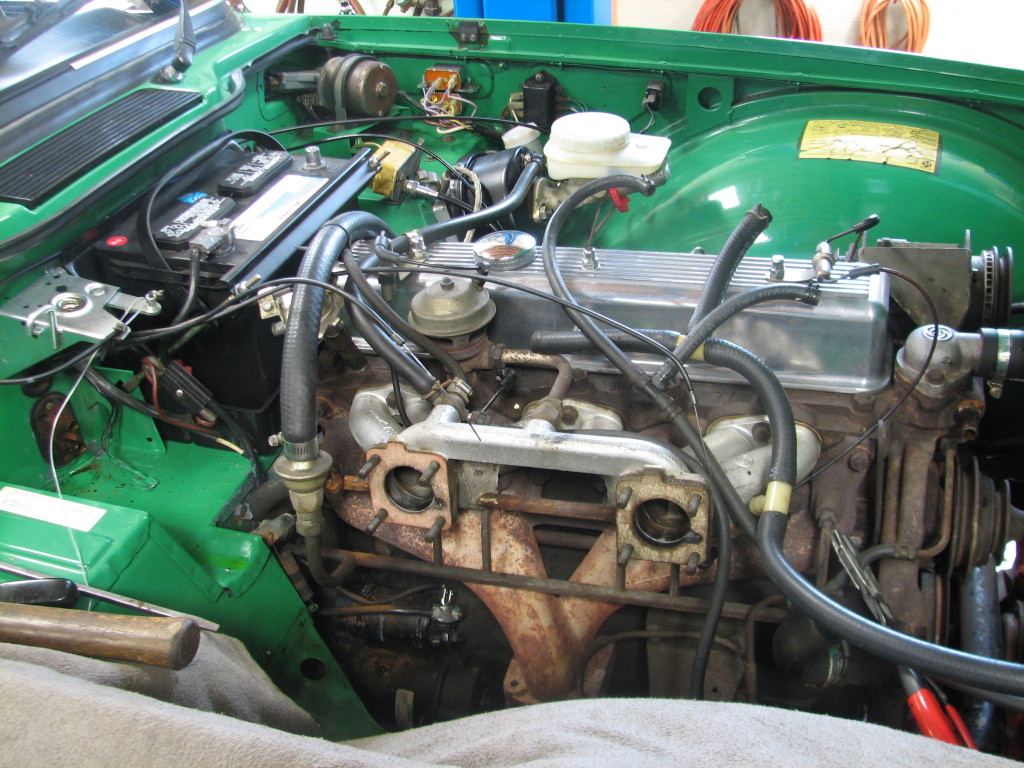
The “stumble” previously mentioned (in the first post on this car) should respond to a distributor rebuild (by Advanced Distributors) and the carb work that Gary Martin is doing for us. Should any of these repairs or modifications spark a question, contact us and we’ll give you as much information as we can. Thanks for visiting.